This delicious gluten free butter cake will quickly become a favorite. This fork-tender cake is perfect for a gluten free birthday cake and you can dress it up or down depending on the occasion. Keep this one handy.
Why You'll Love This Gluten Free Butter Cake Recipe
Everyone needs a simple, solid cake recipe that you can turn to again and again when you need a birthday cake or just a quick afternoon cake. This butter cake recipe ticks all the boxes. Here's why you'll love it:
- Simple ingredients - A handful of fridge and pantry staples are all you'll need to make this cake.
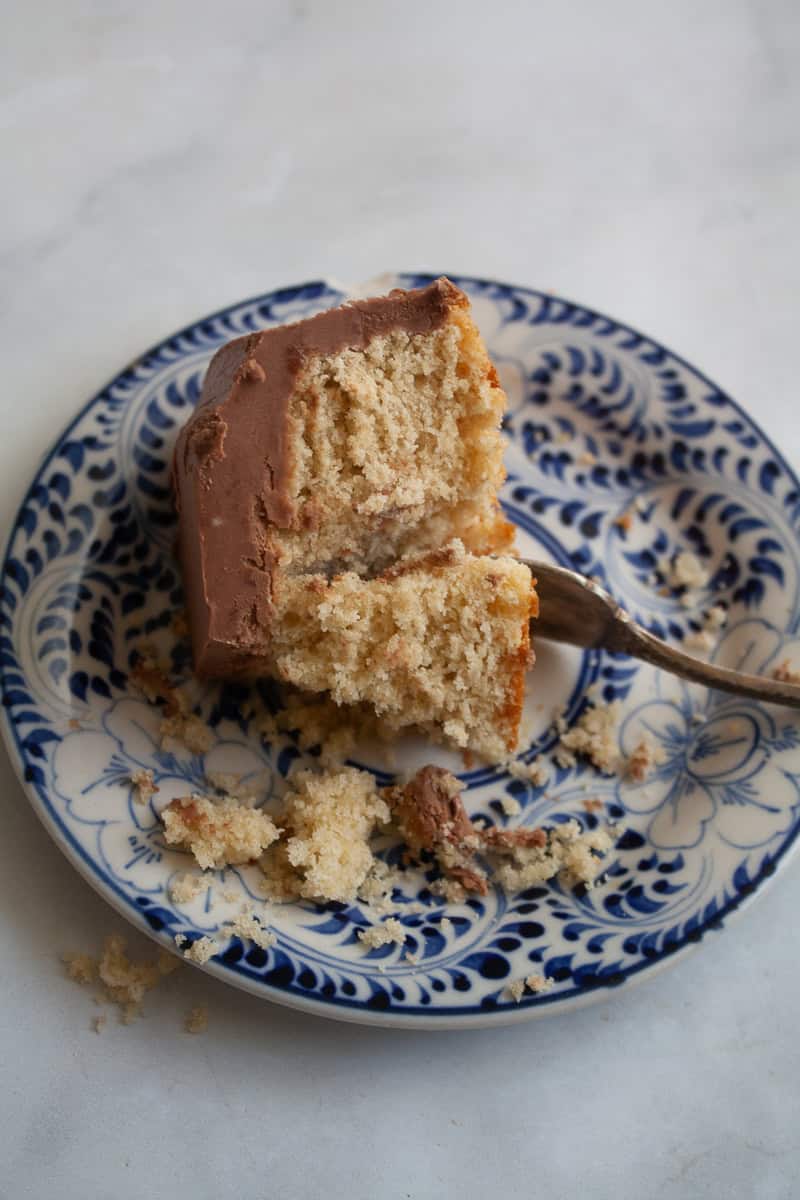
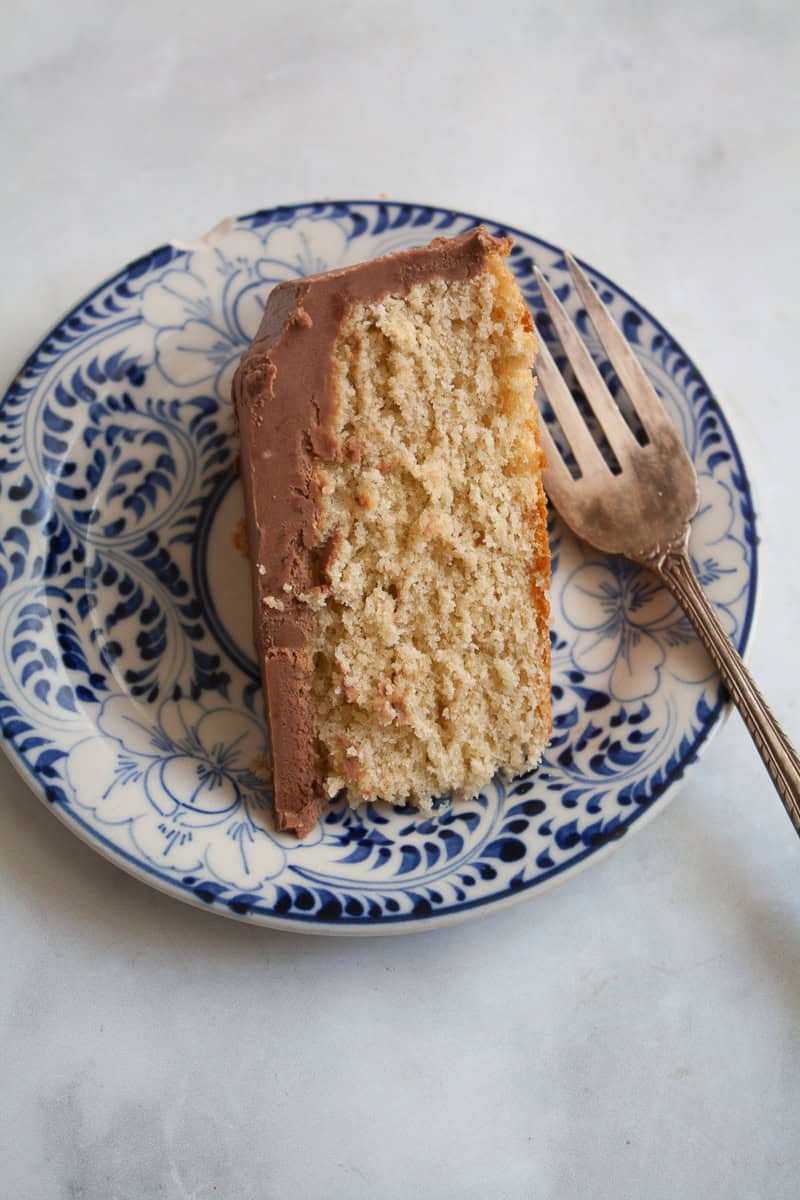
- Great texture - Unlike some gluten free cakes, this one is not at all dry and lasts for days in the fridge! ps: check out that crumb in the above photo - are you kidding me?!
- Versatile - Seriously, this is such a major selling point of this recipe! You can use it as a jumping-off place for all sorts of flavors, or enjoy it plain. It's so good no matter how you serve it.
- You can't tell it's gluten free - Maybe it's the homemade flour blend or maybe it's the perfect ratio of the other ingredients to the gluten free flours, but I would argue you will not at all be able to tell that this cake is gluten free!
What You'll Need
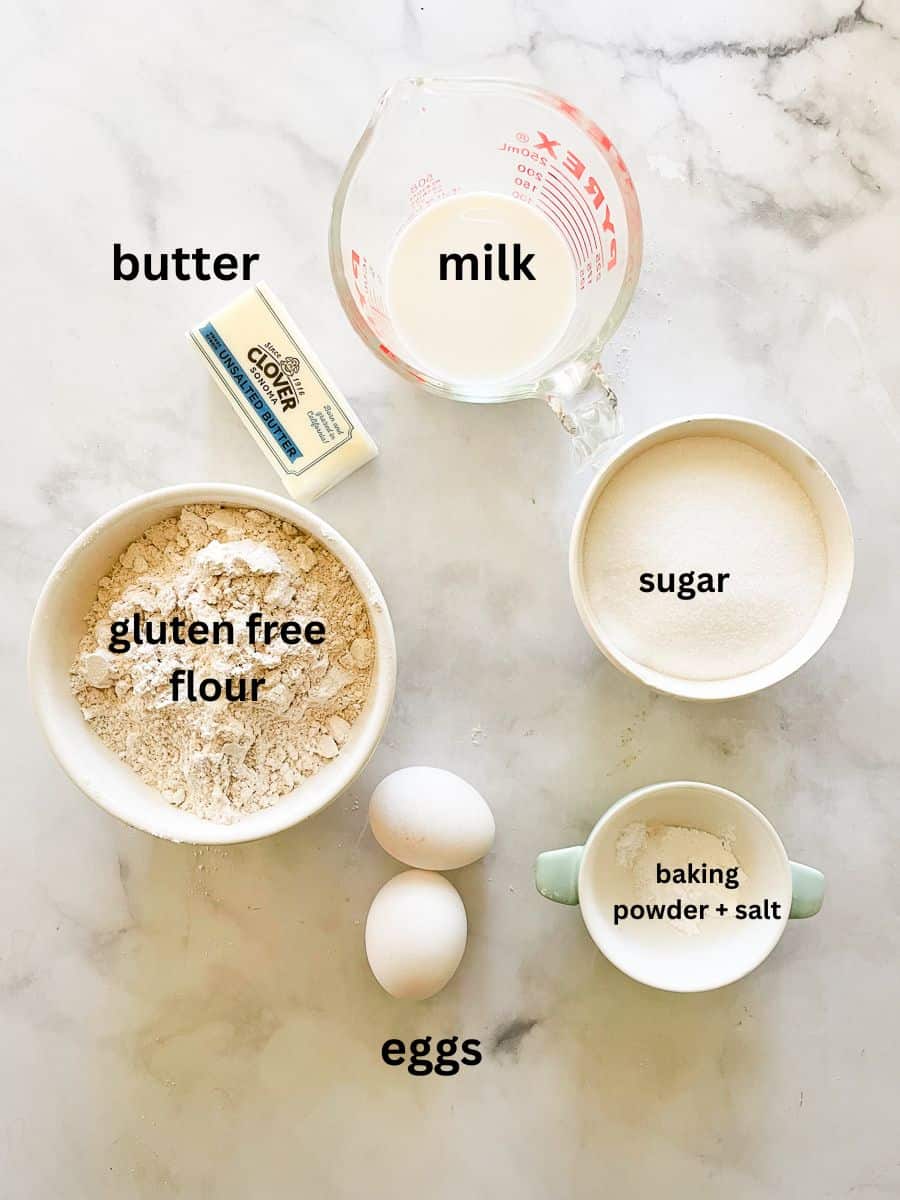
There's a short and sweet ingredients list for this simple butter cake recipe. I've outlined them below. The full ingredient amounts and detailed instructions are in the recipe card at the end of this post.
- Gluten free flour - My homemade gluten free flour blend works perfectly in this recipe, or you can use your favorite 1:1 blend.
- Baking powder - We'll use baking powder in this recipe to give the cake its perfect rise.
- Salt - A little bit of fine sea salt enhances the sweetness of the cake.
- Butter - Unsalted butter is best, at room temperature, so that it doesn't compete with the sweetness of the cake.
- Granulated sugar - To make this cake refined sugar-free, substitute coconut sugar, although the color of the cake may be a bit darker.
- Eggs - I developed this recipe using large eggs, which are found in most baking recipes.
- Milk - Whole milk is best to give the cake a soft richness, but 2% milk will work in a pinch.
- Vanilla extract - A hint of vanilla extra gives the cake an extra depth of flavor.
How to Make GF Butter Cake
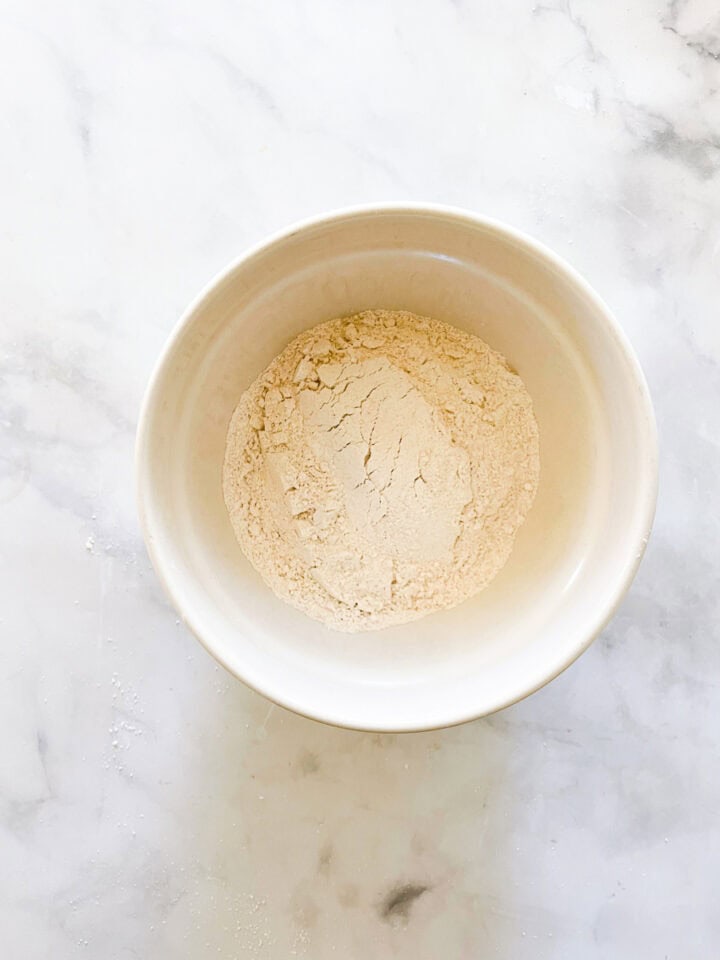
You can get an idea of how to make this cake in the photos below. I recommend bringing the ingredients, especially the butter, to room temperature before you begin making it so that they better incorporate into the cake batter.
- Prep: Grease and line the bottom of an 8-inch round cake pan with a circle of parchment.
- Combine dry ingredients: Whisk together the flour, baking powder, and salt.
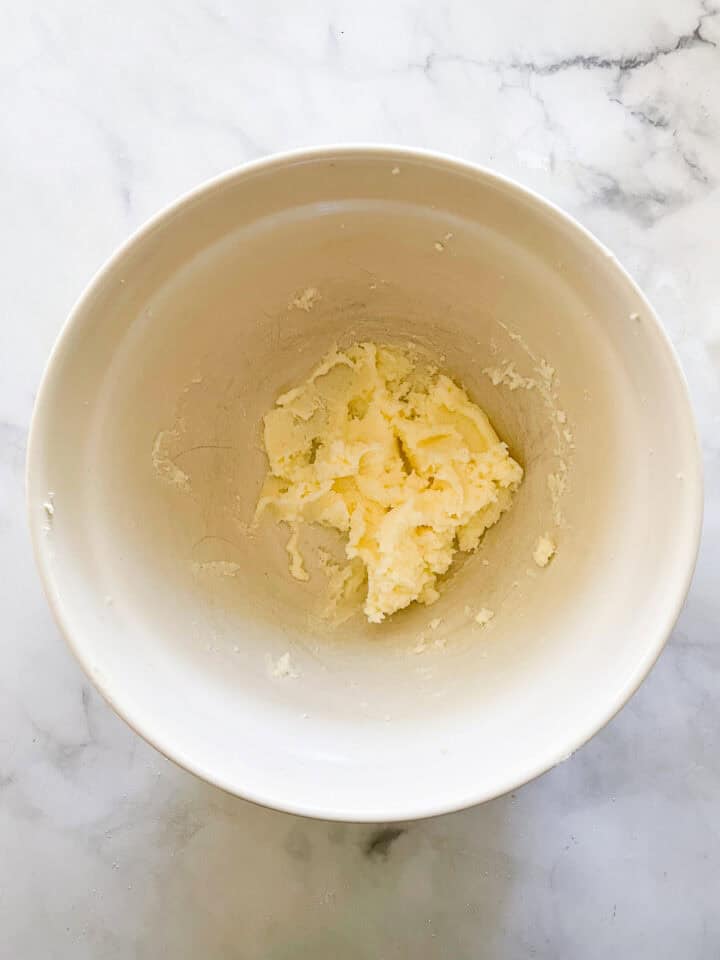
- Cream butter: Using an electric mixer cream the butter and sugar.,
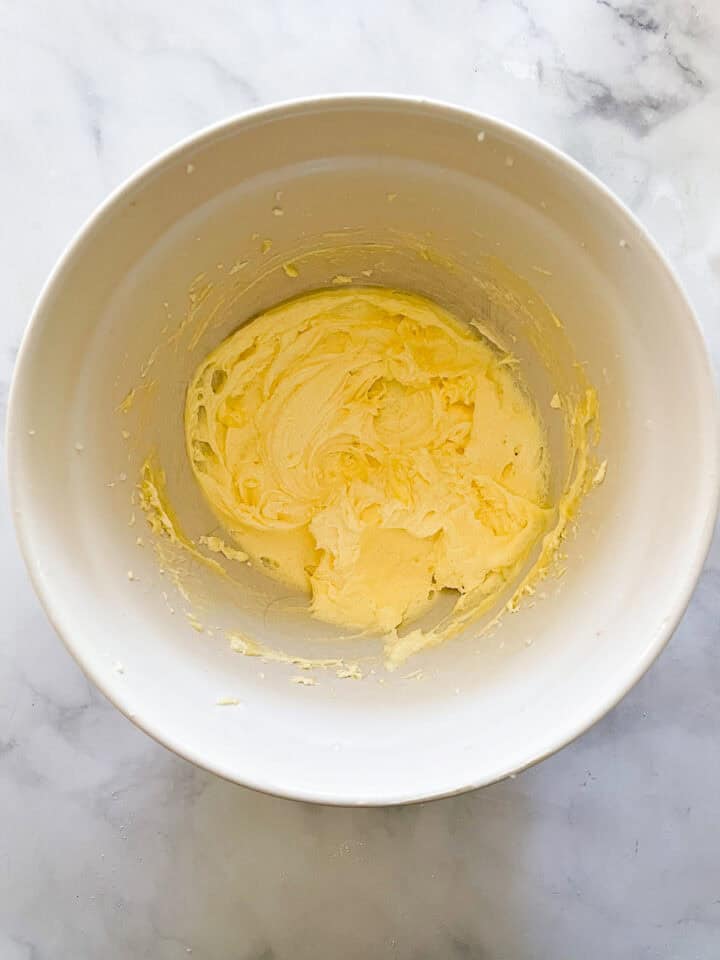
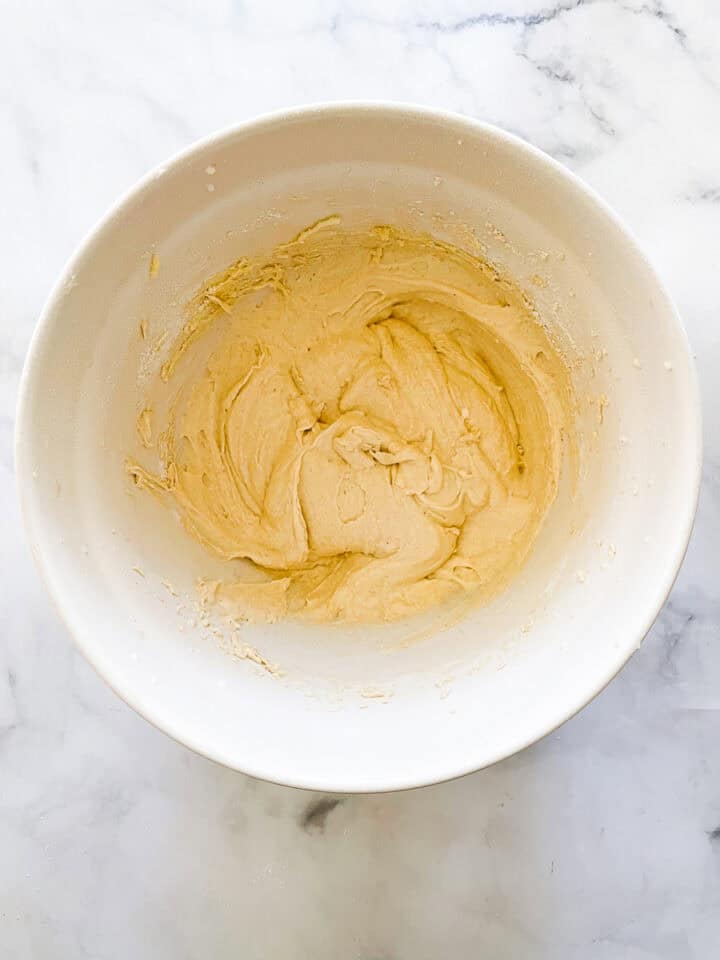
- Add eggs: Slowly pour in the eggs a little at a time. Combine the vanilla and milk in a small bowl or measuring cup.
- Combine: Add the flour mixture in four additions, alternating with the milk.
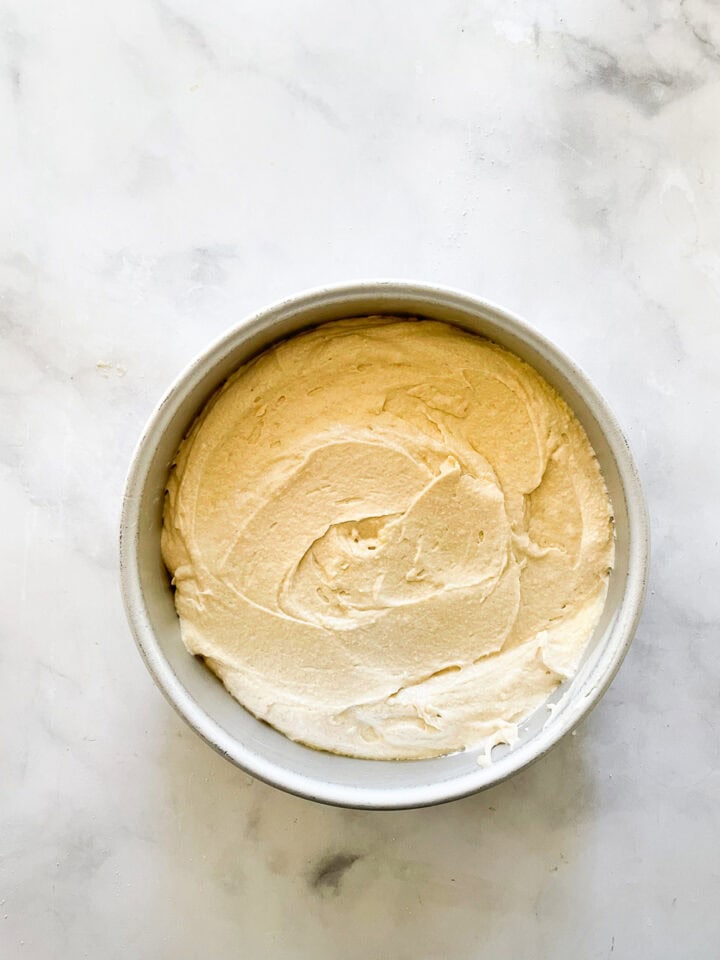
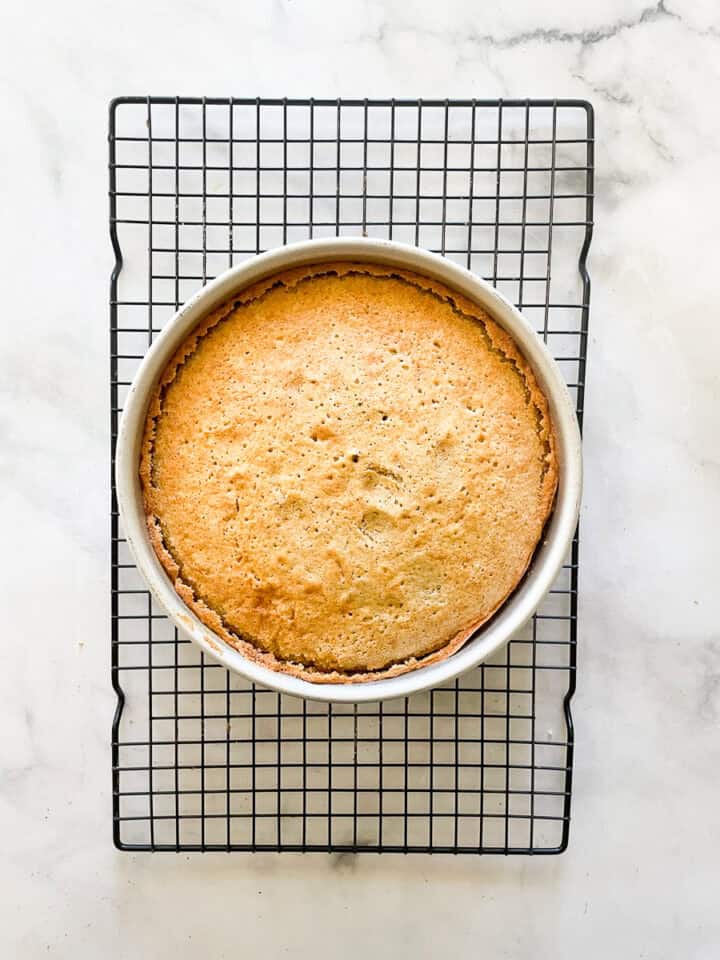
- Place in the pan: Pour the batter into the prepared cake pan, and preheat the oven to 350℉. Rest the batter while it heats.
- Bake: Place in the oven and bake for 25 to 30 minutes. Cool in the pan, then turn out to cool completely.
Tips and Substitutions
- Bring ingredients to room temperature - For most baking recipes other than pie or scones or some pasties, bringing the ingredients to room temperature helps them to incorporate better into the batter. This is especially helpful with butter!
- Rest that batter - Always rest a gluten free batter. Up to 30 minutes is ideal, or use the time that the oven preheats to rest the cake batter. This helps to avoid any grittiness and lets the flour hydrate.
- Make a double batch - For a layer cake, double the ingredients to make two cake layers. You can either use two layers for the cake or split each layer in half to make a stunning presentation.
- Bake in an 8-inch or 9-inch pan - I prefer to bake cakes in an 8-inch cake pan because they bake up a bit thicker and I adore a thick slice of cake. However, you can also bake the batter in a 9-inch cake pan.
- Do cupcakes - One batch of butter cake batter will yield 12 cupcakes. Use cupcake liners or well grease a cupcake tin, then fill each cup ⅔ of the way with batter and bake for about 20 minutes, until a tester comes out clean.
- Use gluten free flour - Swap your favorite 1:1 gluten free flour for the DIY flour blend. Note that my blend doesn't contain xanthan gum so your cake may turn out a bit differently if you use a blend that contains gums.
Serving Suggestions
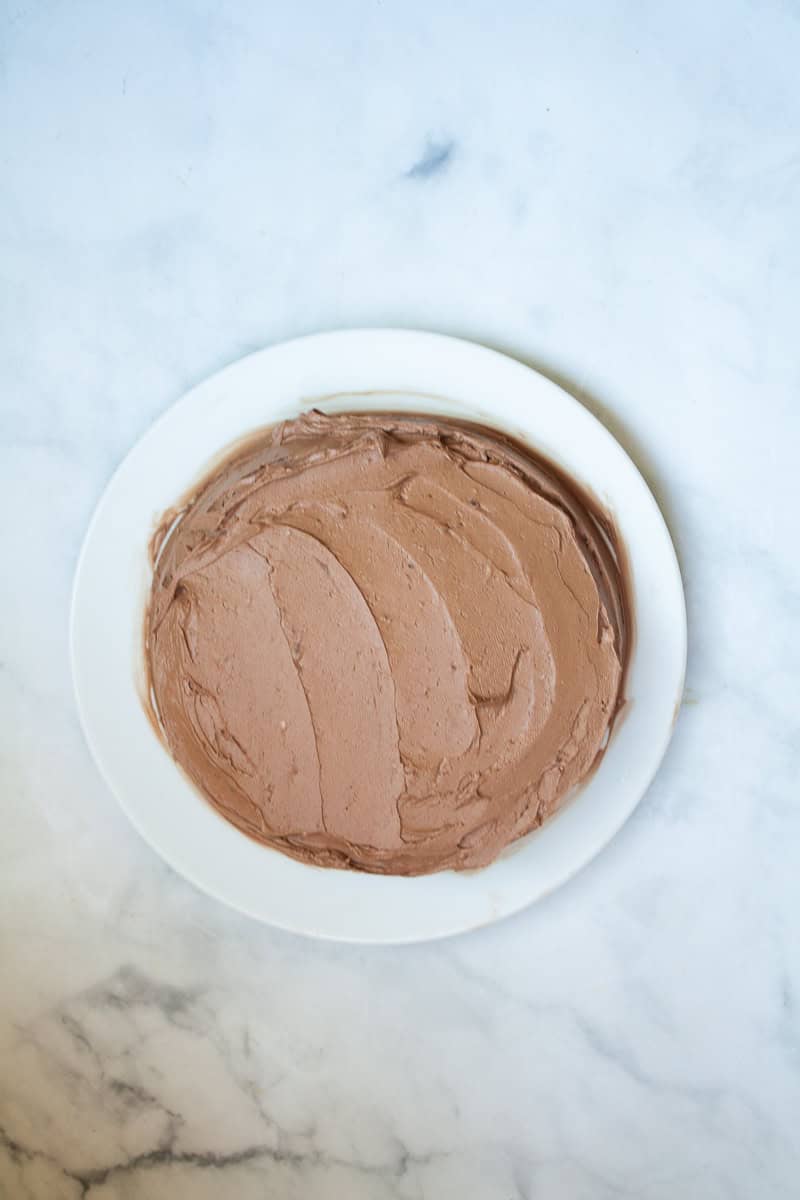
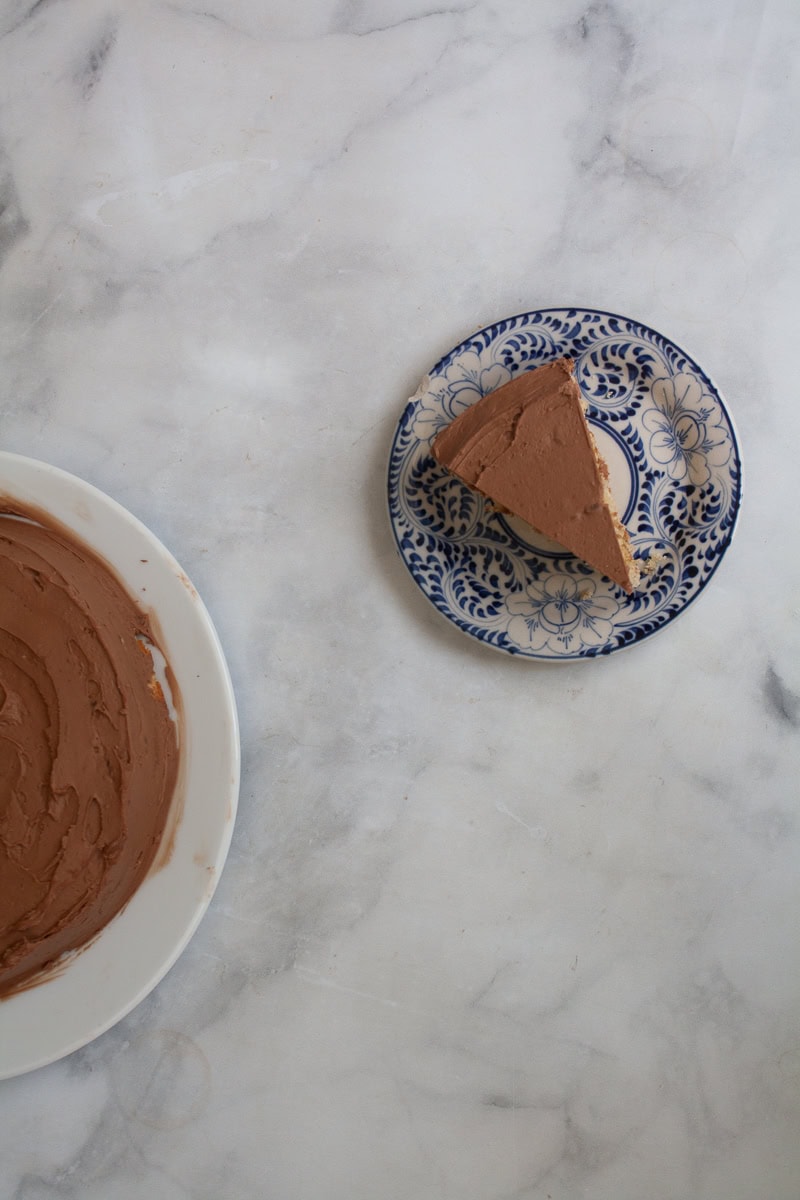
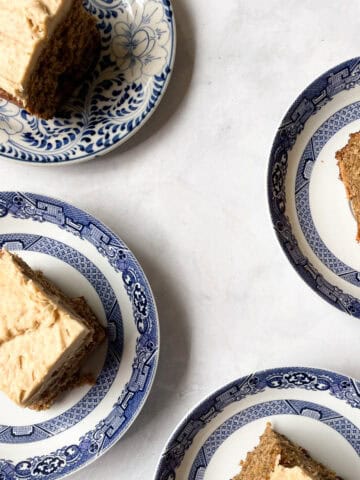
One of the reasons I love this cake recipe is that it can be used in so many ways. You can make it into a layer cake, keep it as a single layer, add frosting, or just a dusting of powdered sugar. In the photos, I've topped it with my favorite chocolate buttercream and it's simply the best. Here are a few more ideas to get you started:
- Frosting. Chocolate buttercream is such a dream of a frosting. See my recipe for homemade chocolate buttercream, make the amazing salted caramel buttercream from this post, or use your favorite flavor to top this cake. Any type of frosting would work - vanilla, cream cheese, lemon buttercream ...
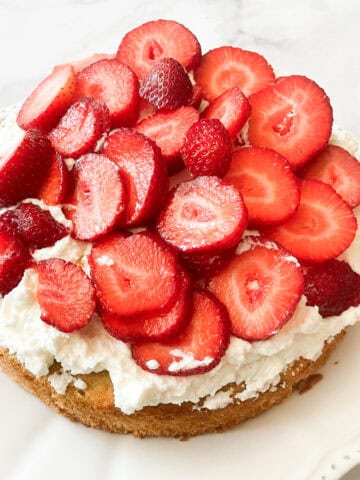
- Whipped cream. Split the cake in half and fill it with with whipped cream and strawberries for a simple strawberries and cream cake. Or, just make lightly sweetened whipped cream to cover the cake or dollop on top of individual slices.
- Powdered sugar. Keep it ultra simple and dust the top of this cake with sifted powdered sugar for a little extra sweetness.
- Fruit. Serve slices of cake with fruit like a mix of blueberries, raspberries, blackberries, and more.
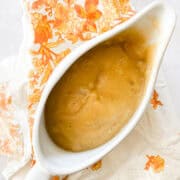
- Add sauce. Drizzle a generous serving of salted caramel sauce over this cake!
Storage Options
This cake holds up well and doesn't dry out quickly (another reason I love it!). I do recommend bringing the cake to room temperature or letting it sit on the counter for at least 15 minutes before serving it for the best texture and flavor. Here's how to store this gluten free butter cake:
- Fridge - Cover the cake tightly and store it in the fridge for up to 5 days. You can wrap unfrosted cake layers in plastic and keep them in the fridge for up to 3 days before assembling or serving the cake.
- Freezer - I love freezing gluten free butter cake to save myself time later! Wrap a layer of cake in plastic wrap, place it in a freezer-safe and store it in the freezer for up to 3 months. Thaw the cake in the fridge before serving or frosting it.
More Simple Gluten Free Cake Recipes
Gluten Free Butter Cake
Ingredients
- 1 ¾ cups homemade gluten free flour blend (210 grams)
- 1 ½ teaspoons baking powder
- ⅛ teaspoon salt
- ½ cup unsalted butter, at room temperature
- 1 cup granulated sugar
- 2 eggs, lightly beaten
- ½ cup whole milk
Instructions
- Grease and line the bottom of an 8 or 9-inch round cake pan with a circle of parchment.
- In a small bowl, whisk together the flour, baking powder, and salt.
- In a large bowl and using an electric mixer on medium speed, cream the butter, scraping down the sides of the bowl as necessary, until the butter is lighter in color, about 45 seconds. Then add the sugar in a steady stream and mix on medium speed until the mixture is very light in color and texture, about 4 to 5 minutes.
- Slowly pour in the eggs a little at a time, and beat very well for about 2 minutes.
- Combine the vanilla and milk in a small bowl or measuring cup.
- With the mixer on low, add the flour mixture in four doses, alternating with the milk in three doses. Scrape down the sides of the bowl in between additions.
- Pour the batter into prepared cake pan. Preheat the oven to 350℉ and let the batter rest while it heats, up to 30 minutes. Place the cake in the oven and bake for 25 to 30 minutes, or until a toothpick inserted in the center comes out clean.
- Remove from the oven and set on a rack to cool for 10 minutes then turn out onto rack to finish cooling completely.
Notes
- Bring ingredients to room temperature - For most baking recipes other than pie or scones or some pasties, bringing the ingredients to room temperature helps them to incorporate better into the batter. This is especially helpful with butter!
- Rest that batter - Always rest a gluten free batter. Up to 30 minutes is ideal, or use the time that the oven preheats to rest the cake batter. This helps to avoid any grittiness and lets the flour hydrate.
- Make a double batch - For a layer cake, double the ingredients to make two cake layers. You can either use two layers for the cake or split each layer in half to make a stunning presentation.
- Bake in an 8-inch or 9-inch pan - I prefer to bake cakes in an 8-inch cake pan because they bake up a bit thicker and I adore a thick slice of cake. However, you can also bake the batter in a 9-inch cake pan.
- Do cupcakes - One batch of butter cake batter will yield 12 cupcakes. Use cupcake liners or well grease a cupcake tin, then fill each cup ⅔ of the way with batter and bake for about 20 minutes, until a tester comes out clean.
- Use gluten free flour - Swap your favorite 1:1 gluten free flour for the DIY flour blend. Note that my blend doesn't contain xanthan gum so your cake may turn out a bit differently if you use a blend that contains gums.
- Frosting. Chocolate buttercream is such a dream of a frosting. See my recipe for homemade chocolate buttercream, make the amazing salted caramel buttercream from this post, or use your favorite flavor to top this cake. Any type of frosting would work - vanilla, cream cheese, lemon buttercream ...
- Whipped cream. Split the cake in half and fill it with with whipped cream and strawberries for a simple strawberries and cream cake. Or, just make lightly sweetened whipped cream to cover the cake or dollop on top of individual slices.
- Powdered sugar. Keep it ultra simple and dust the top of this cake with sifted powdered sugar for a little extra sweetness.
- Fruit. Serve slices of cake with fruit like a mix of blueberries, raspberries, blackberries, and more.
- Add sauce. Drizzle a generous serving of salted caramel sauce over this cake!


I'd love to hear from you! Please leave me a note.