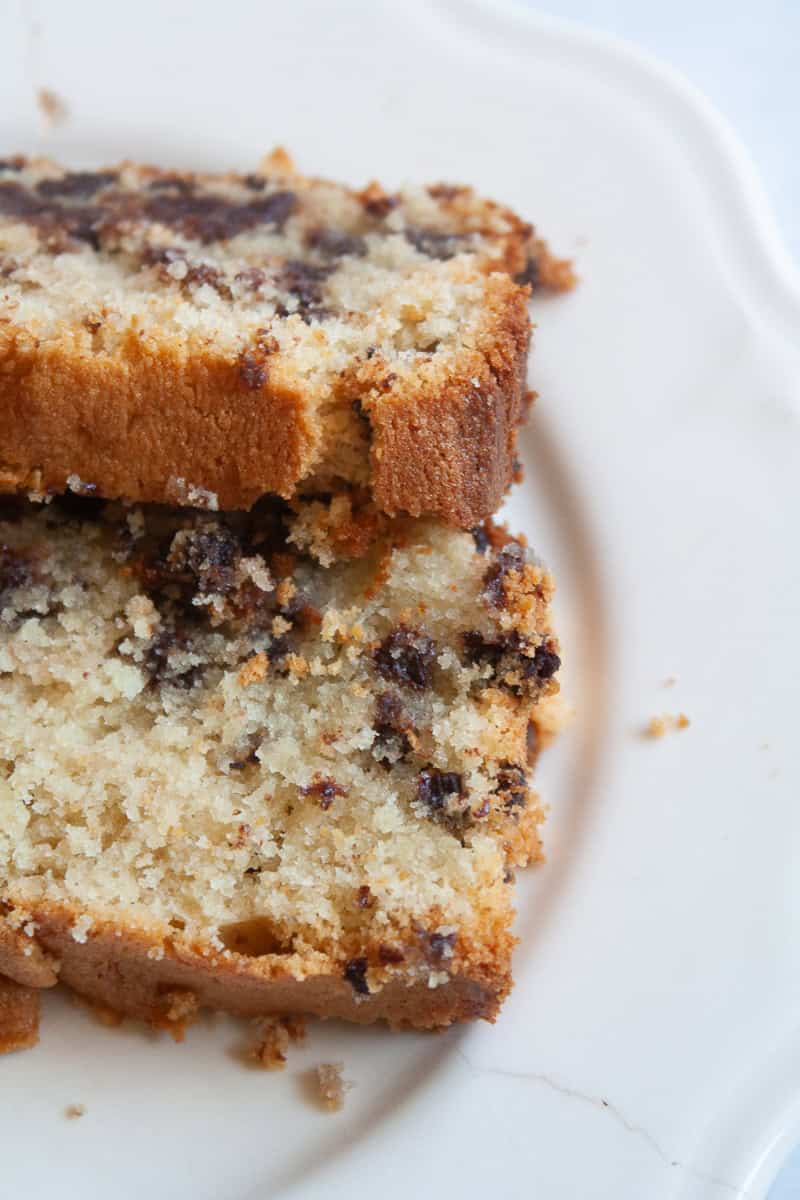
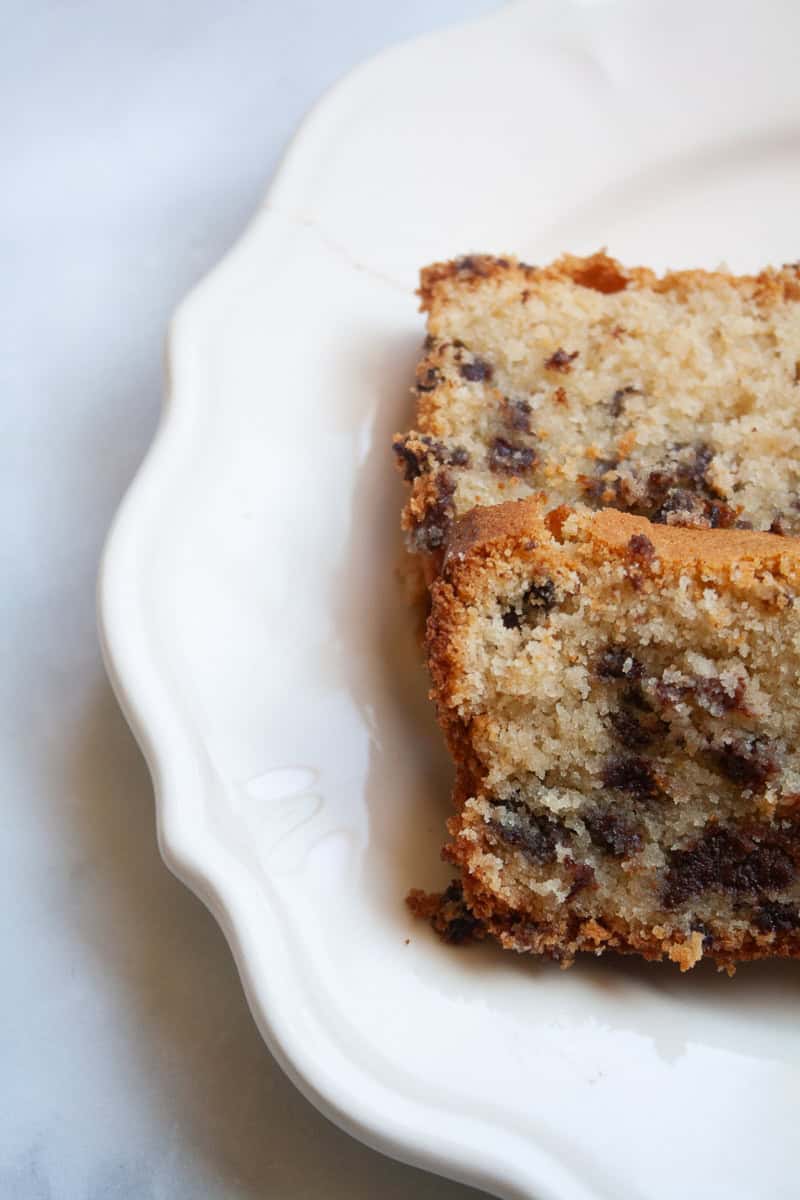
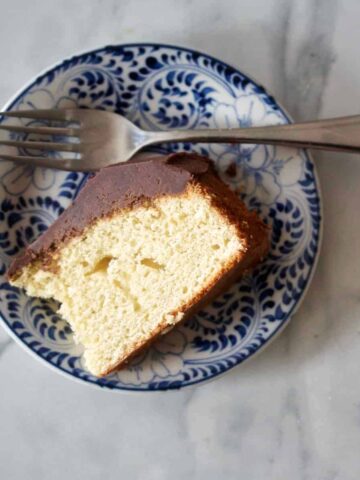
The dense, rich gluten free chocolate chip loaf cake is like a lightened-up version of pound cake, and made gluten free! Bittersweet mini chocolate chips are swirled throughout a tender, ultra-sliceable vanilla cake that's buttery and moist. Perfect for snacking, or serve slices for dessert topped with whipped cream.
Easy GF Chocolate Chip Loaf Cake
Reminiscent of an old-fashioned pound cake, but with slightly less butter and sugar, this luscious gluten free chocolate chip loaf cake was inspired by a friend bringing over his son's birthday cake. It was a vanilla cake packed with little bittersweet chocolate morsels and after one bite I knew I had to make a from scratch, gluten free version. This cake is so simple yet so satisfying. It's also not overly sweet, unlike traditional pound cakes, and I like it for that. My only issue is that I can't decide if I prefer this cake warm or cold and straight from the fridge. Luckily, I don't have to decide - I can enjoy it in any way I wish!
So Much to Love About This Cake!
If you love pound cake I know you will love this gluten free chocolate chip loaf cake. It has that slightly crisp browned crust that reminds me of the Sara Lee pound cakes my grandma used to buy. So, points for nostalgia. Even more points for the texture, which is rich and smooth and wonderfully gluten free without being obvious. A few other selling points:
- Easily gluten free - I adapted this recipe from a recipe I found on Sally's Baking Addiction and tweaked it a bit to make it gluten free with my homemade gluten free flour blend. You could also make it just with oat flour (more on that in "tips" below).
- Texture - Unlike some gluten free bakes, the texture of this chocolate chip loaf cake is plush and smooth, with no hint of dryness or grittiness. The sour cream in the batter gives it incredible richness, as does the good amount of butter.
- Chocolate - There's no skimping on the chocolate in this recipe, and there shouldn't be! You'll be treated to loads of delicious bittersweet chocolate in every bite.
What You Need
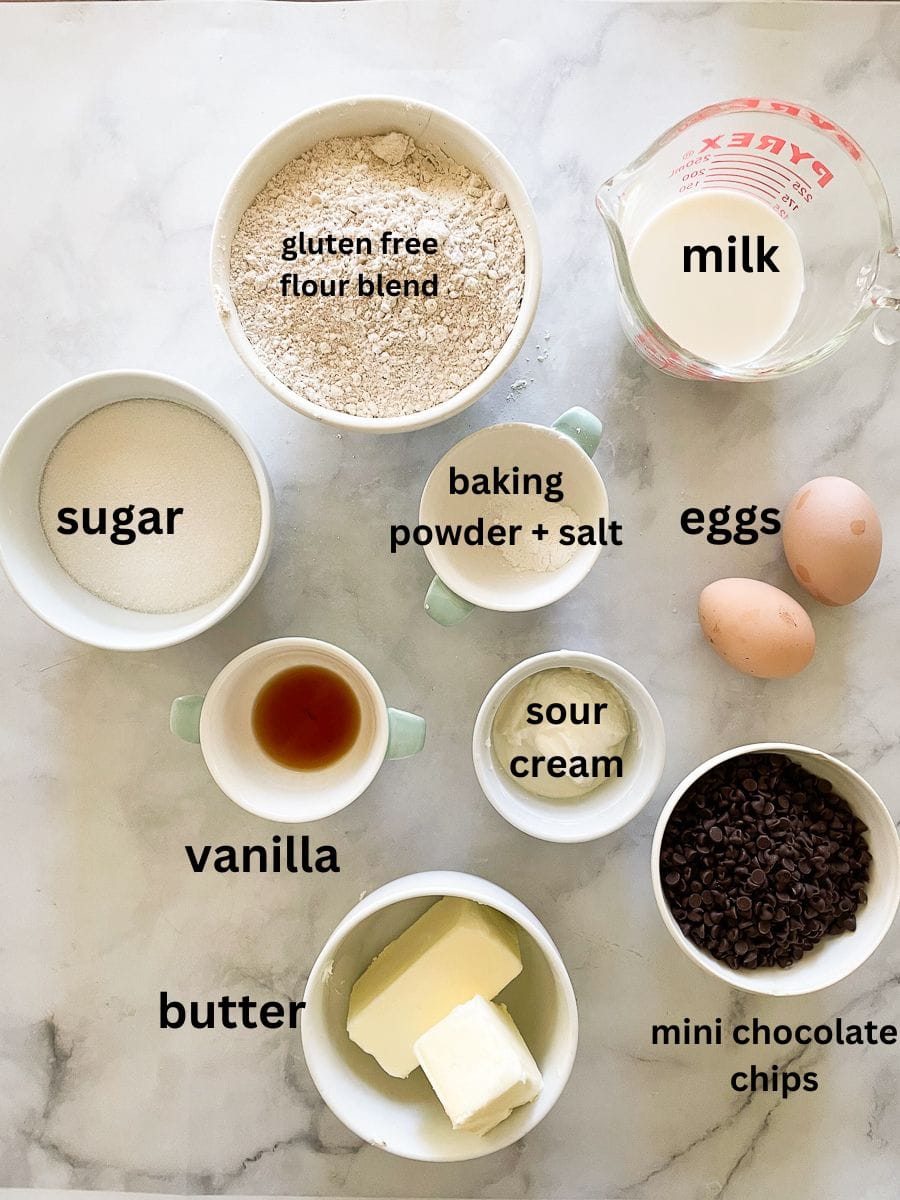
The secret ingredient in this cake is sour cream, and you'll find it makes this cake stand apart! Here's a look at the rest of the ingredients - the full amounts are in the recipe card at the end of this post.
- Gluten free flour - This recipe is the perfect place to use my easy gluten free flour blend, or you can sub gluten free all-purpose flour.
- Baking powder - There's just enough baking powder to help the loaf rise, but note that it will not be a towering, cracked loaf cake (this is normal!).
- Salt - I always use fine sea salt in my recipes!
- Butter - In baking recipes, unsalted butter is most often best so that the final product doesn't turn out too salty.
- Granulated sugar
- Eggs - Most recipes are developed using large eggs, and you'll also use large eggs in this loaf cake.
- Sour cream - Or substitute plain Greek yogurt. You can use low or full-fat sour cream.
- Vanilla extract
- Milk - I prefer whole milk for more richness, but you can use 2% milk with good results.
- Mini chocolate chips - Try to use mini chocolate chips in this cake - regular-size chocolate chips are heavier and may sink to the bottom of the cake.
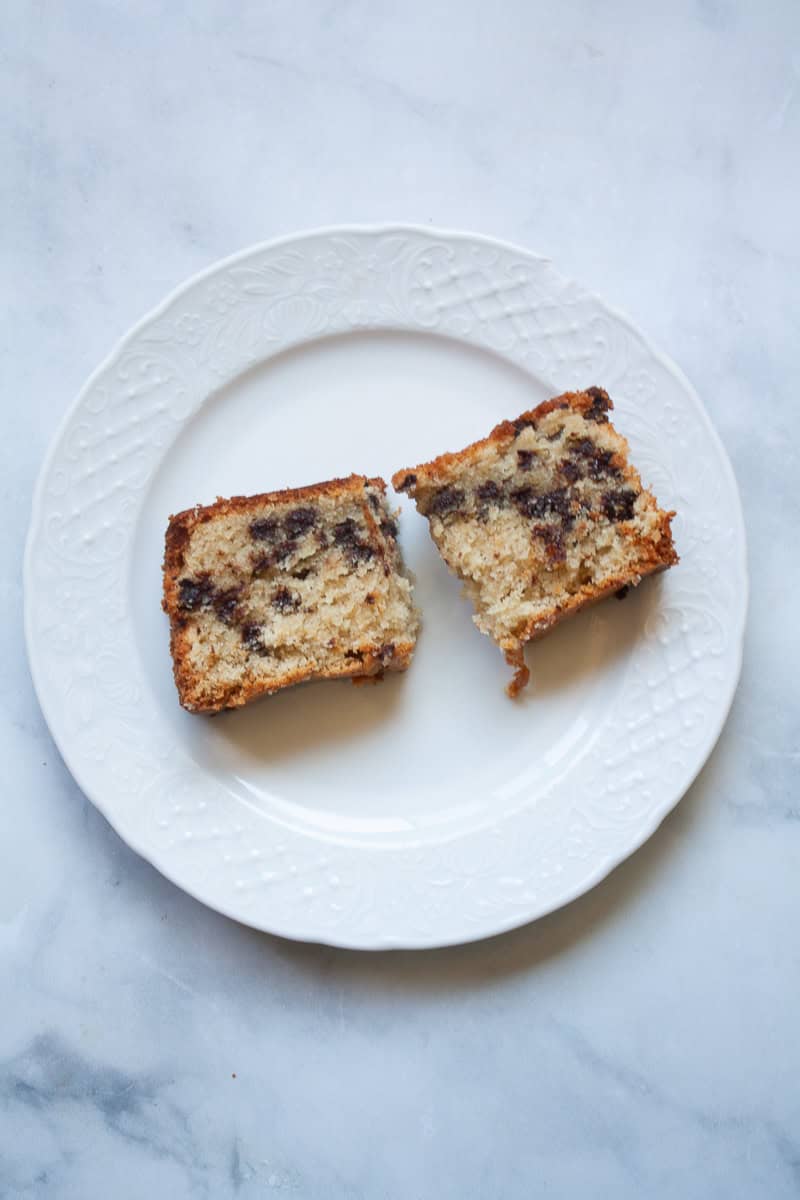
How to Make This Chocolatey Loaf Cake
I've outlined the steps needed to make this cake below in photos - the detailed instructions are included in the recipe card lower down.
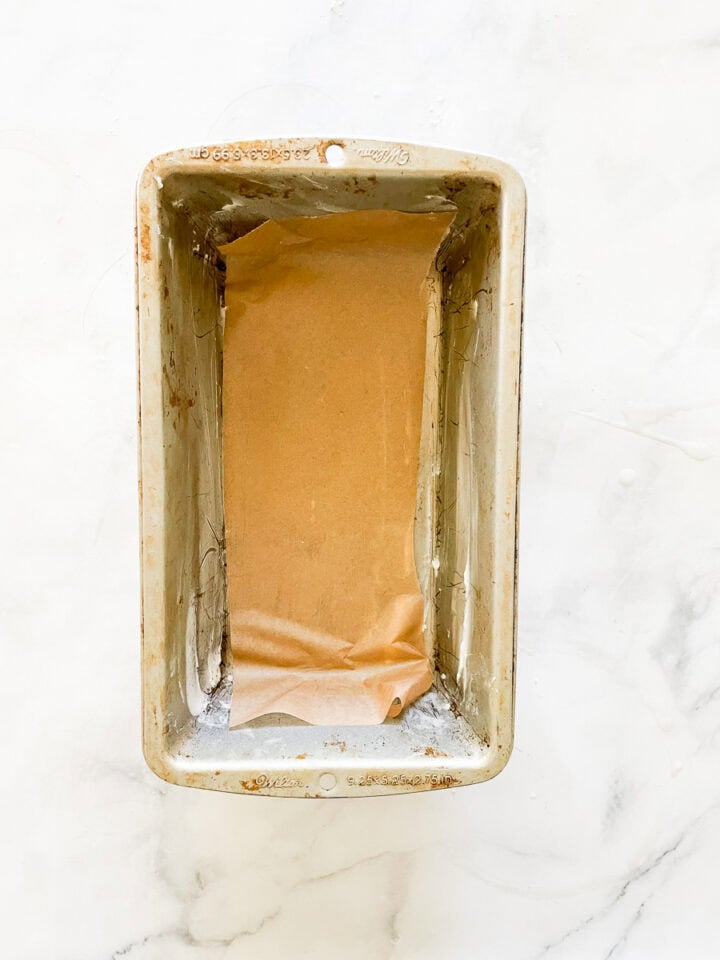
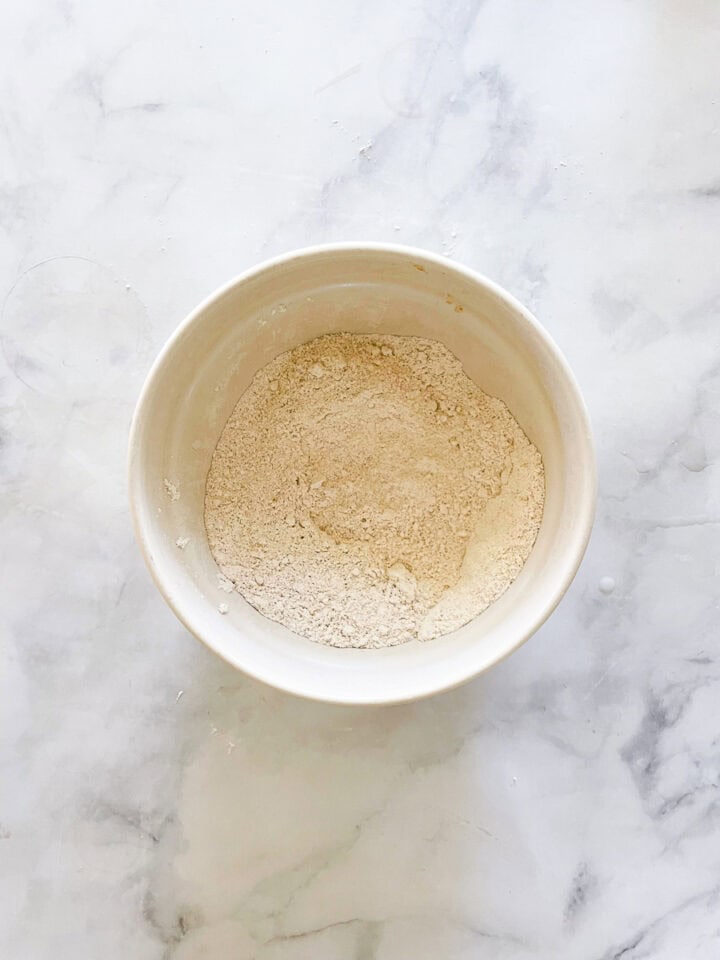
- Prep: Butter and line the bottom of a 9x5 inch loaf pan with parchment paper.
- Make dry mix: Whisk together the gluten free flour, baking powder, and salt.
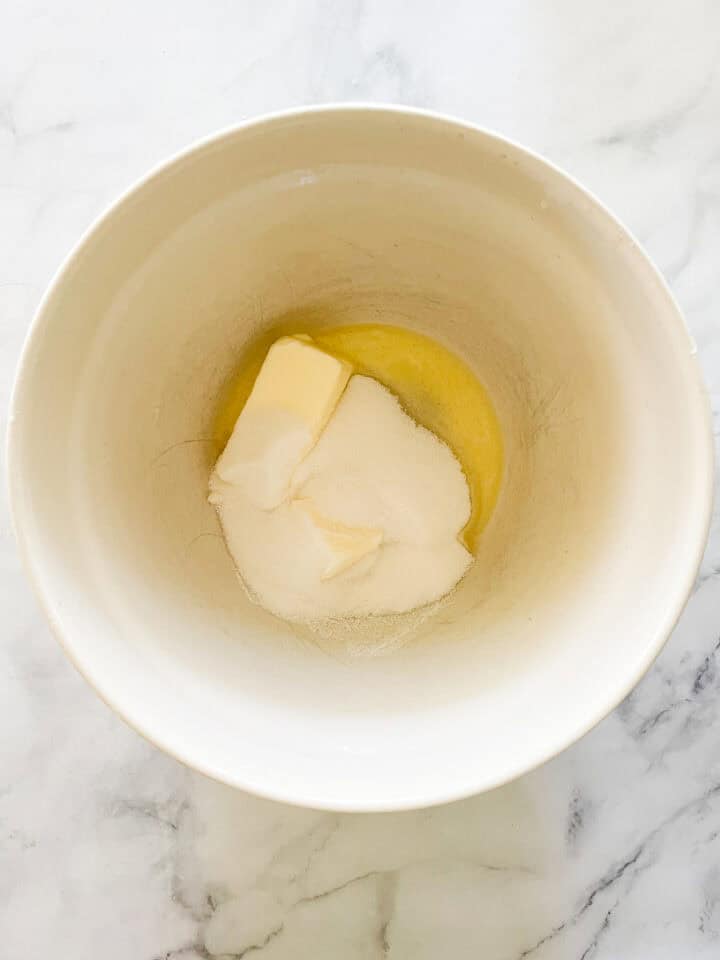
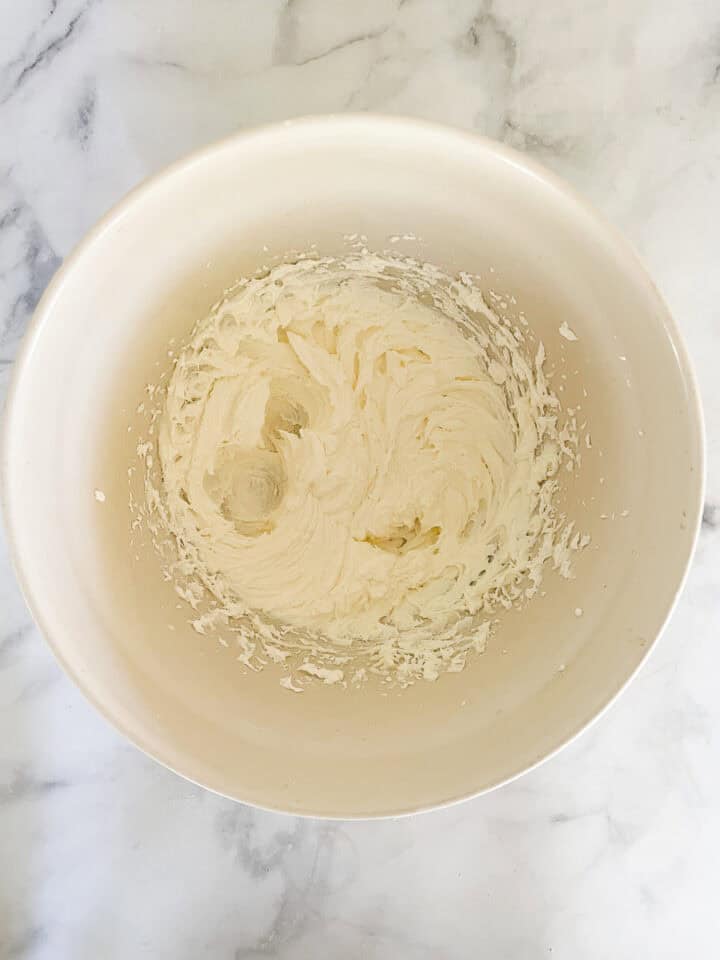
- Combine butter and sugar: Add the butter and sugar to a bowl.
- Cream: Using a handheld or stand mixer beat the butter and sugar together on medium-high speed, then add the eggs.
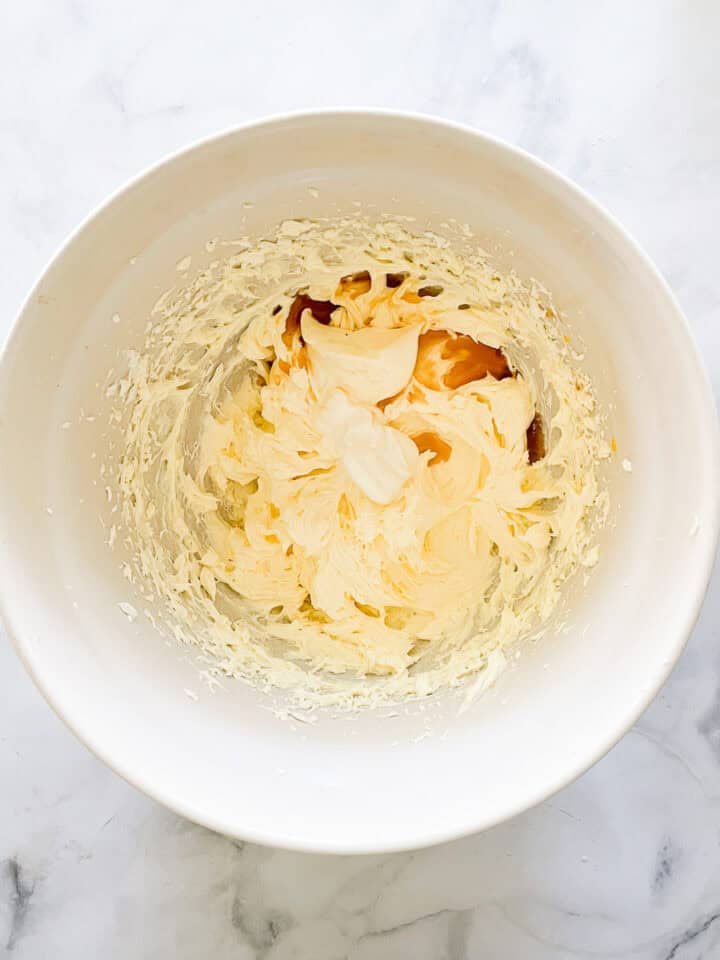
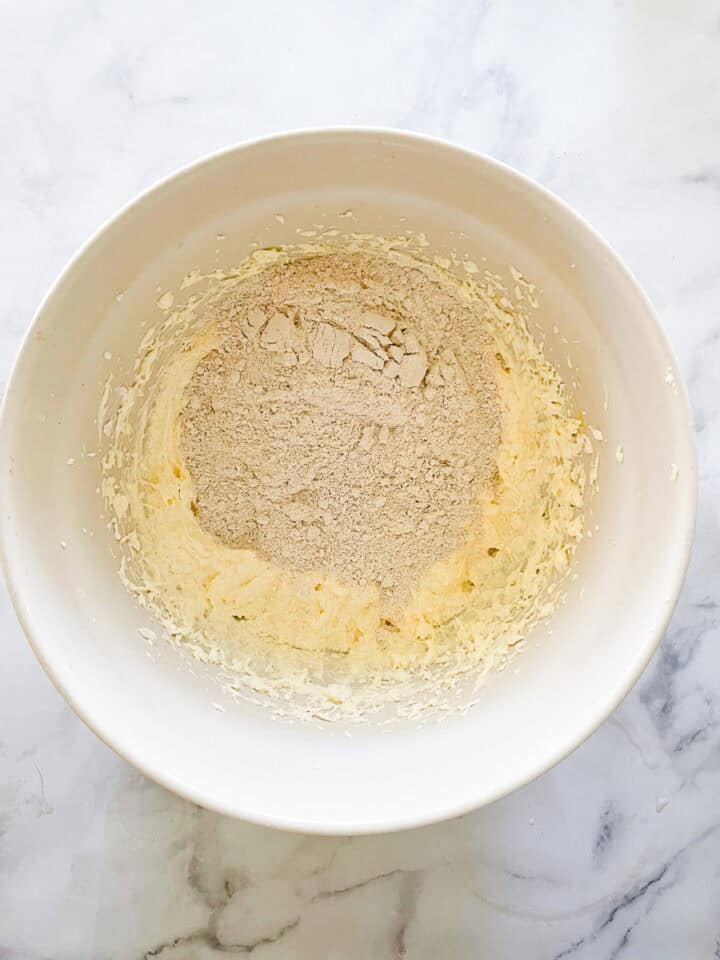
- Add: Beat in the sour cream and vanilla.
- Combine: Beat the dry ingredients into the wet ingredients, then pour in the milk.
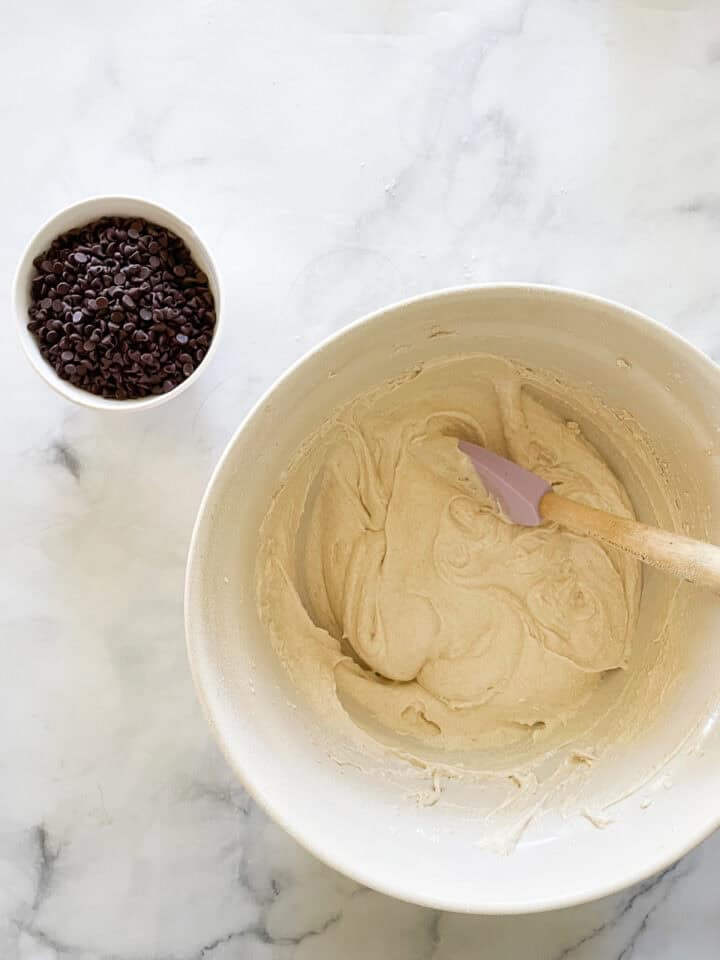
- Mix: Beat on low speed until combined.
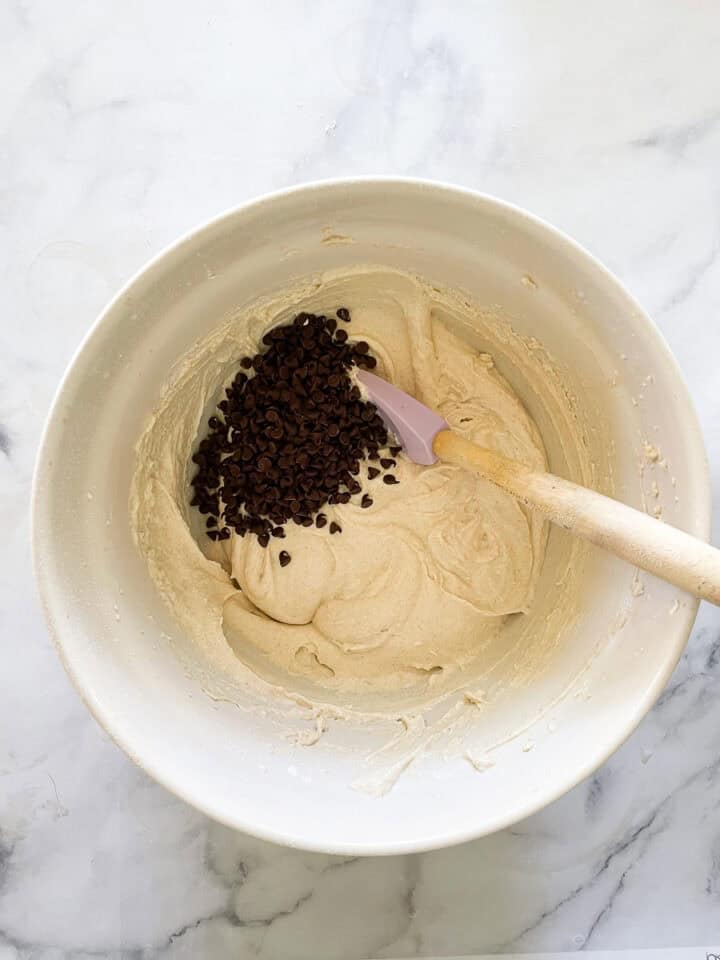
- Add chocolate: Toss in the chocolate chips.
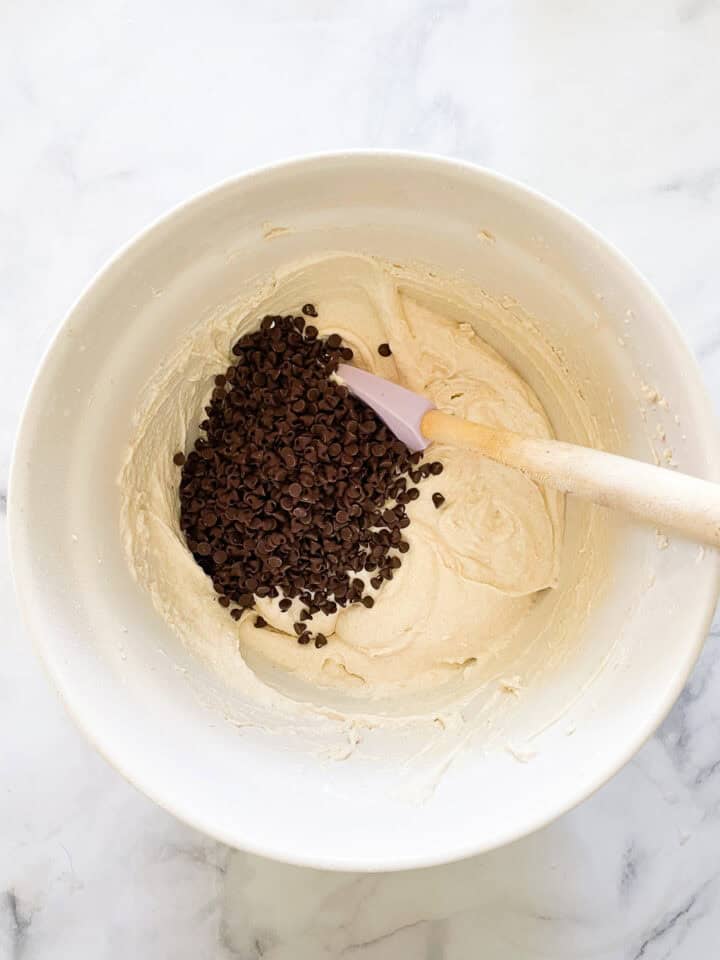
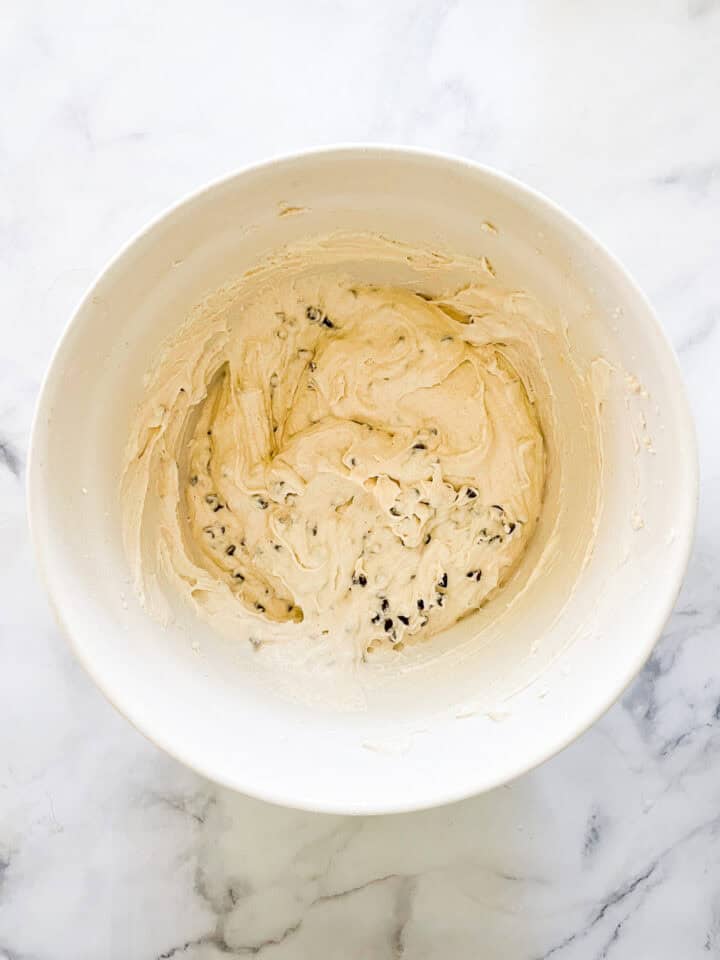
- Fold: Gently fold in the chocolate chips.
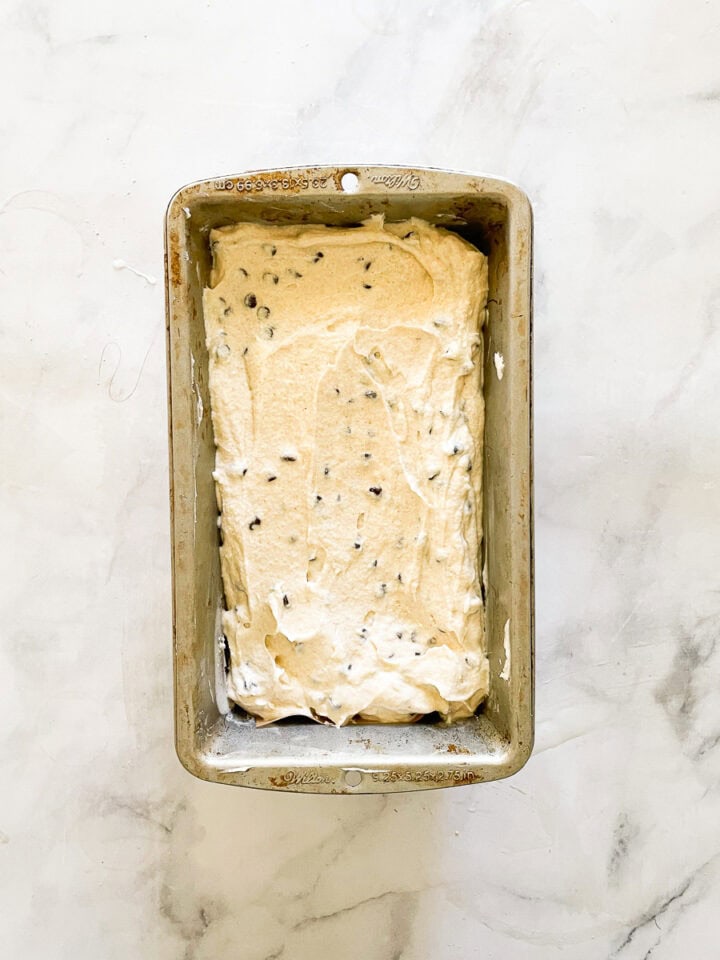
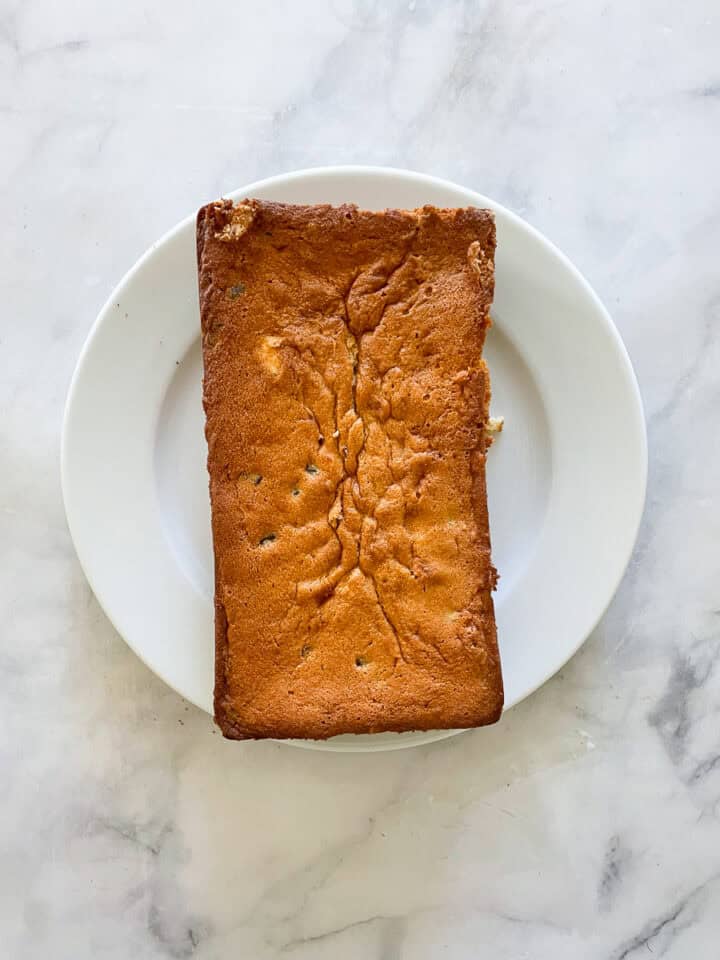
- Add to pan: Pour the batter evenly into the prepared loaf pan.
- Bake: Preheat the oven to 350℉ and rest the batter while the oven heats. Bake for about 60-75 minutes or until a toothpick inserted in the center comes out clean.
- Cool: Cool the cake in the pan on a wire rack for at least 1 hour, then turn it out to cool fully.
Recipe Tips & Tricks
- Rest the batter: Let the batter rest for a bit before baking. All gluten free flours benefit from a rest to let them absorb liquids. Resting the batter in the pan while the oven preheats is the perfect amount of time for the batter to hydrate.
- Use regular chocolate chips. I love using mini chocolate chips because they don’t overwhelm the cake with chocolate and don't sink to the bottom during baking! However, you can use regular chocolate chips if needed. Note that if you use regular chips they may float down to the bottom of the cake because the flour is not heavy.
- Flour blend substitute: Swap your favorite 1:1 gluten free flour by weight for my DIY flour blend, or straight oat flour in a 1:1 sub. Use 1 ¾ cups (219 grams) of oat flour for the gluten free flour blend.
- Make it dairy-free: Use your favorite non-dairy milk, non-dairy butter, non-dairy sour cream, or plain non-dairy yogurt in place of dairy ingredients.
- Make it refined sugar-free: Substitute coconut sugar for the granulated sugar. This will affect the taste and color of the cake but it will still be delicious!
- Eat it cold: Once you've enjoyed a slice of this cake warm, try a slice cold. I love to keep this chocolate chip loaf cake in the fridge - the chocolate chips get nice and crunchy and the crumb becomes even more rich and dense if that is possible. (Still, it's hard to beat a still-warm slice of cake when the chocolate chips are still slightly melty.)
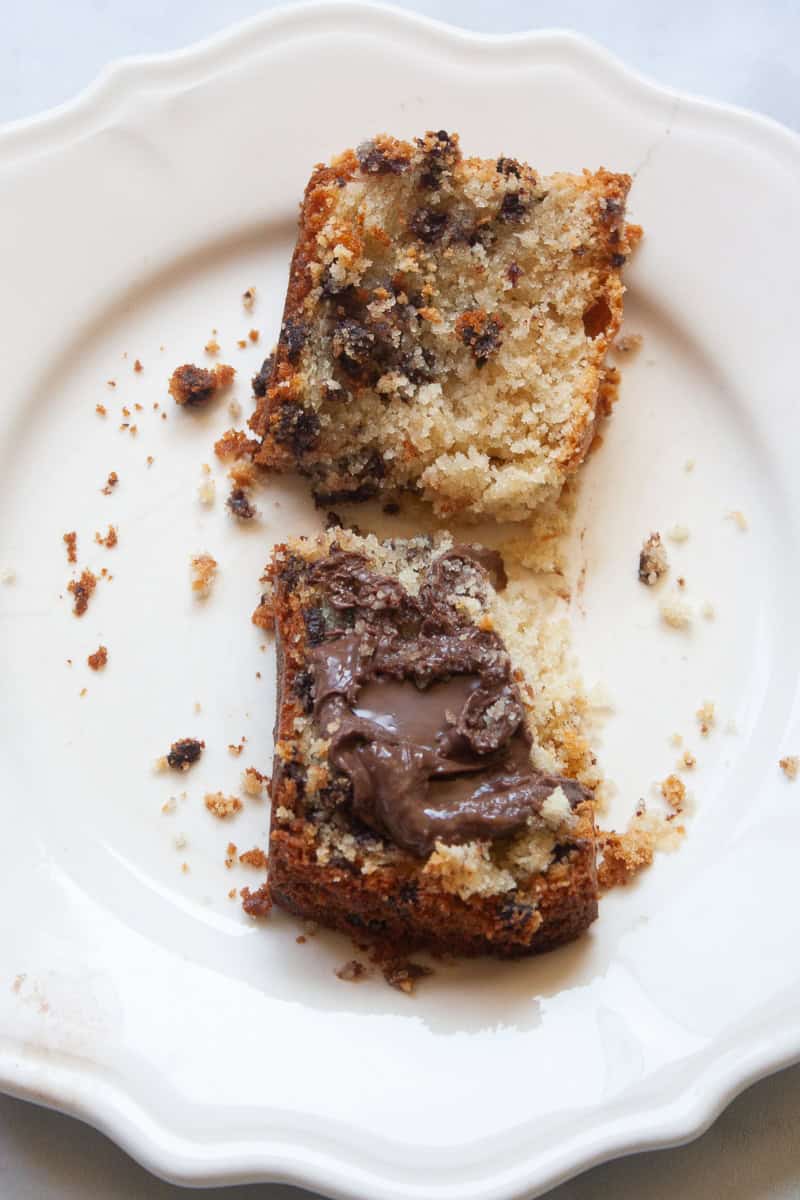
- To finish: This cake is wonderful plain. However, you can serve slices alongside sweetened or unsweetened whipped cream, a scoop of vanilla ice cream, or, in my favorite easy cheat topping, spread a slice with Nutella.
Storage Options
You can store this cake on the counter, in the fridge, or save it in the freezer for another time! Here’s how to do it:
- Counter – Wrap the cake in plastic or place it in a sealable plastic bag and keep it on the counter for up to 3 days.
- Fridge – Wrap the cake in plastic or place it in an airtight container, and keep it in the fridge for up to 5 days.
- Freezer – Freeze the whole cake or slices of cake by wrapping them in a layer of plastic wrap then foil, and storing them in the freezer for up to 3 months. Let the cake thaw in the fridge before serving.
More Gluten Free Snack Cake Recipes
- Gluten Free Lemon Loaf
- Gluten Free Banana Chocolate Chip Cake
- Gluten Free Blueberry Coffee Cake
- Gluten-Free Meyer Lemon Snack Cake
Gluten Free Chocolate Chip Loaf Cake
Ingredients
- 1 ¾ cups (219 grams) gluten free flour blend, or gluten free all-purpose flour
- 1 ½ teaspoons baking powder
- ¼ teaspoon fine sea salt
- ¾ cup unsalted butter, at room temperature
- ¾ cup granulated sugar
- 2 large eggs, at room temperature
- ¼ cup sour cream, at room temperature
- 2 teaspoons pure vanilla extract
- ½ cup whole milk, at room temperature
- 1 cup mini chocolate chips
Instructions
- Butter and line the bottom of a 9x5 inch loaf pan with parchment paper. In a medium bowl whisk together the flour, baking powder, and salt.
- Using a handheld or stand mixer beat the butter and sugar together on medium-high speed until smooth and creamy, about 2 minutes. Scrape down the sides of the bowl as needed. Add the eggs and beat on high speed for 1 minute, then beat in the sour cream and vanilla extract.
- Beat the dry ingredients into the wet ingredients, then pour in the milk on low speed. Beat on low speed just until all of the ingredients are combined. Gently fold in the chocolate chips.
- Pour the batter evenly into the prepared loaf pan and smooth the top. Preheat the oven to 350℉ and rest the batter while the oven heats.
- Bake for about 60-75 minutes or until a toothpick inserted in the center comes out clean. Check at 55 minutes and check in 5-minute intervals thereafter. If the cake looks like it's browning on top add a loose tent of foil.
- Remove the loaf and cool the cake in the pan on a wire rack for at least 1 hour, then gently turn it out to cool fully.
Notes
recipe tips & tricks
- Rest the batter: Let the batter rest for a bit before baking. All gluten free flours benefit from a rest to let them absorb liquids. Resting the batter in the pan while the oven preheats is the perfect amount of time for the batter to hydrate.
- Use regular chocolate chips. I love using mini chocolate chips because they don’t overwhelm the cake with chocolate and don't sink to the bottom during baking! However, you can use regular chocolate chips if needed. Note that if you use regular chips they may float down to the bottom of the cake because the flour is not heavy.
- Flour blend substitute: Swap your favorite 1:1 gluten free flour by weight for my DIY flour blend, or straight oat flour in a 1:1 sub. Use 1 ¾ cups (219 grams) of oat flour for the gluten free flour blend.
- Make it dairy-free: Use your favorite non-dairy milk, non-dairy butter, non-dairy sour cream, or plain non-dairy yogurt in place of dairy ingredients.
- Make it refined sugar-free: Substitute coconut sugar for the granulated sugar. This will affect the taste and color of the cake but it will still be delicious!
- Eat it cold: Once you've enjoyed a slice of this cake warm, try a slice cold. I love to keep this chocolate chip loaf cake in the fridge - the chocolate chips get nice and crunchy and the crumb becomes even more rich and dense if that is possible. (Still, it's hard to beat a still-warm slice of cake when the chocolate chips are still slightly melty.)
- To finish: This cake is wonderful plain. However, you can serve slices alongside sweetened or unsweetened whipped cream, a scoop of vanilla ice cream, or, in my favorite easy cheat topping, spread a slice with Nutella.






I'd love to hear from you! Please leave me a note.