
Blueberry Blackberry Pie

A classic method is used to make this blueberry blackberry pie, which features blueberries and blackberries folded into a tender whole-grain crust. Celebrate the glory of summer berry season in this beautiful and beautifully simple pie.
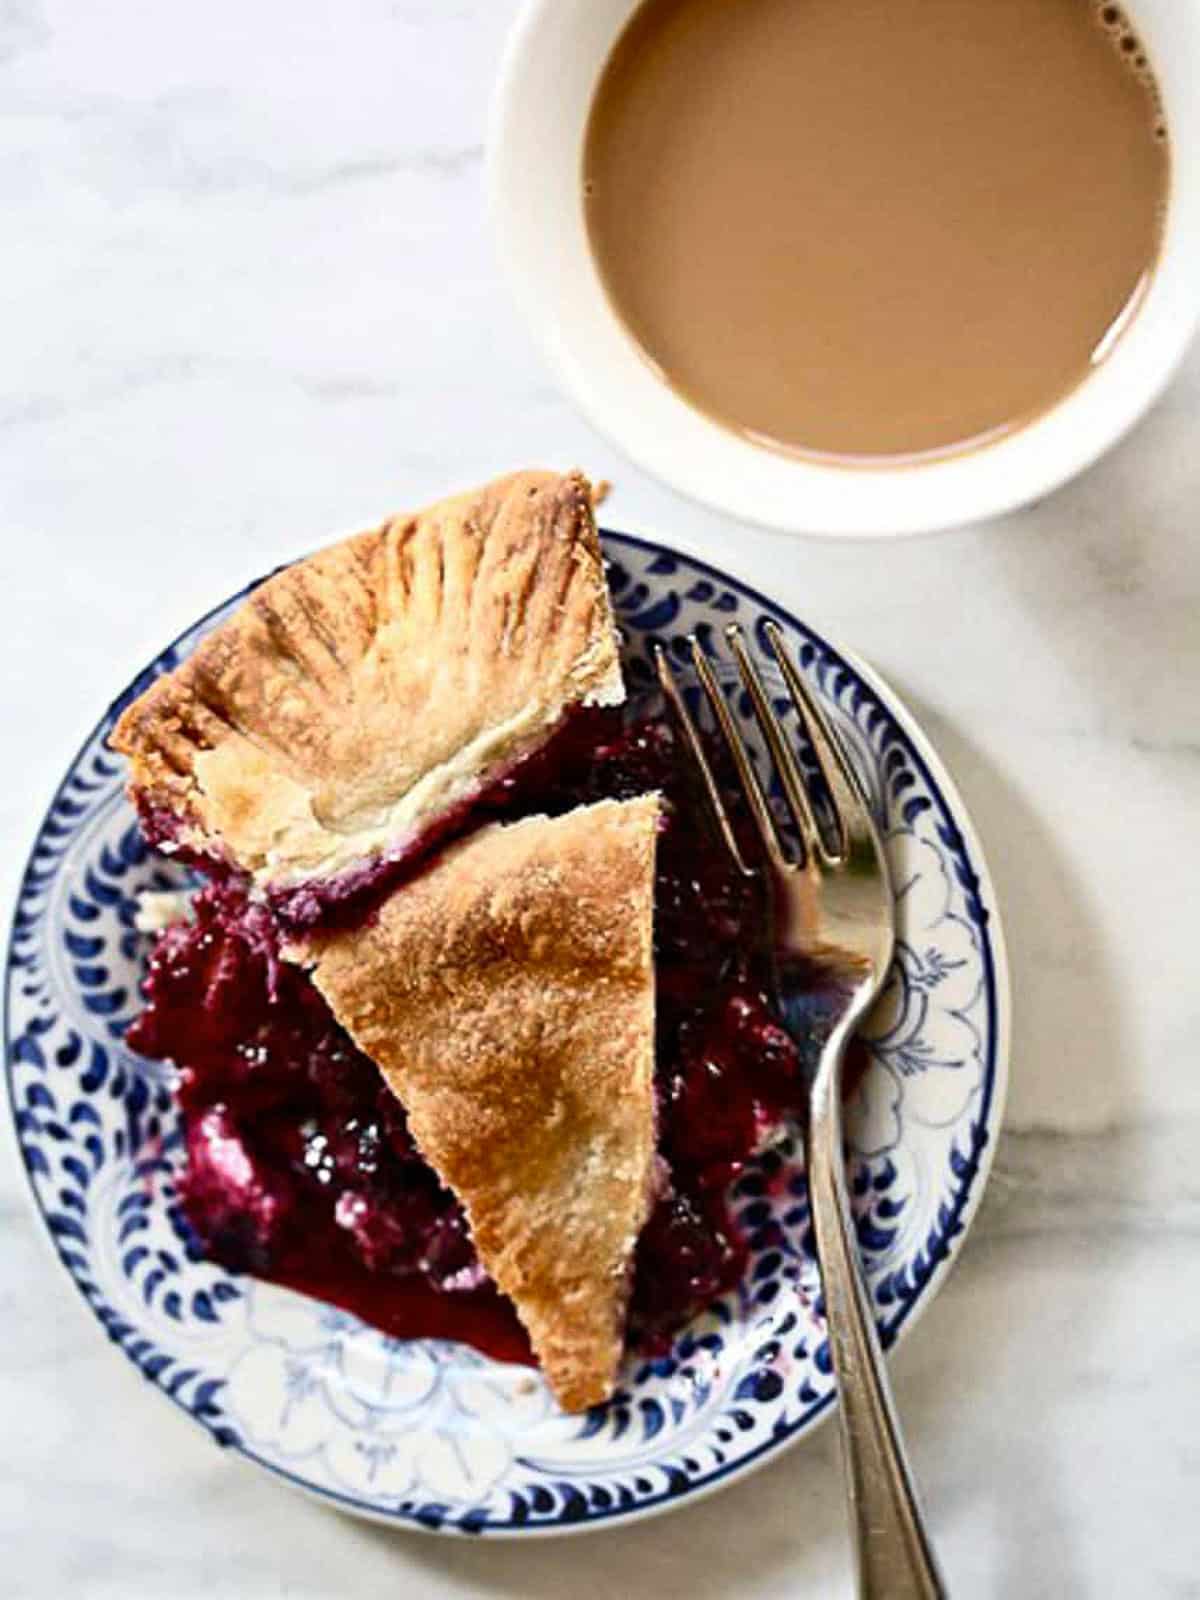
A mix of fresh blueberries and blackberries is folded into a whole-grain pie crust for a super summery, super simple blueberry blackberry pie that somehow manages to perfectly straddle the line between being a sweet blueberry pie and a slightly tart blackberry pie. You can use fresh or frozen berries, turn it gluten-free if needed (pair the filling with my with my oat flour pie crust or gluten free all butter pie dough recipes) and more!
When I lived in San Francisco, we had a fantastic New Mexican restaurant in the neighborhood that also sold homemade pies. They had fun varieties like chile-apple along with mainstays like chocolate cream pie and strawberry-rhubarb honey pie. The fillings were sandwiched between layers of flaky, sturdy crust, and they were always served in thick slices.
This blueberry blackberry pie takes its inspiration from those homey pies, and I hope it finds a place in your kitchen, too.
Jump to:
- Blueberry Blackberry Pie Highlights
- Blueberry Blackberry Pie Ingredients
- Should I Use Fresh or Frozen Berries?
- How to Make Blueberry Blackberry Pie
- Make a gluten free pie Blueberry Blackberry Pie
- Blueberry Blackberry Pie Tips & Recipe Notes
- How to Store Blueberry Blackberry Pie
- More easy Pie Recipes
- Blueberry Blackberry Pie
Blueberry Blackberry Pie Highlights
What's NOT to love about pie (don't answer that ...)? This one is a winner - a buttery, flaky crust made with a blend of regular and whole grain flour, loads of luscious berries, and just sweet enough without being overbearing.
- Makes the most of summer. When blackberries come into season, there is little better! Same for blueberries. I wait all year 'til I can pick these beauties myself, and they're so good tucked into pie.
- Easily made gluten free. This is one of my old favorite recipes that I've updated a bit, and while I originally developed it as using wheat flour it's beyond easy to turn gluten free. See the details lower down!
- Not overly sweet. Don't you hate it when a pie is so sweet that you can't taste the flavor of the fruit? Me too. This one doesn't do that, plus it's easy to adjust the amount of sweetener to your personal taste.
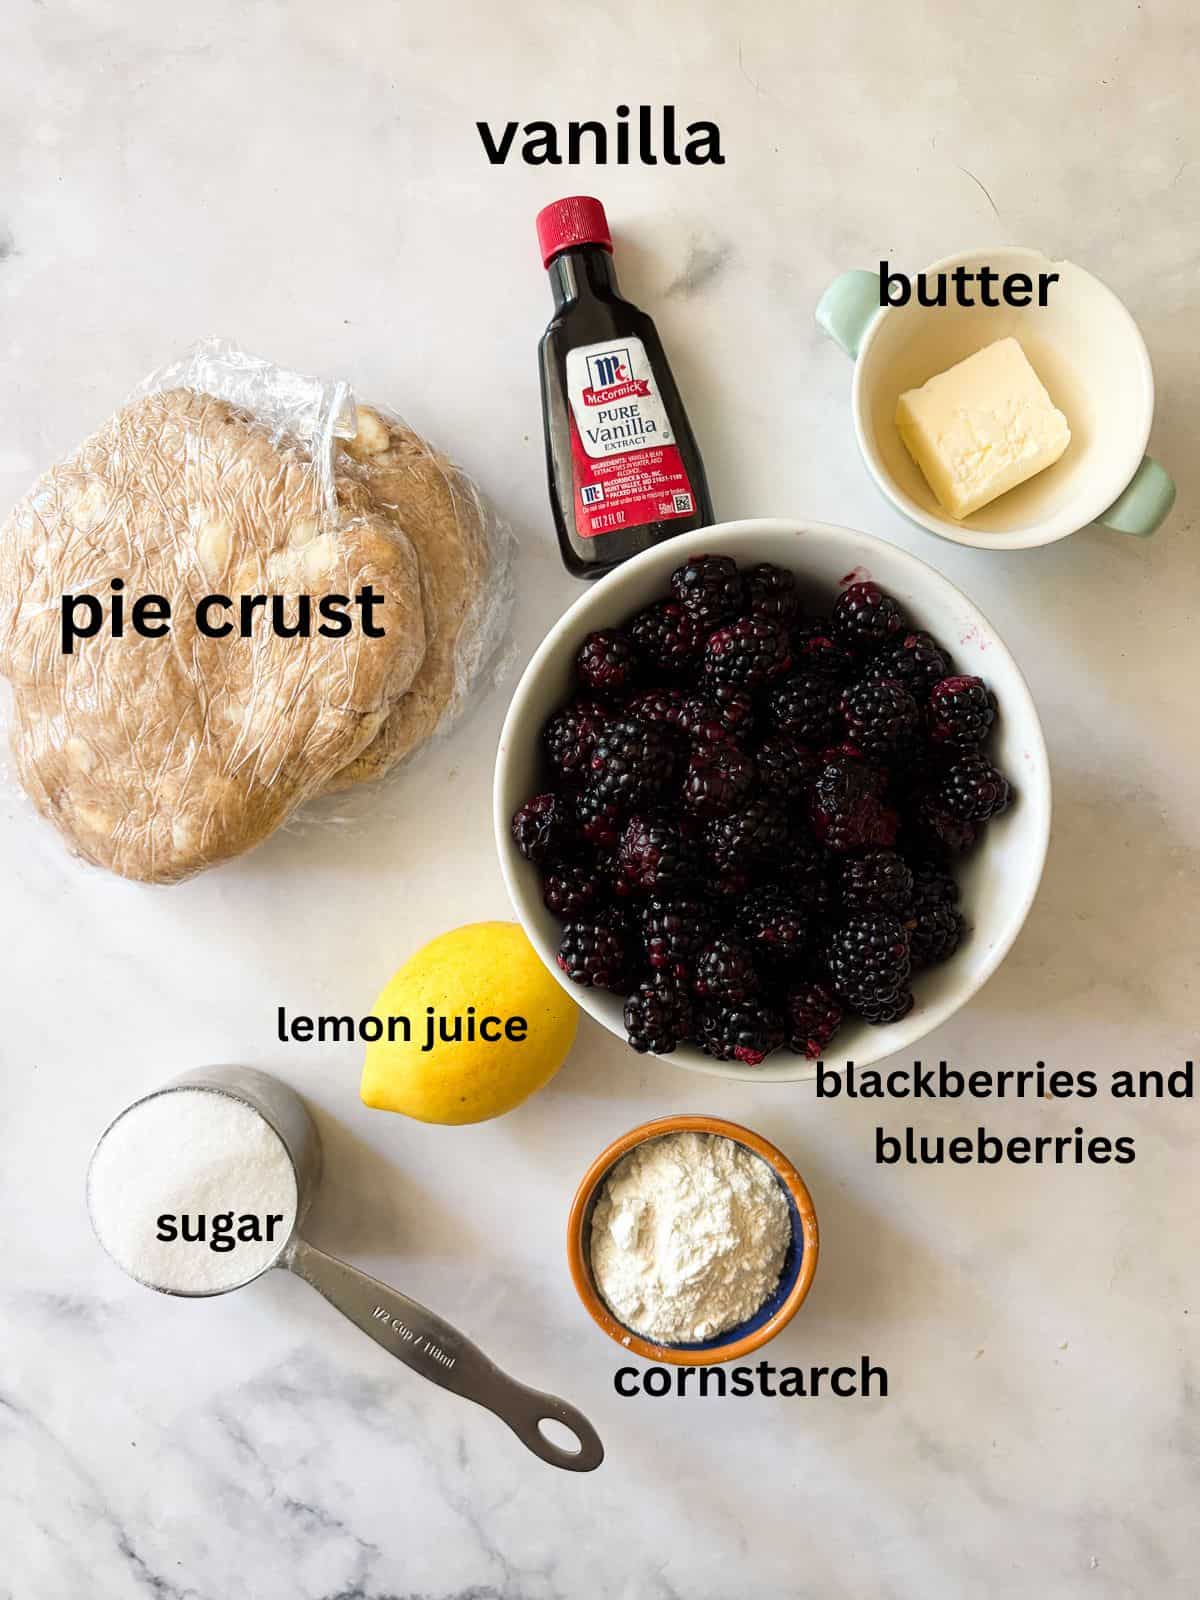
Blueberry Blackberry Pie Ingredients
Make sure to check my recipe card at the end of this post for the full ingredient amounts and instructions!
- Crust - I've included a method for a simple crust below, or you could make this with my all whole wheat pie crust recipe, which is lovely. Or use my gluten free pie crust to make a gluten free pie!
- Granulated sugar - You can lower the amount of sugar if you wish if your berries are pretty sweet. Swap maple syrup for a naturally sweetened option.
- Cornstarch - This starchy flour is essential to bind the filling a bit. Tapioca or arrowroot will also work, though I prefer cornstarch.
- Blueberries and blackberies - Use the quantities in the recipe card as a guide, and also adjust as necessary. Just try to end up with a minimum of 5 cups of fruit.
- Lemon juice - Freshly squeezed lemon juice offsets the sweetness of the berries. Sometimes I will add lemon zest as well for a little citrusy punch.
- Vanilla - This is optional but adds a little extra depth of flavor.
- Butter - I like to dot unsalted butter over the filling for richness. Feel free to omit this if you prefer. Use non-dairy butter to keep it dairy-free.
Should I Use Fresh or Frozen Berries?
You can certainly use frozen berries to make this pie, and there's no need to defrost them before adding them to the filling. However, during summer berry season, please do consider using fresh berries!
If you're lucky to have access to blackberry bushes like me, this is a wonderful way to use them. Or, if you can go to a U-pick for blueberries, you'll enjoy folding them, freshly-plucked, into this pie. But, you can always substitute frozen berries, and the pie will still be delicious.
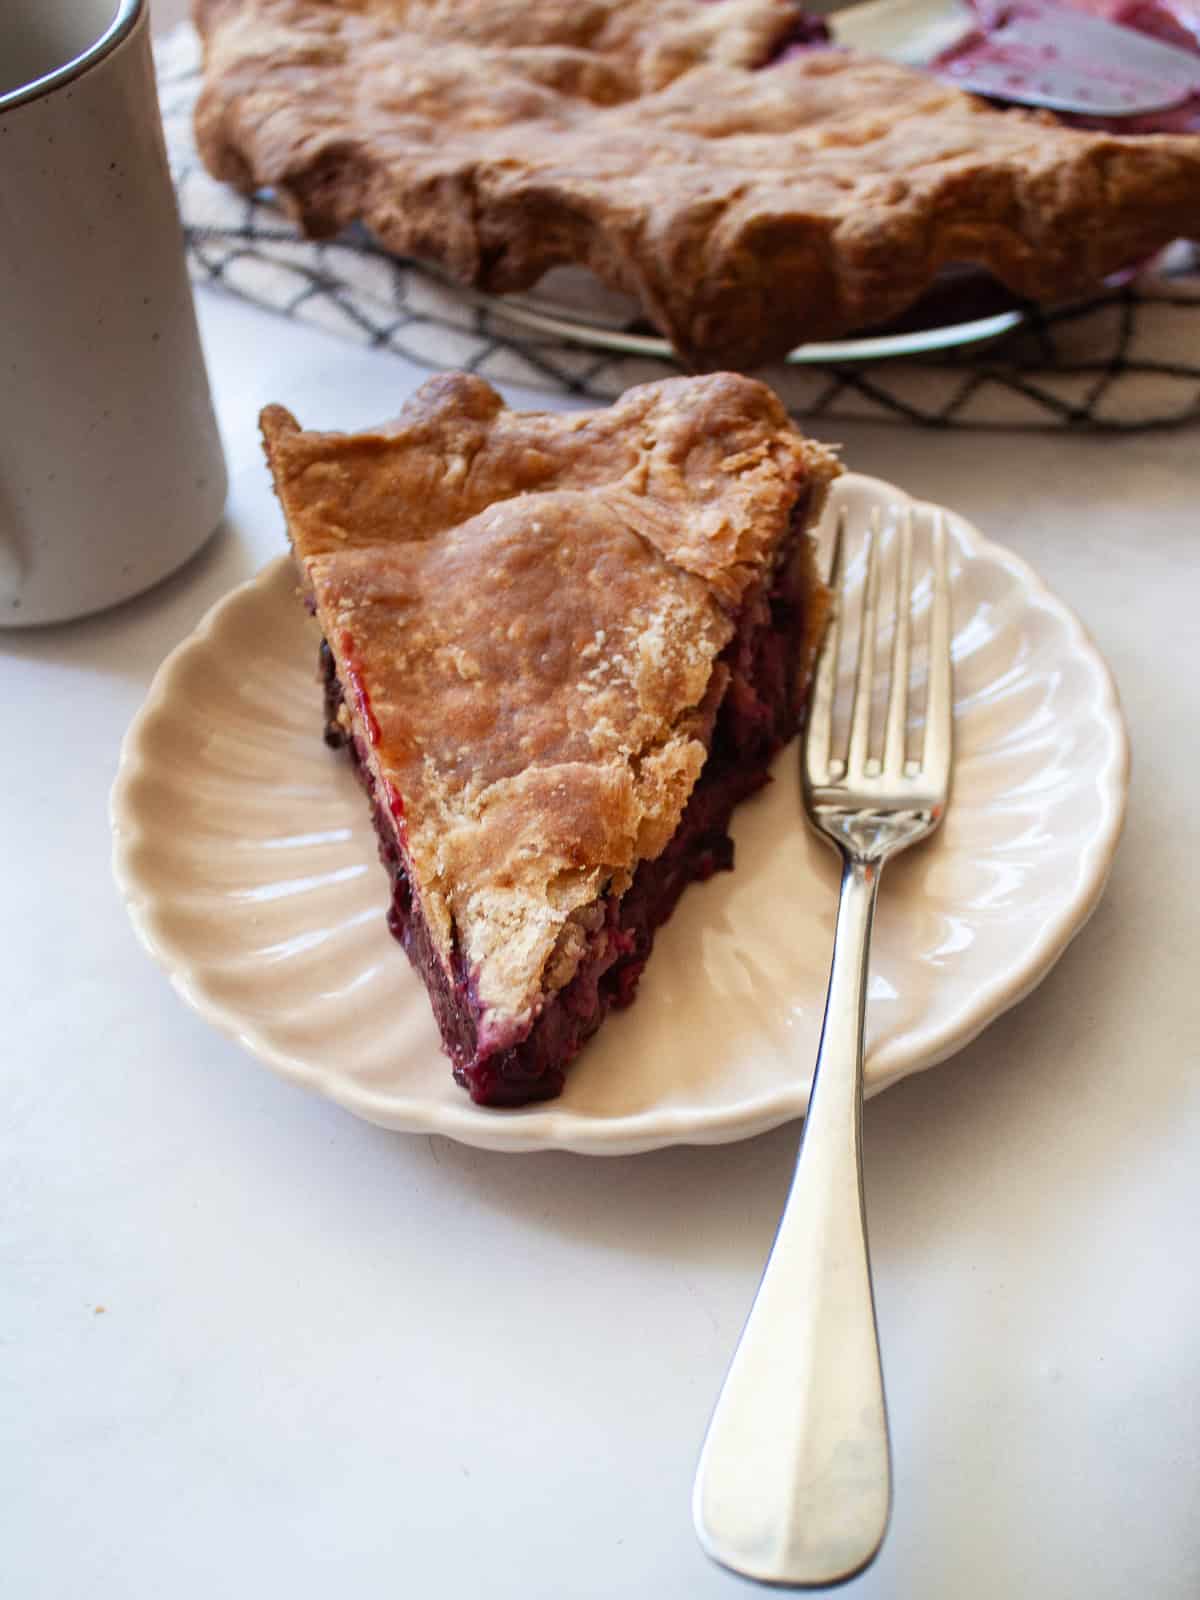
How to Make Blueberry Blackberry Pie
Here's how to make this blueberry blackberry pie:
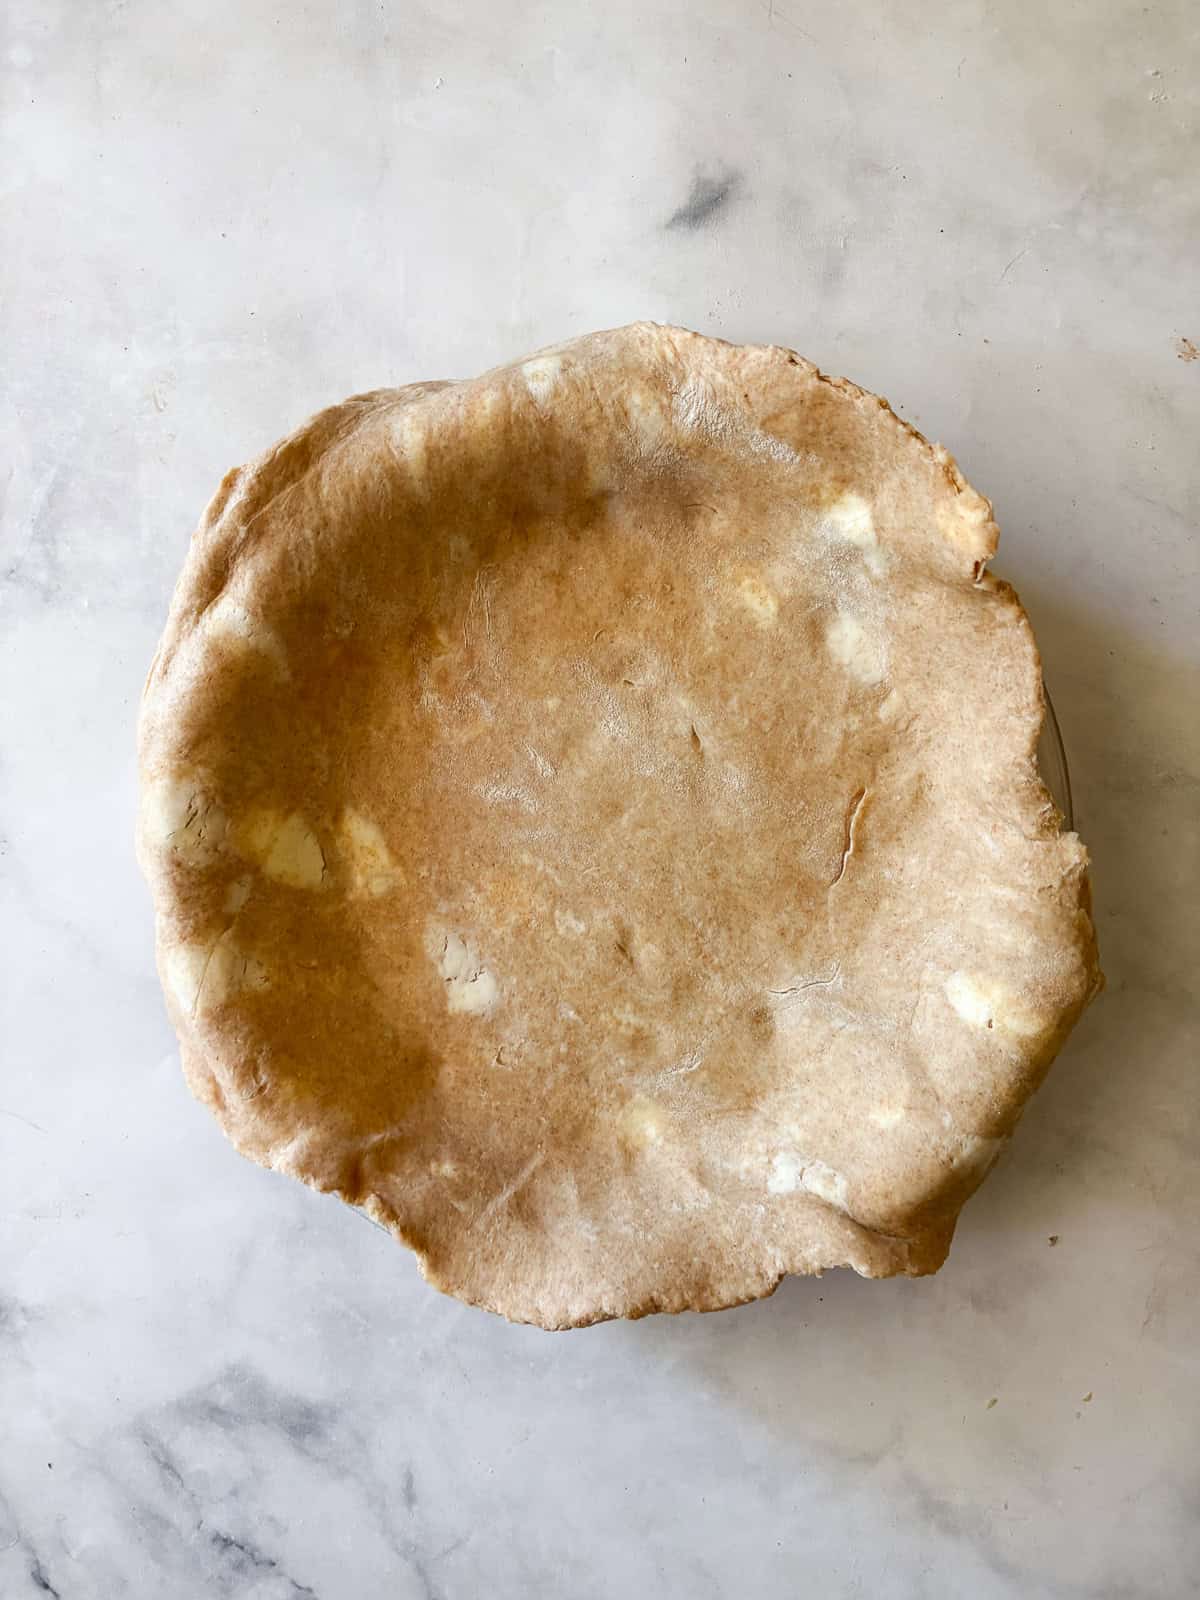
- Step 1: Make the crust and fit the bottom layer into a buttered pan pie.
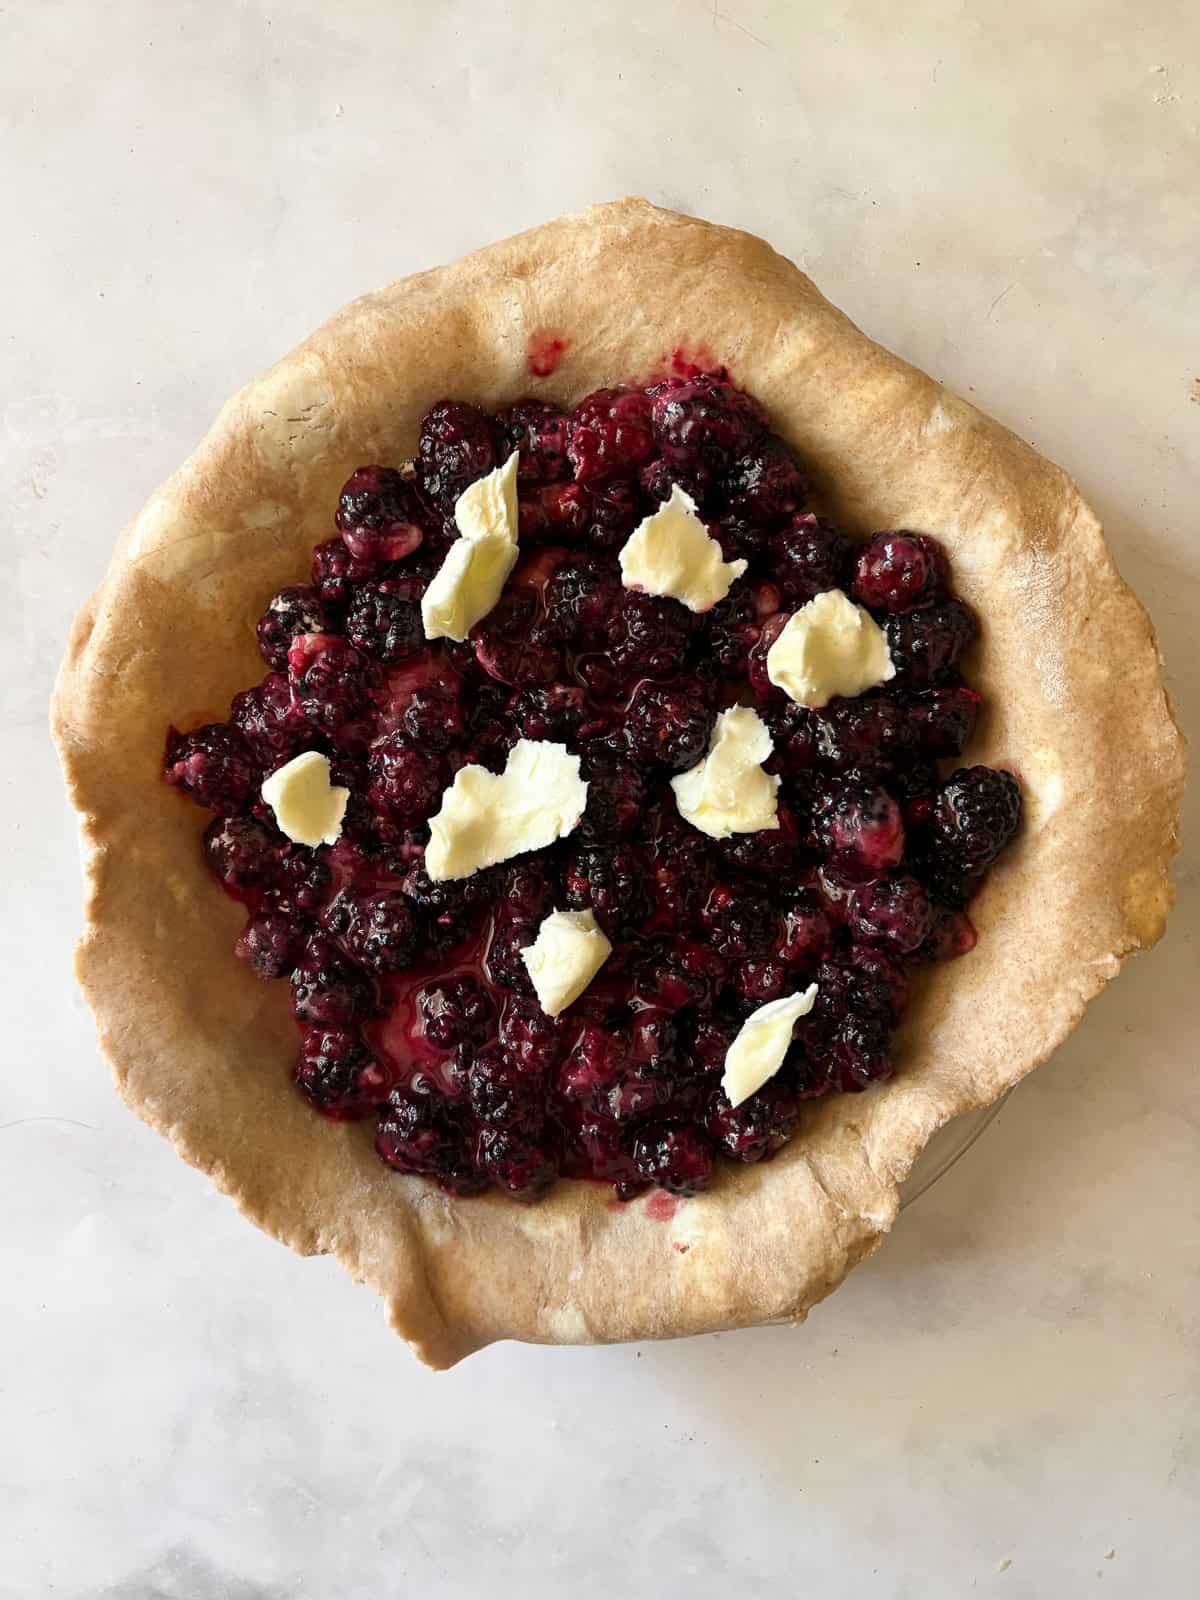
- Step 2: Make the filling, pour it into the pie crust, and top with butter.
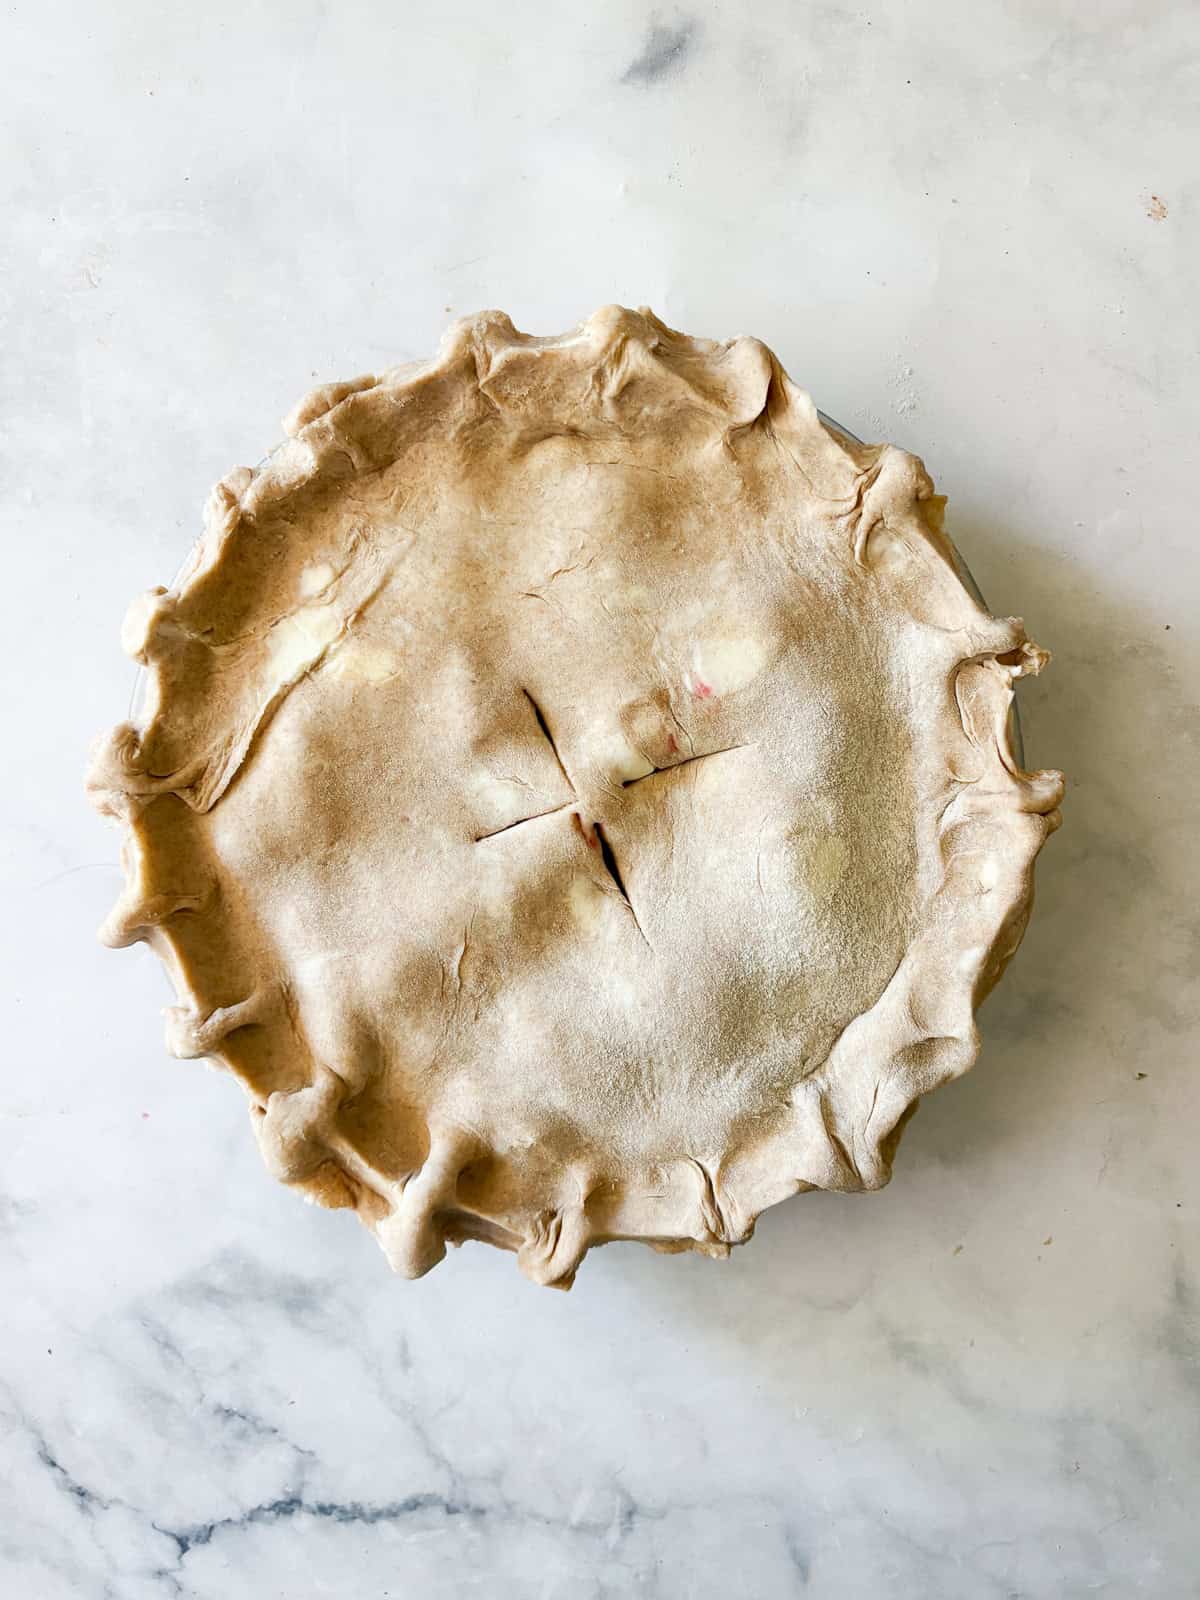
- Step 3: Place the top crust on top, crimp the edges, and cut a few vents.
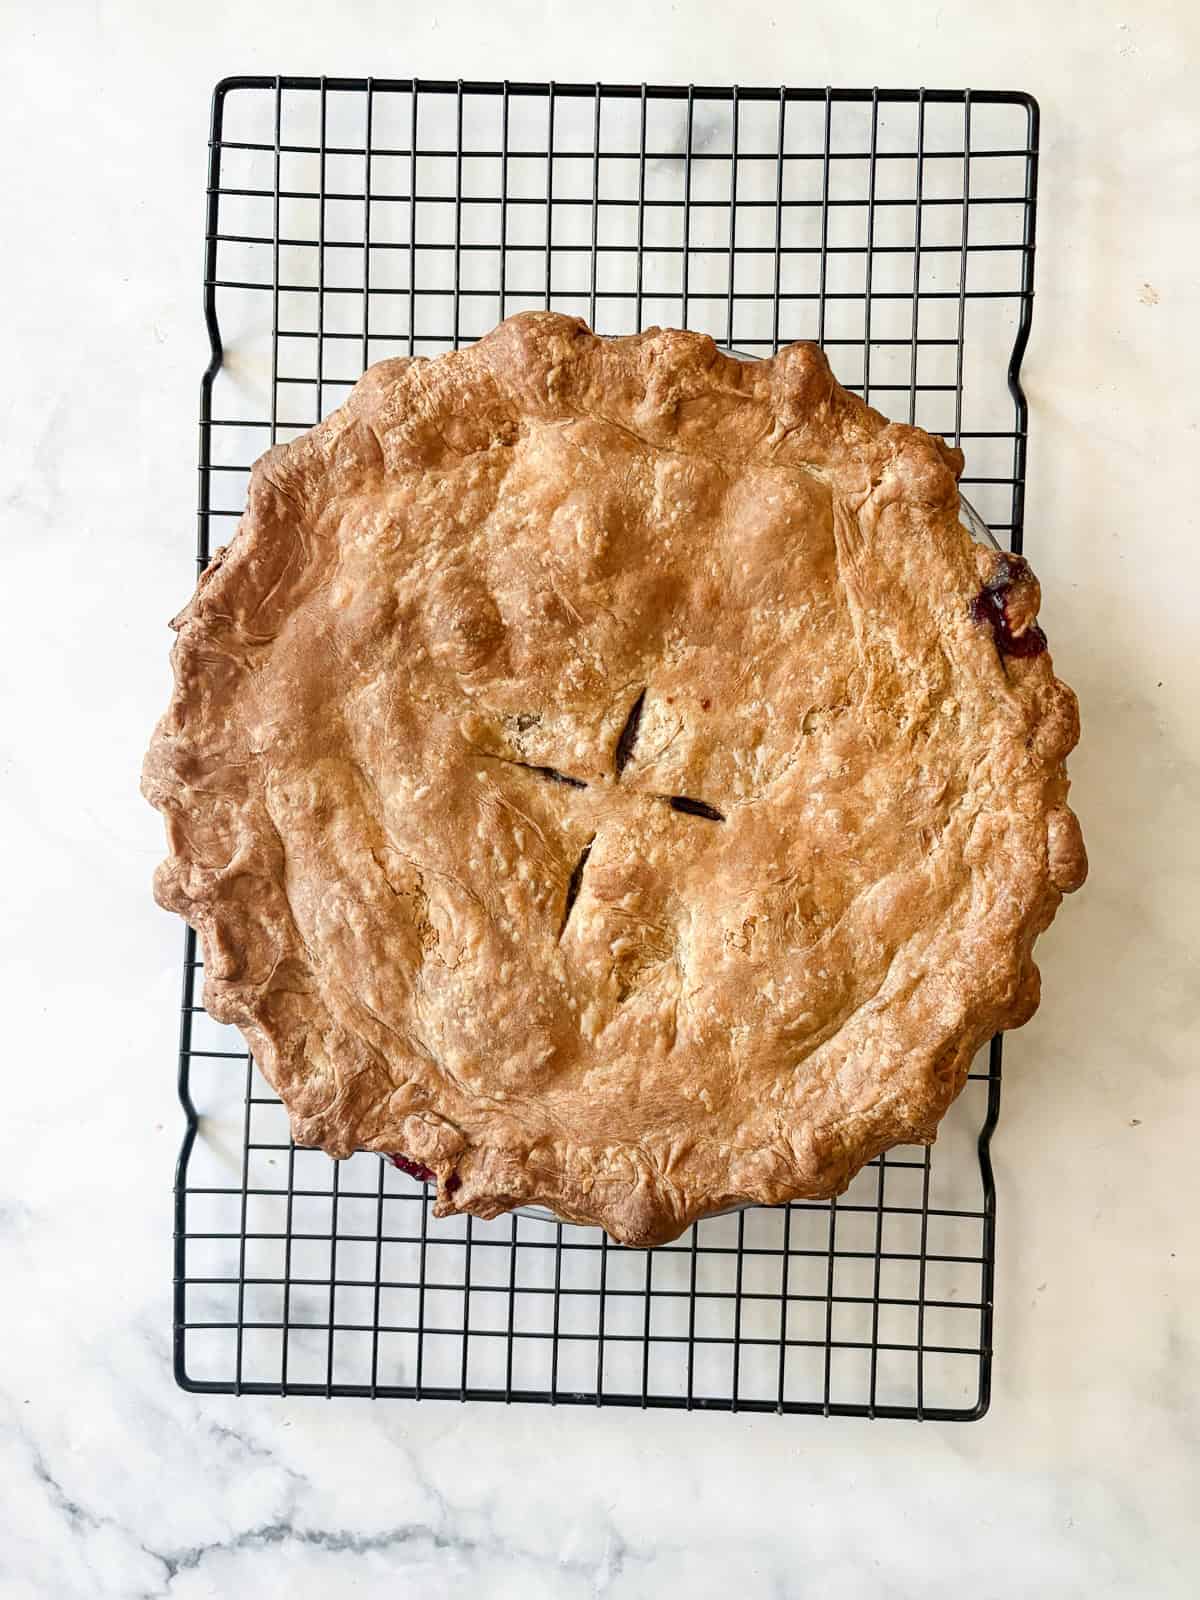
- Step 4: Bake at 375F for about 1 hour, then cool completely before slicing.
Make a gluten free pie Blueberry Blackberry Pie
- Try oat flour: I love a straight swap of oat flour in pie crust! You can use 3 cups of oat flour for the all-purpose and whole wheat pastry flours to make a gluten free pie crust.
- Use all-purpose gluten free flour: Substitute 2 ½ cups of your favorite gluten free flour blend for the all-purpose flour and whole wheat pastry flour.
- Swap my flour blend: You can also use my homemade gluten free flour blend for the combination of all-purpose and whole wheat flours in the recipe card. Use 3 cups of gluten free flour for the flours in the crust.
Blueberry Blackberry Pie Tips & Recipe Notes
- Use cold water! I cannot stress this enough - please use ice water to make the crust! it will chill even further in the fridge, making for an ultra-flaky dough once baked.
- Rest the dough. Pie dough needs at least 30 minutes to chill before it's rolled out, so don't skip this step. You can also make the crust in advance and keep it in the fridge for up to 3 days, or freeze it for up to 3 months. Defrost the crust in the fridge before using.
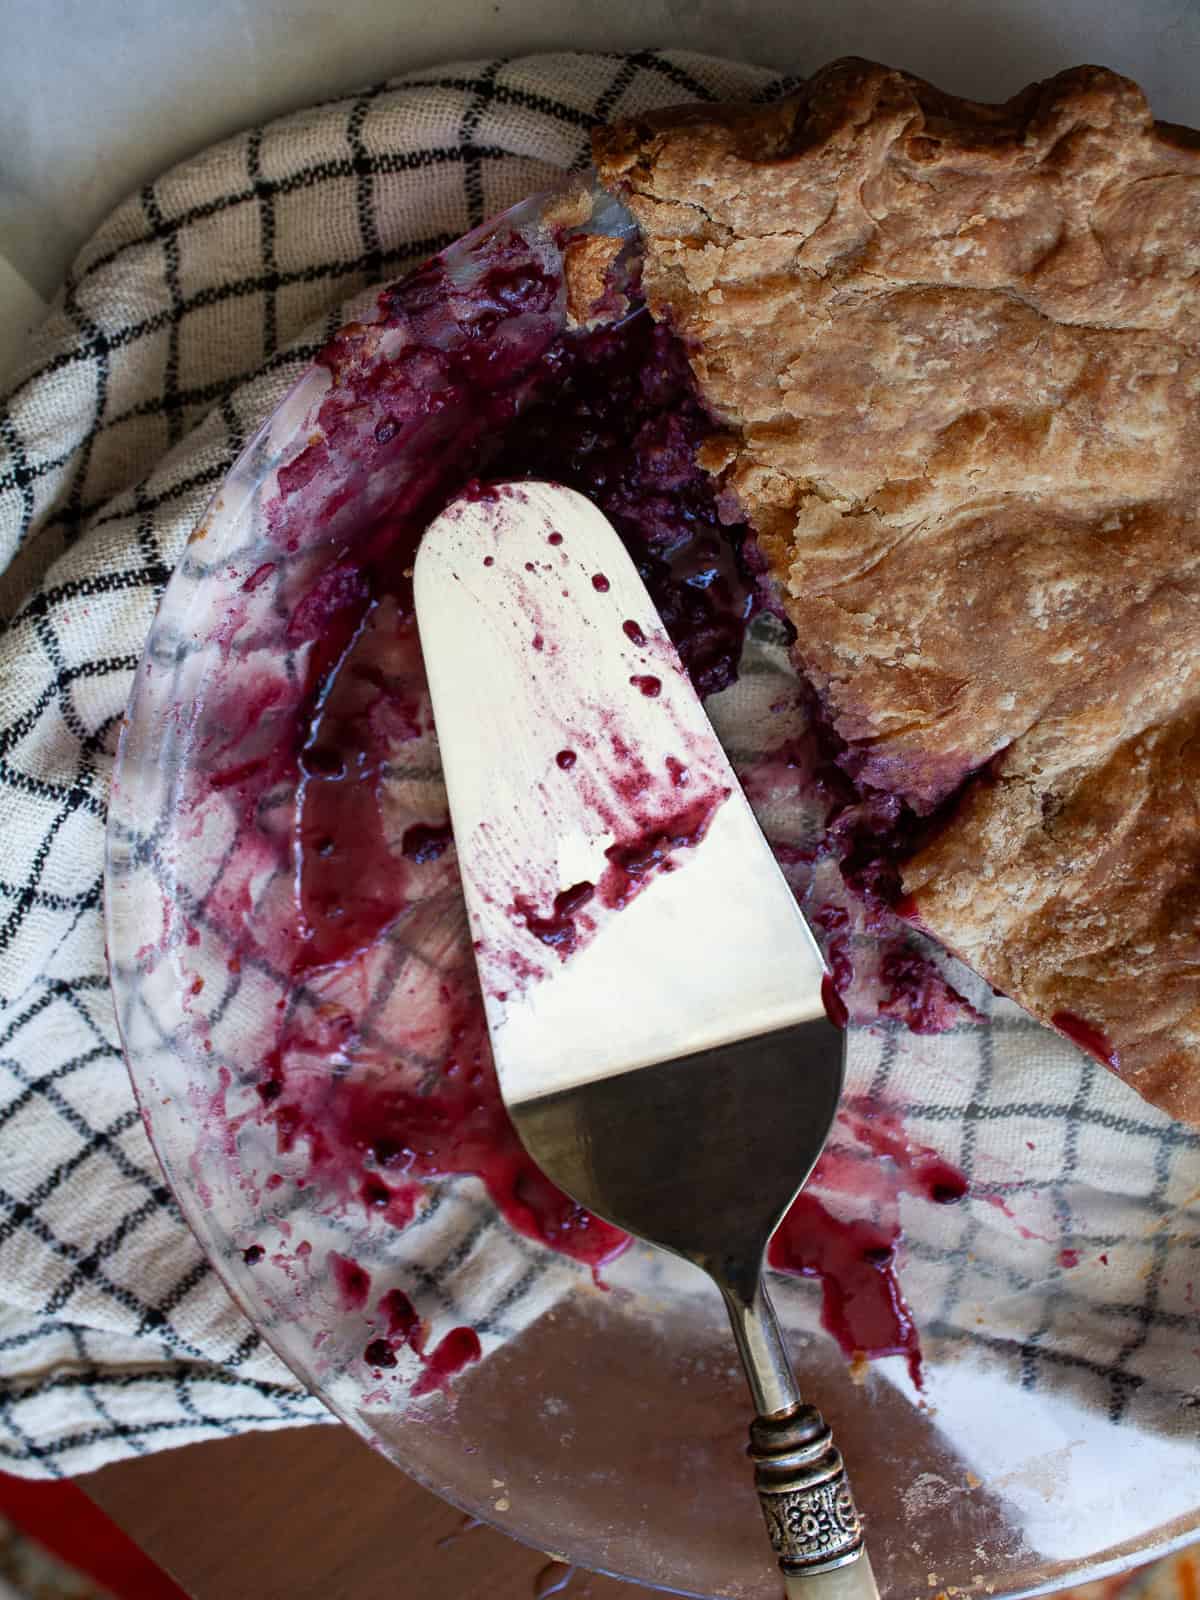
- Let the pie sit. It's equally important to let the pie sit after it's fully baked. I prefer to let the pie cool completely to room temperature, for at least 2 hours, to allow the filling to set. Let's avoid a watery pie filling!
- Adjust the amount of sugar. If you prefer a less sweet pie, you can lower the amount of sugar to ½ cup. You could also try using honey instead of the sugar.
How to Store Blueberry Blackberry Pie
- Counter - Overnight and covered on the counter, unless it's very hot in your house, then transfer to the fridge.
- Fridge - Store any leftover pie in the pie pan, tightly covered with plastic or foil, or in an airtight container in the fridge for up to 5 days. You can place the pie in the oven to reheat the entire pie, or place individual slices on a baking sheet and heat them at 350℉ until warm.
- In the freezer - To freeze, wrap the unbaked pie tightly in a layer of plastic, then a layer of foil, and store it in the freezer for up to 3 months. Bake the pie, unwrapped, directly from the freezer, noting that it will take a bit longer to bake if it has been frozen.
More easy Pie Recipes

If you tried this blueberry blackberry pie recipe, please let me know! Or if you have any recipe questions, always feel free to reach out in comments or email. I hope you love it! ❤️

Blueberry Blackberry Pie
Ingredients
Crust
- 1 ½ cups all-purpose flour plus extra for rolling
- 1 cup whole wheat pastry flour
- 1 teaspoon fine sea salt
- 1 teaspoon granulated sugar
- 1 cup unsalted butter , cut into ½ inch cubes
- 4-6 tablespoons ice water
Filling
- ¾ cup granulated sugar
- 4 tablespoons cornstarch
- 4-5 cups blueberries
- 1 cup blackberries
- 1 tablespoon lemon juice
- 1 teaspoon vanilla
- 2 tablespoons unsalted butter , cubed
Instructions
Make the Crust
- Combine 1 ½ cups all-purpose flour, 1 cup whole wheat pastry flour, 1 teaspoon fine sea salt, and 1 teaspoon granulated sugar in a bowl. Cut in the 1 cup unsalted butter using a pastry cutter or fork until it resembles coarse meal. Add 4-6 tablespoons ice water 1 tablespoon at a time, tossing and stirring with a fork until it just holds together. Wrap in plastic wrap and let rest in the fridge for at least ½ hour.
- Heat oven to 375℉.
Make the Filling
- Whisk the ¾ cup granulated sugar 4 tablespoons cornstarch, then add the 4-5 cups blueberries and 1 cup blackberries, 1 tablespoon lemon juice, and 1 teaspoon vanilla and toss lightly to combine.
- Divide ball of dough in half, and roll out 1 dough disk on a floured work surface to about a 11-inch round. Transfer to a greased, 9-inch-diameter pie dish. Trim excess dough, leaving ¾-inch overhang.
- Spoon filling into pie crust, then dot with 2 tablespoons unsalted butter.
- Roll out the other disc and fit onto the pie dish. Press the edges of the dough together, then crimp with a fork (trim any excess or sort of tuck and press to incorporate into the rest of the dough). Make four slivers in the center of the pie.
- Bake the pie in the middle of the oven for up to 1 hour, until the crust is golden and the filling bubbly. Place on a wire rack and cool to room temperature, at least 2 hours.
Notes
- Use cold water! I cannot stress this enough - please use ice water to make the crust! it will chill even further in the fridge, making for an ultra-flaky dough once baked.
- Rest the dough. Pie dough needs at least 30 minutes to chill before it's rolled out, so don't skip this step. You can also make the crust in advance and keep it in the fridge for up to 3 days, or freeze it for up to 3 months. Defrost the crust in the fridge before using.
- Let the pie sit. It's equally important to let the pie sit after it's fully baked. I prefer to let the pie cool completely to room temperature, for at least 2 hours, to allow the filling to set. Let's avoid a watery pie filling!
- Adjust the amount of sugar. If you prefer a less sweet pie, you can reduce the amount of sugar to ½ cup. You could also try using honey instead of the sugar.




Pllllleeeease keep the pies coming!!! Because, why not!? summer = fruit = pies = yum! xoxo