This beautifully buttery and flaky all-butter gluten free pie dough is a versatile, reliable pie crust that works in pies, tarts, galettes, and more.

My easy gluten free all-butter pie dough is so good you won't be able to tell it's gluten free! Unbelievably flaky, this easy gluten free crust is made with, you guessed it, butter and gluten free flour for a versatile, reliable pie crust.
You can use gluten free all-purpose flour, a homemade gluten free flour blend, or a single gluten free flour like teff, buckwheat, or oat flour. You can make a single crust or a double crust for a double-crust pie. You have options!
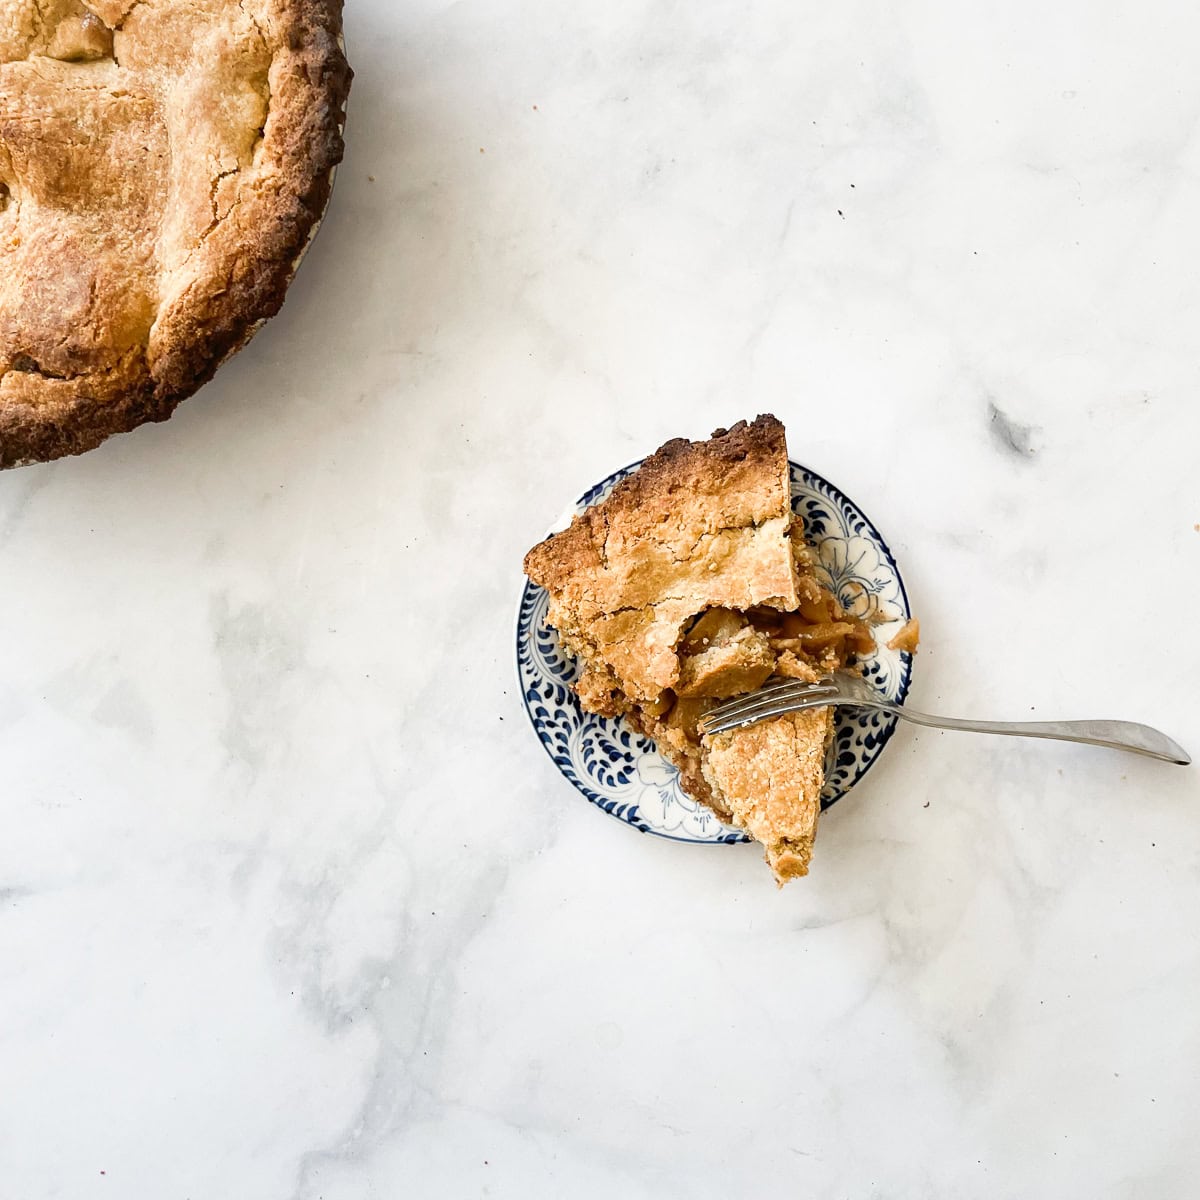
The crust is buttery and flaky and rolls out like a dream. It's perfect in gluten free peach pie, gluten free apple pie, and gluten free apple galette, and so many more recipes.
Jump to:
Why You'll Love This Recipe
Your choice of gluten free flour makes this gluten free all butter pie crust a cinch. I have a feeling you'll find many ways to incorporate it into all your pastry bakes!
- So many uses. Whenever you want to make a pie, keep this recipe handy. It's sturdy enough to hold up to any sort of pastry recipe that calls for a pie dough.
- You won't believe it's gluten-free. And when I say this, I mean it! Resting and chilling the dough along with the addition of egg yolk keeps this dough tender.
- Laminating the dough is key. What is laminating the dough you might ask? Laminating is when you fold and roll butter into dough over and over which creates thin layers. My version is a bit less time-intensive than a traditional lamination, but you'll get the general effect and the end result is a super flaky pie crust.
- Easy to work with. Some gluten free pie doughs can be overly delicate, and they have to be handled with care. Not with this recipe! Plenty of butter and an egg yolk keep this dough nice and supple, making it a dream to roll out.
- Choose your flour. A blend, a single gluten free flour, two flours - you do you. Just make sure that you use 180 grams of whatever flour you decide to use.
Ingredient Notes

- Butter - Use cold unsalted butter.
- Egg yolk - This is an optional addition to hold the crust together.
- Ice water - Essential to create a tender and flaky dough.
- Gluten free flour - Use your choice of gluten free flour to total 180 grams.
- Granulated sugar - To use this pie crust in a savory recipe you may wish to leave out the sugar.
- Salt - I used fine sea salt and table salt will also work.
See the recipe card for the full ingredient amounts.
Variations
- Flavor the pie crust - Stir in 1-2 teaspoons of your favorite spice (cinnamon and ginger are nice complements to apple or pumpkin pie) or spice mix to the flour before adding the butter.
- Dairy-free - Use your favorite non-dairy butter or cold coconut oil to make this all butter pie crust dairy-free.
- Double the recipe - The recipe in this post is for a single crust pie. If you want to make a double-crust pie, just double the quantities and you're all set!
Instructions
There are a few steps that go into making gluten free all butter pie crust, but trust me when I say the bit of extra effort pays off big time when you sink your fork into that fabulously flaky crust. Here's a look at what you'll do, with the full instructions in the recipe card lower down.

- Step 1: Place egg yolk in a small bowl.
- Step 2: Add 2 tb ice water and whisk.
- Step 3: Whisk dry ingredients and add ½ of the butter.
- Step 4: Mix in the butter.

- Step 5: Add the rest of the butter.
- Step 6: Mix until the size of small peas.
- Step 7: Turn out onto a floured surface.
- Step 8: Press into a square.

- Step 9: Fold the dough.
- Step 10: Fold again.
- Step 11: Form into a disc.
- Step 12: Wrap the dough in plastic and chill.

- Step 13: Roll out the dough.
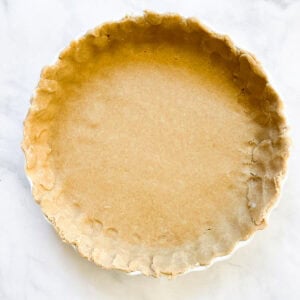
- Step 14: Place dough in pie pan.
- Step 15: Press the dough into the pie pan.
- Step 16: Fill with your fav filling and bake the pie!
Baking Tip
Chill the dough. I recommend chilling the prepared dough for at least 30 minutes in the fridge before you roll it out. This will help the butter to get cold again, which is what you want for that buttery, flaky effect. If you can plan ahead, make the crust up to 2 days in advance of when you plan to bake.

Gluten Free Pie Crust Tips
- Keep the butter cold. One secret to ultra-flaky pastry dough is to keep the butter cold. This will create streaks and clumps of butter in the dough - and that's a good thing! When you bake the crust, the butter will melt in the oven, creating gaps in the dough. Steam also releases during the baking process, making those lovely flaky layers.
- Add the ice water slowly. You want just enough ice water to bring the dough together but you don't want to over-hydrate the dough (even though it's a gluten free dough). You'll get the hang of this the more you make pie dough, but a good rule to follow is to continue to slowly add water 1 tablespoon at a time until you don't see any dry bits of flour without the flour becoming saturated. The dough will hold together when you squeeze it together in a ball, and won't have any bits falling off on the sides.
- Rest the dough. As with all gluten free baking recipes, you should rest your pie dough in the fridge. (This applies to regular pie dough as well!) As mentioned, you should leave at least 30 minutes for the dough to chill in the fridge, and preferably even more (hours, or even a few days). The colder the dough, the easier it will be to roll it out and the dough won't be sticky.
- Use oat flour on the counter. When you are ready to roll out your dough, sprinkle the counter liberally with oat flour. You can also roll the dough out between two pieces of plastic wrap or parchment paper sprinkled with oat flour. This will help keep the crust from sticking.
- Don't roll it out too thin. This is a sturdy dough, but take care not to roll it out overly thin or it may break when you place it in the pie pan.
- Do a vegan version. You can easily make this recipe vegan by using your favorite non-dairy butter for the butter. Or, try coconut oil or olive oil. If you use an oil, place it in the fridge to chill before adding it to the dough. And, don't use the egg yolk.

How to Use Gluten Free All-Butter Pie Crust
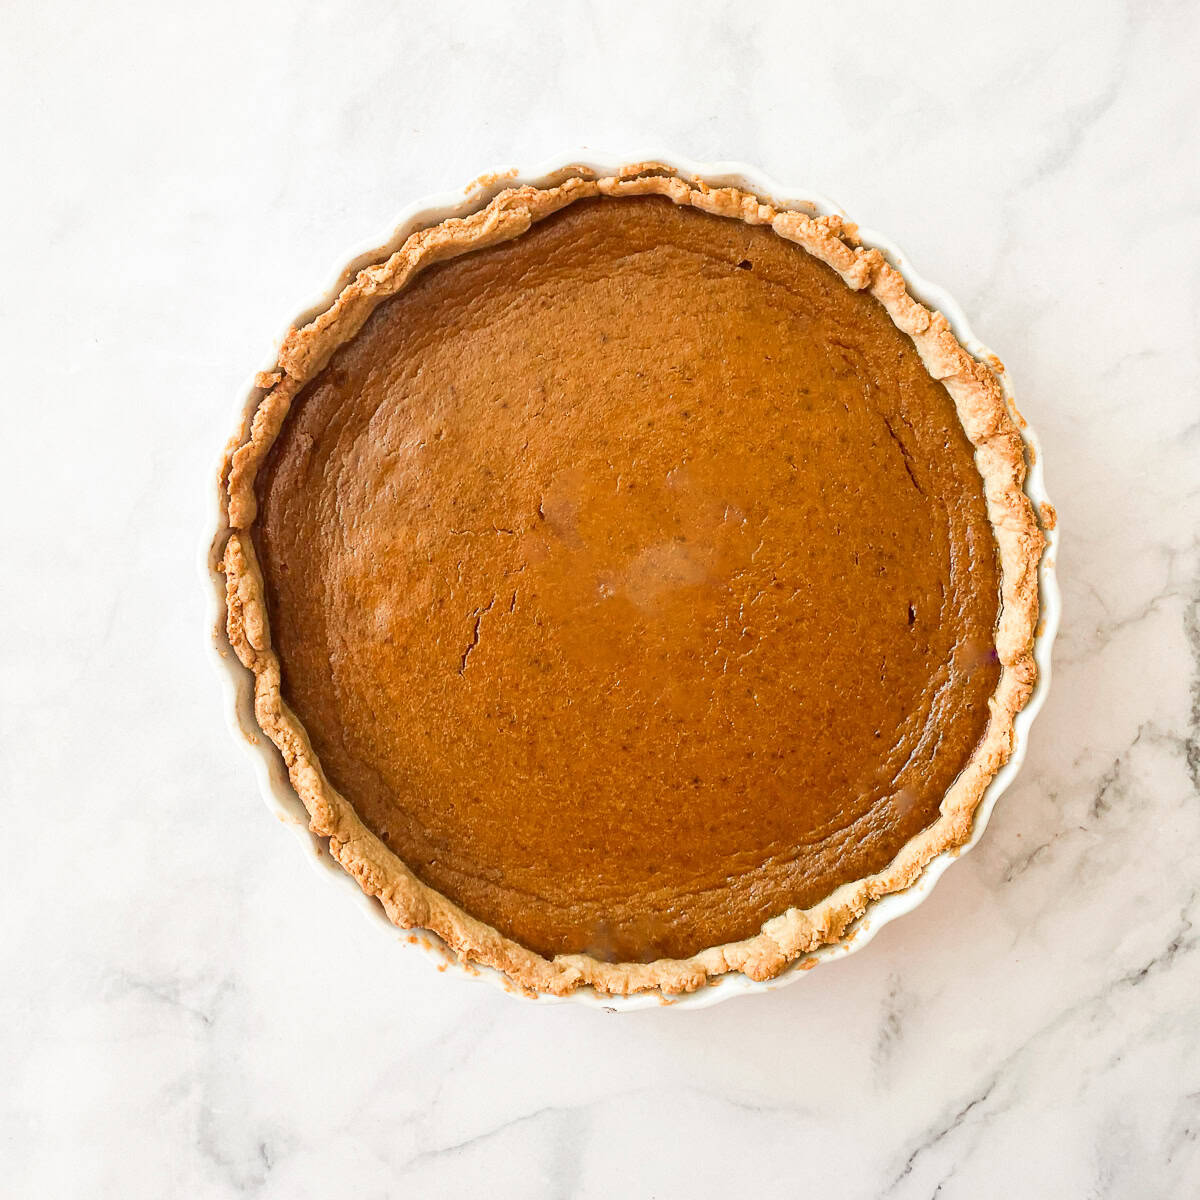
- Pie - Try this crust in gluten free pumpkin pie or double up on the crust to make gluten free Gravenstein apple pie.
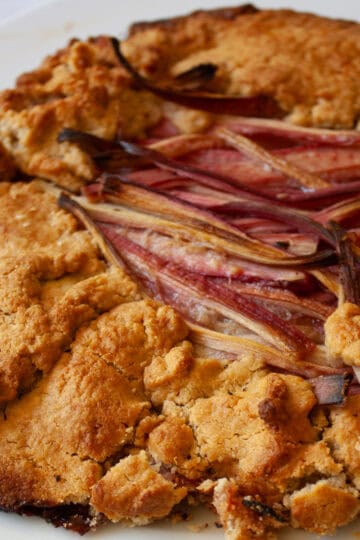
- Galette - Fold fruit into this crust and make a rustic rhubarb galette or cherry galette.
- Hand pies - Make a gluten free version of strawberry hand pies using this crust recipe.
- Quiche - Or go savory, and make a gluten free asparagus quiche with gluten free all butter pie crust as its base.
Proper Storage
- Fridge - The prepared pie crust, flattened into a disc and wrapped in plastic wrap, should be stored in the fridge for up to 2 days.
- Freezer - Store the crust, wrapped in 2 layers of plastic wrap, in the freezer for up to 3 months. Thaw the crust completely in the fridge before rolling it out.
More Gluten Free Pastry Recipes


If you tried this gluten free pie dough recipe or any other recipe on my website, please let me know how it went in the comments below! And I always appreciate a star rating if you loved it ❤️
Recipe
All Butter Gluten Free Pie Dough
Ingredients
- 8 tablespoons unsalted butter, very cold, cut into about 8 pieces
- 1 large egg yolk (optional)
- 1 cup ice water
- 1 ½ cups gluten free flour, use a blend or single flour (180 grams)
- 1 tablespoon granulated sugar
- ½ teaspoon fine sea salt
Instructions
- Place the egg yolk in a small bowl, pour in 2 tablespoons of ice water, and stir to combine. If you don't want to use the egg yolk, save the ice water to add to the dry ingredients.
- In a large bowl or bowl of a stand mixer, whisk together the gluten free flour, sugar, and salt. Using a hand mixer or stand mixer, add half of the cold butter to the flour mixture and beat on low for about 1 minute. Add the rest of the butter and beat it until the butter breaks down and is incorporated into the flour. Then, use your hands to rub and mix in the butter a bit more. The pieces of butter should be the size of peas.
- On low speed, beat in the egg yolk mixture or 3 tablespoons of ice water until the dough comes together. Add a little more ice water if the dough is dry.
- Gather up the dough and place it on a work surface lightly floured with gluten free flour. Flatten it in a square, including any loose pieces, then gently fold the dough over onto itself and flatten it again. Repeat the folding process 3-4 more times until the dough is smooth without any loose pieces remaining.
- Flatten the dough into a 6-inch disc, wrap it in plastic wrap, and place it in the fridge for at least 30 minutes and up to 2 days.
To Make Dough By Hand
- In a large bowl, whisk the dry ingredients. Cut in the butter using a pastry cutter, fork, or your hands. Work in the butter until it starts to break down and resemble small peas. Stir in the egg yolk mixture or add ice water until the dough begins to hold together. Then turn it out onto a floured surface and continue the folding process.
Notes
- Keep the butter cold. One secret to ultra-flaky pastry dough is to keep the butter cold. This will create streaks and clumps of butter in the dough - and that's a good thing! When you bake the crust, the butter will melt in the oven, creating gaps in the dough. Steam also releases during the baking process, making those lovely flaky layers.
- Add the ice water slowly. You want just enough ice water to bring the dough together but you don't want to over-hydrate the dough (even though it's a gluten free dough). You'll get the hang of this the more you make pie dough, but a good rule to follow is to continue to slowly add water 1 tablespoon at a time until you don't see any dry bits of flour without the flour becoming saturated. The dough will hold together when you squeeze it together in a ball, and won't have any bits falling off on the sides.
- Rest the dough. As with all gluten free baking recipes, you should rest your pie dough in the fridge. (This applies to regular pie dough as well!) As mentioned, you should leave at least 30 minutes for the dough to chill in the fridge, and preferably even more (hours, or even a few days). The colder the dough, the easier it will be to roll it out and the dough won't be sticky.
- Use oat flour on the counter. When you are ready to roll out your dough, sprinkle the counter liberally with oat flour. You can also roll the dough out between two pieces of plastic wrap or parchment paper sprinkled with oat flour. This will help keep the crust from sticking.
- Don't roll it out too thin. This is a sturdy dough, but take care not to roll it out overly thin or it may break when you place it in the pie pan.
- Do a vegan version. You can easily make this recipe vegan by using your favorite non-dairy butter for the butter. Or, try coconut oil or olive oil. If you use an oil, place it in the fridge to chill before adding it to the dough. And, don't use the egg yolk.
I'd love to hear from you! Please leave me a note.