This sweet and simple any fruit crisp will serve as a base recipe for any fruit, from berries to stone fruit, to apples and pears! Easily made gluten-free and vegan if you want it to be.

Slide into the laid-back vibe of summer and make a delicious fruit crisp with whatever you have in the orchard or can grab at your local farmstand. Inspired by my gluten free peach crisp, gluten free cherry crisp, and gluten free blueberry crisp recipes, this any fruit crisp is exactly what its name implies: You can make it with ANY fruit (or combination) you love! Lean hard into summer's bounty and tuck it all under a cozy, toasted-oat topping blanket that can be made with all-purpose or gluten-free flour, depending on what you need. And of course ... it's even better with ice cream.
Jump to:
You've Gotta Make this Fruit Crisp!
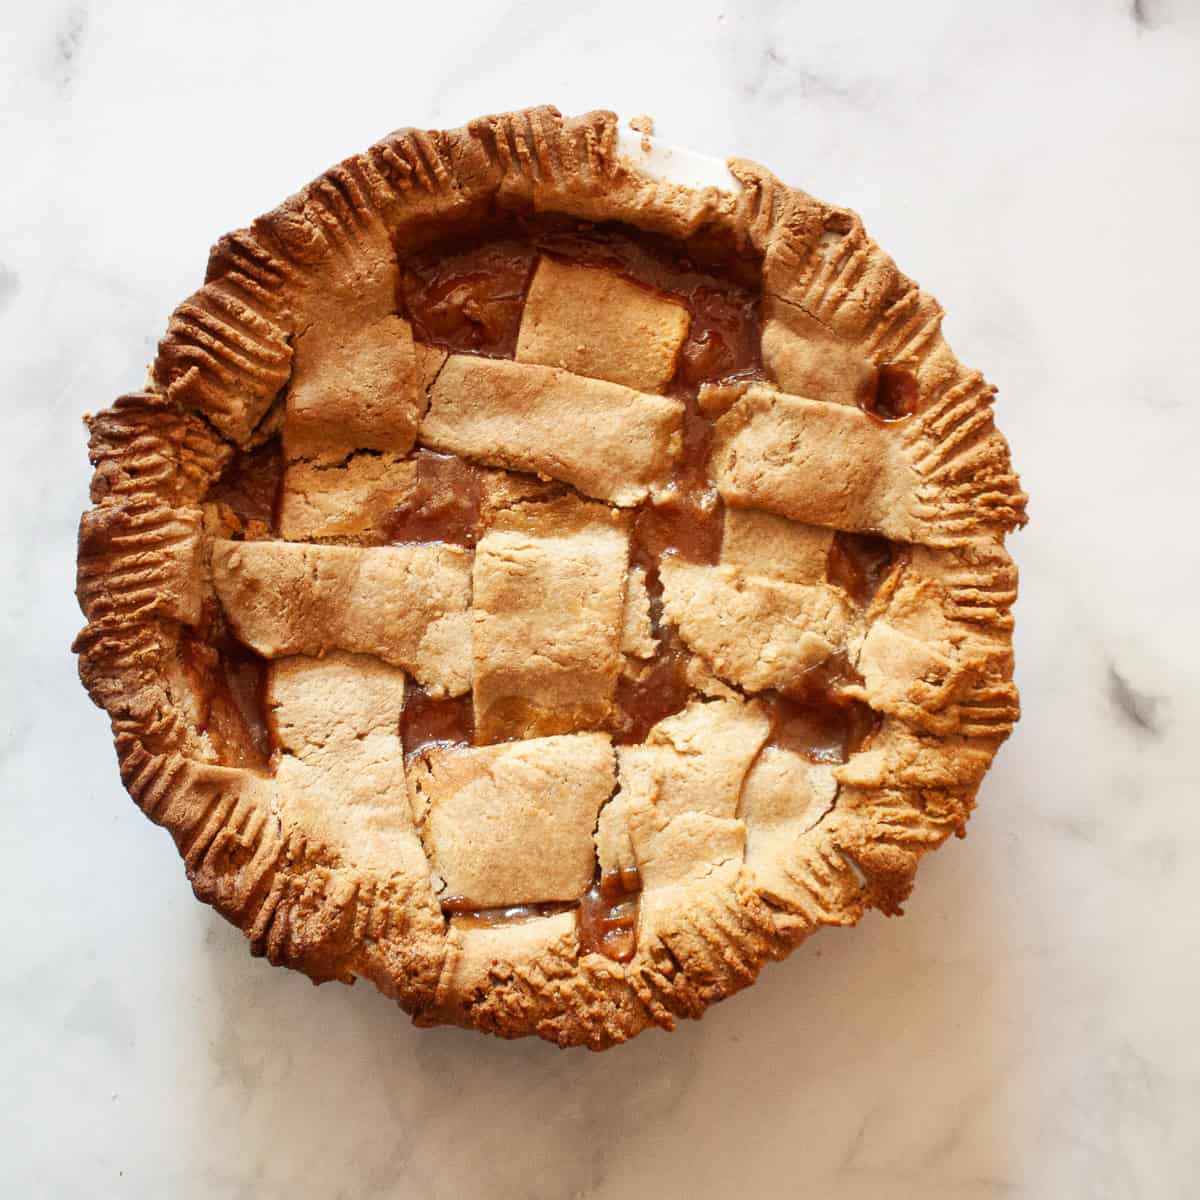
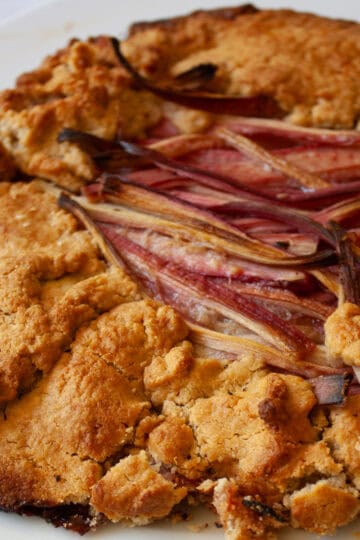
I absolutely adore making crisps - my blackberry apple crisp is a highlight of August for my family - not least of all for how adaptable they are. Make a cranberry apple crisp in winter, or gluten-free rhubarb crisp in late spring; the options are truly almost endless.
The key is to use fresh, in-season produce (though I'll give some tips on how to make a crisp from frozen fruit lower down in this post, too) to really highlight whatever season you find yourself in. And, you can throw together different fruits (think nectarine and blueberry, blackberry and peach), adjust the topping a bit, switch up the sugars, adjust the spices, and so much more. This is your solid base for ANY fruit you want to turn into a crisp. So, why make it?
- Literally any fruit will do. A crisp is as amazing made with fruit pulled straight from the tree as it is when made with fruit that's going slightly soft. You can even use frozen fruit, though I always advocate for using fresh.
- This recipe is a great base. Use it as your starting point, then let your imagination go wild.
- Easy to adapt. Need it gluten-free, vegan, dairy-free, gluten-free AND dairy-free? No worries, it's completely doable.
- It's always a crowd-pleaser. And I mean always. Tell me who can resist that lightly crunchy, beautifully buttery topping balanced over a sweet and jammy filling - I'll wait.

Ingredients Needed
I've included an overview of what you'll need below - you can use your preferred type of flour, and you can see some fruit filling ideas lower down. Make sure to scroll down to my recipe card at the bottom of this post for the full ingredient amounts and instructions.
- Oats - I love old-fashioned rolled oats in crisp toppings - they add a wonderful texture that toasts up beautifully (like in a gluten-free granola). In a pinch, you can use instant oats.
- Flour - Any type of flour will do, from all-purpose, whole grain pastry flour or spelt flour, gluten-free flours such as oat flour, brown rice flour, or a homemade gluten free flour blend or a purchased blend. (You can also learn how to make oat flour if needed.)
- Brown sugar - Light or dark brown sugar is fine in both the topping and the filling. I used dark brown sugar here.
- Spices - Ground ginger and cinnamon add warmth.
- Salt - I used fine sea salt, and table salt is also fine.
- Butter - Unsalted, melted butter holds the topping together.
- Fruit - About 9 cups of fruit. This can include pitted and sliced stone fruit, berries, apples, or a combination.
- Starch - A starch, such as arrowroot, tapioca, or cornstarch, helps to bind the filling.
- Vanilla - Pure vanilla extract or vanilla bean paste adds depth of flavor.
Fruit Filling Ideas
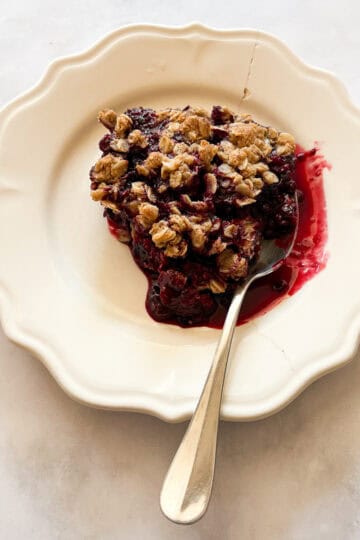
- Berries - Make a simple blueberry or blackberry crisp, or do a mixed berry crisp.
- Stone fruit - Peaches, nectarines, plums, oh my! Use about 5 pounds of stone fruit. You can leave the skins on or take them off.
- Apples - I love an apple crisp dressed with cinnamon and a hint of maple syrup! I always peel my apples before slicing them up for a crisp.
- Combinations - Think outside the box and pair stone fruit with berries, apples with dried fruit, and more. My favorite combos include: peach and blueberry, blackberry and apple, nectarine and blackberry, and strawberry rhubarb crisp.

How to Make Any Fruit Crisp
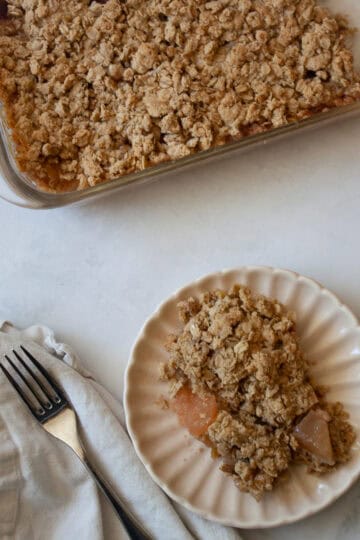
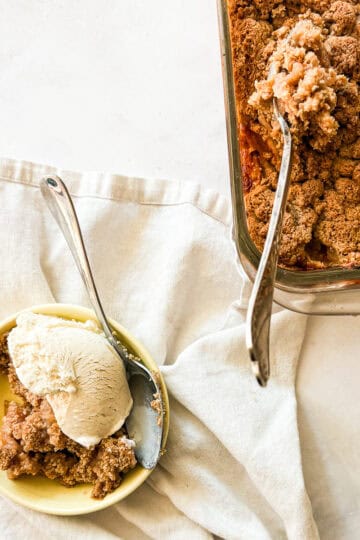
Here's an overview of how to make a fruit crisp. I've included photos using peaches, but remember that you can use any fruit you wish!

1. Make topping: Combine all of the topping ingredients in a bowl.

2. Make filling: Mix together the filling ingredients in a separate bowl.

3. Assemble: Spread the filling into a large baking pan and scatter the topping over it.

4. Bake: Place in the oven and bake at 375°F for 45 minutes.
Variation Ideas
- Add lemon zest - I love adding lemon zest to crisps, especially apple or strawberry crisps, for a hint of bright citrus.
- Change the spices - For fall-forward crisps, add a touch of cloves or nutmeg, or add pumpkin pie spice. You could also use all cinnamon or all ginger.
- Fresh herbs - Add a handful of chopped fresh herbs such as rosemary, basil, or mint.
- Nuts - Sliced almonds or chopped pistachios can add a little crunch. I like to add ½ cup of sliced almonds to the topping.
- Maple syrup - Use maple syrup instead of brown sugar in the filling for a cozy, naturally sweet vibe, or substitute half the brown sugar for maple syrup.
- Honey - I love pairing honey with fresh fruit! It's especially nice with strawberries, so use half honey and half sugar in the filling mix if you want to try it out.
- Dairy-free - Easily turn your crisp dairy-free by using melted coconut oil or non-dairy butter in place of the butter.

Tips for the Perfect Crisp
- Chill the topping. I always place my bowl of topping in the fridge to chill while I make the filling. This lets the butter firm up slightly, making for a crisper topping later. If you find that the topping is too firm when you take it out of the fridge, break it up with your hands before scattering it over the filling.
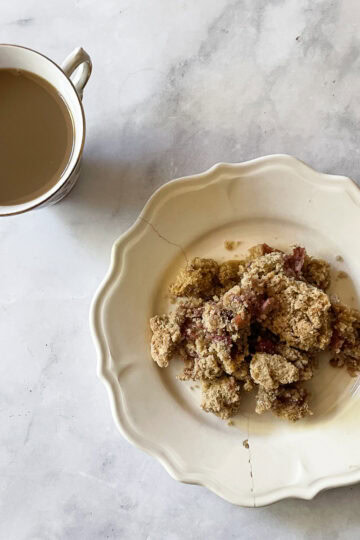
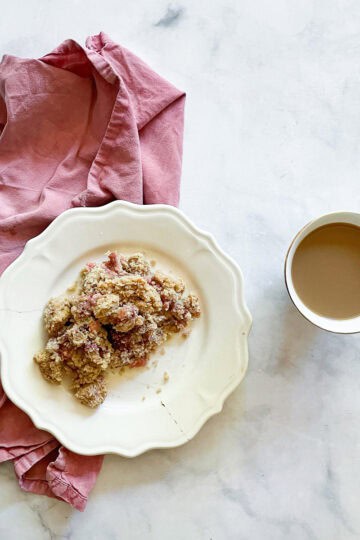
- Enjoy at any temperature. Crisp tastes amazing warm, at room temperature, or even straight out of the fridge.
- Let it rest. After removing the crisp from the oven, let it sit for at least 15 minutes so that the filling sets up a bit.
- Sweeten to taste. Some fruit will be on the sweeter side, depending on how ripe it is or what type it is. You may want to add more or less sugar after tasting the fruit (I always recommend doing this before you start to make the crisp so that you have an idea of how sweet or not the fruit you're using is).
- Make it smaller. This makes a large amount of crisp, great for larger gatherings, but if you want to whittle it down a bit, simply halve the recipe.
- To serve: Vanilla ice cream is my favorite accompaniment to crisp, and whipped cream or a drizzle of salted caramel sauce is also lovely. Or enjoy crisp at breakfast with regular or Greek yogurt.
Should I Use Frozen Fruit?
The whole point of a seasonal fruit crisp is to use seasonal fruit! But, I get it. Sometimes we need a hit of summer in the deepest, darkest midst of January. So yes, you can totally use frozen fruit in a crisp. There's also no need to defrost the fruit first, although if you do, make sure to drain it.
Good candidates of frozen fruit to use in a crisp include all the berries (blackberries, blueberries, strawberries), cherries, peaches, and cranberries. Because apples are available year-round, use fresh apples to make fruit crisp rather than frozen.

Proper Storage & Reheating
- Counter - Cover the crisp with plastic or foil and store it on the counter for up to 2 days.
- Fridge - Place leftover cooled crisp in an airtight container or leave it in the baking pan, cover it tightly, and store it in the fridge for up to 5 days.
- Freezer - Freeze the whole crisp by wrapping the baked and cooled crisp in a layer of plastic and a layer of foil, then store it in the freezer for up to one month. You can reheat the crisp directly from the freezer: Remove the plastic and foil, and place it in a preheated 350˚F oven and heat until it's hot all the way through.
- To Reheat - Enjoy your crisp cold, or warm it up in a preheated 350˚F oven until the topping is crisp and the filling is bubbly. Or heat portions in the microwave in 30-second increments until warm.
More Summer Fruit Recipes

Happy baking! If you make this recipe, I'd love to know. Please leave a comment below, reach out with any questions, and tag me on Instagram @Cucina Nicolina ❤️
Recipe

Any Fruit Crisp
Ingredients
Topping
- 2 cups old-fashioned oats (240 grams)
- 1 cup flour , all-purpose flour or whole wheat flour, oat flour, almond flour, or a gluten-free flour blend (120 grams)
- ⅔ cup brown sugar
- 1 teaspoon ground ginger
- ½ teaspoon fine sea salt
- 8 tablespoons unsalted butter , melted
Filling
- 9 cups fruit , such as peaches, apples, blueberries, etc.
- ⅔ cup brown sugar
- 4 tablespoons arrowroot starch
- 2 teaspoons vanilla extract
- 1 teaspoon ground cinnamon
Instructions
- Preheat the oven to 375℉. Have a 9x13-inch baking pan ready.
- To prepare the topping: In a medium mixing bowl, stir together the 2 cups old-fashioned oats, 1 cup flour, ⅔ cup brown sugar, 1 teaspoon ground ginger, and ½ teaspoon fine sea salt. Mix in the melted 8 tablespoons unsalted butter and stir until the mixture is moistened and well combined. Place the bowl in the fridge to chill while you make the filling and the oven heats.
- To prepare the filling: In a large bowl, mix together the 9 cups fruit, ⅔ cup brown sugar, 4 tablespoons arrowroot starch, 2 teaspoons vanilla extract, and 1 teaspoon ground cinnamon.
- Spread the filling in an even layer in the baking pan. Remove the topping from the fridge (break it up a bit if necessary) and distribute it evenly over the top of the filling.
- Place in the oven and bake for 40-45 minutes, until the filling is bubbling around the edges and the top is lightly golden. Remove from the oven and let rest for at least 15 minutes before serving.
Notes
-
- Chill the topping. I always place my bowl of topping in the fridge to chill while I make the filling. This lets the butter firm up slightly, making for a crisper topping later. If you find that the topping is too firm when you take it out of the fridge, break it up with your hands before scattering it over the filling.
-
- Enjoy at any temperature. Crisp tastes amazing warm, at room temperature, or even straight out of the fridge.
-
- Let it rest. After removing the crisp from the oven, let it sit for at least 15 minutes so that the filling sets up a bit.
-
- Sweeten to taste. Some fruit will be on the sweeter side, depending on how ripe it is or what type it is. You may want to add more or less sugar after tasting the fruit (I always recommend doing this before you start to make the crisp so that you have an idea of how sweet or not the fruit you're using is).
-
- Make it smaller. This makes a large amount of crisp, great for larger gatherings, but if you want to whittle it down a bit, simply halve the recipe.
- To serve: Vanilla ice cream is my favorite accompaniment to crisp, and whipped cream or a drizzle of salted caramel sauce is also lovely. Or enjoy crisp at breakfast with regular or Greek yogurt.
I'd love to hear from you! Please leave me a note.