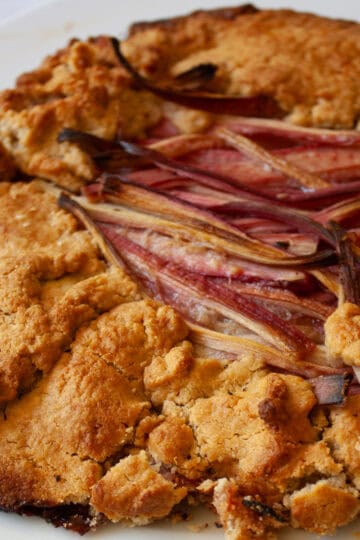
Rustic, beautiful, and utterly irresistible, this gluten free apple galette wraps juicy apple slices and warming spices in a buttery, flaky crust. Easy to make and perfect for holiday gatherings.

Branch out beyond gluten free apple pie and make a gorgeously rustic and homey apple galette! This sweetly simple, free-form pastry is just crammed with tender slices of apples dressed in cozy spices and a little sugar.
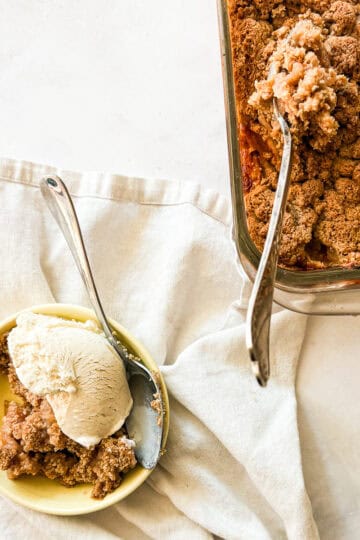
I love drizzling slices of galette with salted caramel sauce or serving them warm with a scoop of vanilla ice cream (or both!). This is a lovely dessert option that's quick to put together, but since you don't see it every day, it feels special and festive. A worthy contender for a holiday dessert table, or as a late-summer treat.
Jump to:
Why Make a Galette?
First off, it's French! And it's so much easier to make than a pie. I love serving an apple galette at Thanksgiving alongside a maple pumpkin pie for something a little different, and it's wonderful to nibble on during cold December afternoons. Here's why you should make it tout de suite!
- Gluten-free. With a simple-to-make gluten-free pie crust and naturally gluten-free ingredients, this recipe is safely and easily gluten-free.
- Easier than pie. Do you know that saying "it's as easy as pie"? Well, I don't know if pie is necessarily easy to put together, especially when it's a double-crust pie! A galette is a sort of free-form pie, and I do consider it to be "easy as pie" to make!
- Adaptable. Check my variation tips below, but know that you can use this method for making a gluten-free galette with other fruit, like pears or cranberries.
What is a Galette?
A galette is a French pastry in which a flat piece of dough folds around a filling. Galettes are traditionally more "rustic" than a pie and can be made either sweet or savory. Many galettes are formed using a round of dough, but you could also make them using a square shape. I love that they can be a bit messy - in fact, that is part of their charm.

Ingredients Needed
Here's a glance at what you'll need to make this flavorful gluten free apple galette. The full ingredient amounts and instructions are in the recipe card below.
- Gluten free flour - Any gluten free flour will work here, from a homemade gluten free flour blend to a single-origin gluten-free flour like oat flour or brown rice flour, or a store-bought 1:1 gluten-free flour blend.
- Butter - I use cold, unsalted butter, and you can also use non-dairy butter.
- Salt - A little fine sea salt or table salt.
- Sugar - I used granulated sugar in both the crust and the filling, and sometimes swap brown sugar for granulated sugar in the filling. Either works beautifully.
- Ice water - Make up your ice water before you start putting together the crust, then add it 1 tablespoon at a time until a cohesive dough forms.
- Spices - Ground cinnamon and nutmeg, or try apple pie spice blend.
- Apples - Any apple will work! A tart apple like Granny Smith is often used in pies and galettes, but really, whatever you have on hand, or a combination of varieties, will be fine.
Variation Ideas
- Make it dairy-free. Substitute an equal amount of cold coconut oil or dairy-free butter for the butter to make this galette dairy-free.
- Make it refined sugar-free. Substitute coconut sugar or maple syrup for the granulated sugar.
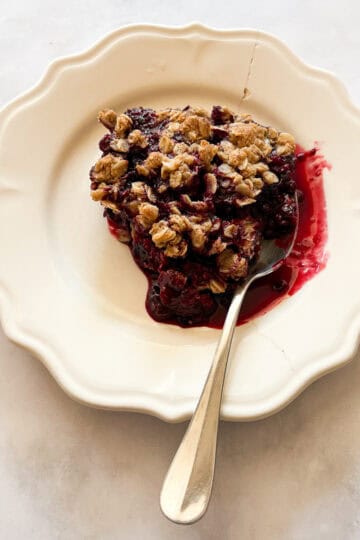
- Try different fruit. Substitute sliced pears for the apples, or use fresh or frozen blackberries or blueberries, or a combination. Add 1 cup fresh or frozen cranberries for a wintry version.
Step-by-Step Instructions
Here's an overview in photos of how to make a gluten free apple galette:

1. Make crust: Mix the crust ingredients in a bowl, adding water sparingly.

2. Form dough: Bring the crust together, form a ball, and rest it, wrapped, in the fridge.

3. Make filling: Combine the apples, spices, and sugar.

4. Mix: Toss to coat the apple slices.

5. Assemble: Roll out the crust, add the filling, and fold it up gently. Rest in the fridge for up to 1 hour.

6. Bake: Bake the galette at 400°F for about 40 minutes, then cool before serving.
Baking Tip: Chill the Assembled Galette
This may seem like just another step, but if you let the formed galette rest in the fridge before baking, it will keep the butter nice and cold, which will prevent the crust from spreading out too much in the oven. This is especially important when working with a gluten-free dough, which is more delicate.

Tips & Recipe Notes
- Rest the dough before assembling. Any pie crust will have you rest the dough for at least 30 minutes before using, and it's especially important when using gluten-free flour so that the flour hydrates while the butter chills.
- Roll the dough between parchment. Dust the bottom piece of parchment with a bit of gluten-free flour, top it with another piece of parchment, then roll out the dough with a (gluten free) floured rolling pin. This will help keep the dough from sticking.
- Temperature matters. If it's quite hot in your kitchen, roll out the dough as quickly as you can, then assemble the galette. The warmer the kitchen, the stickier the dough will become.
- Add lemon zest. Sprinkle in the zest of 1 lemon to the filling for a bit of citrus brightness.
- Don't overstuff the galette. Tempting as it may be to go wild on the apples, if the galette is too full, it may fall apart when baked. If you feel like you have too much filling, set some aside (make a quick applesauce or just snack on the extras) so the galette isn't overly full.
- Rest after baking. Let the galette cool fully to room temperature before slicing it to allow the crust to set.
- Egg wash. Brush the crust with a homemade egg wash before baking: Whisk 1 large egg with 1 tablespoon water or milk.
- Sprinkle with sugar. Scatter coarse sugar over the top of the assembled galette for extra sweetness.

Proper Storage
- Counter - Cover the plate of galette with foil and store it on the counter for up to 2 days.
- Fridge - Cover and store any leftover galette in the refrigerator for up to 4 days.
- Freezer - Wrap the cooled, whole galette in plastic wrap, place it in a freezer-safe bag, and freeze it for up to 2 months. Thaw in the fridge before rewarming.
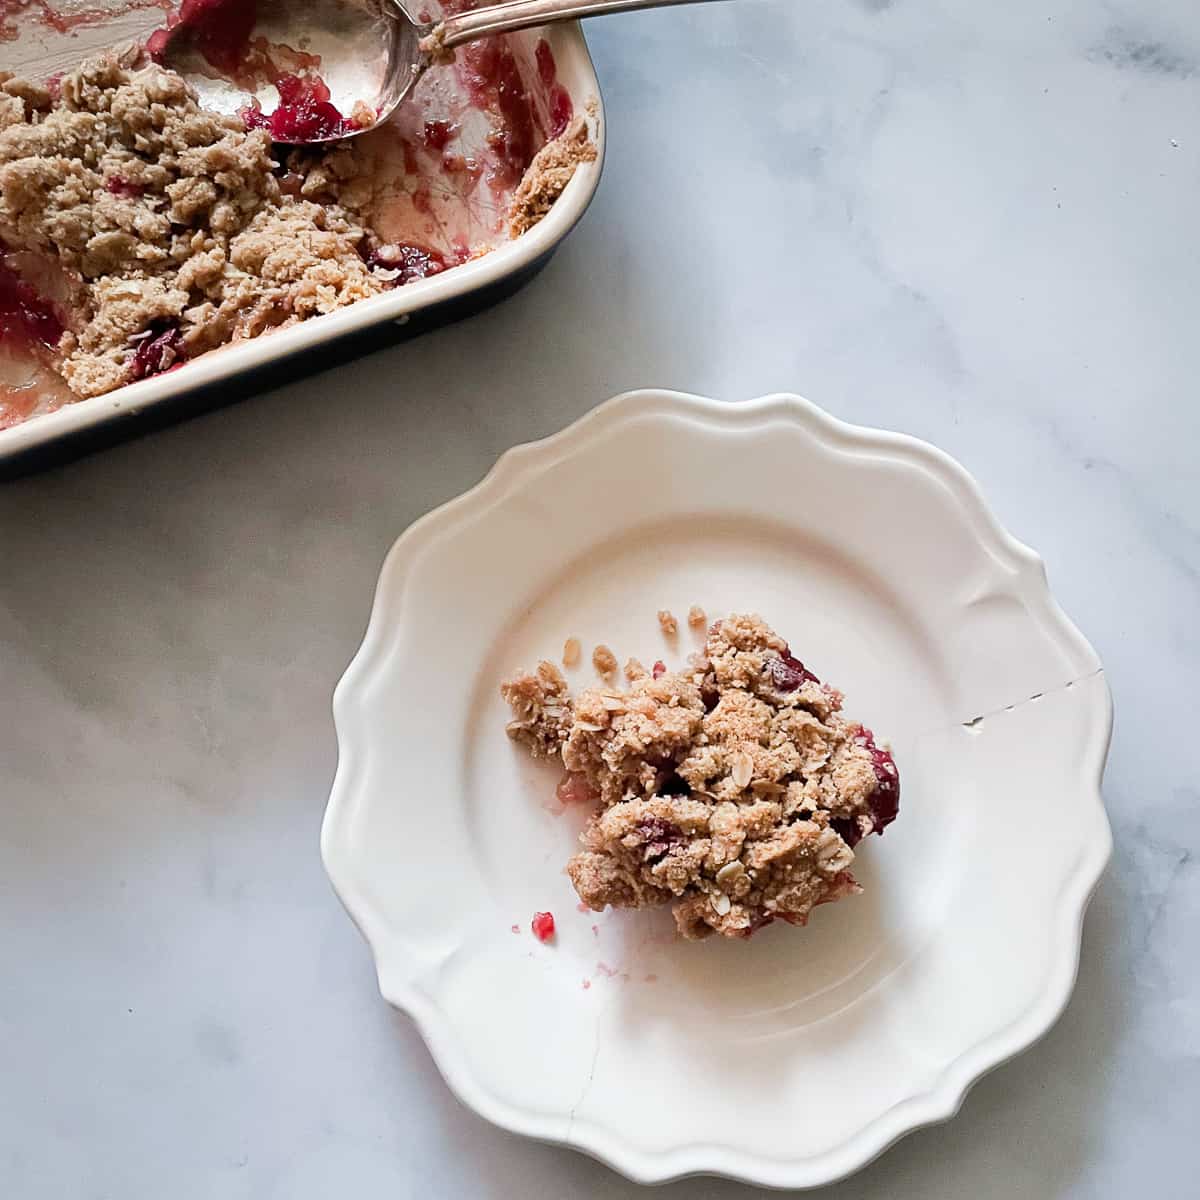
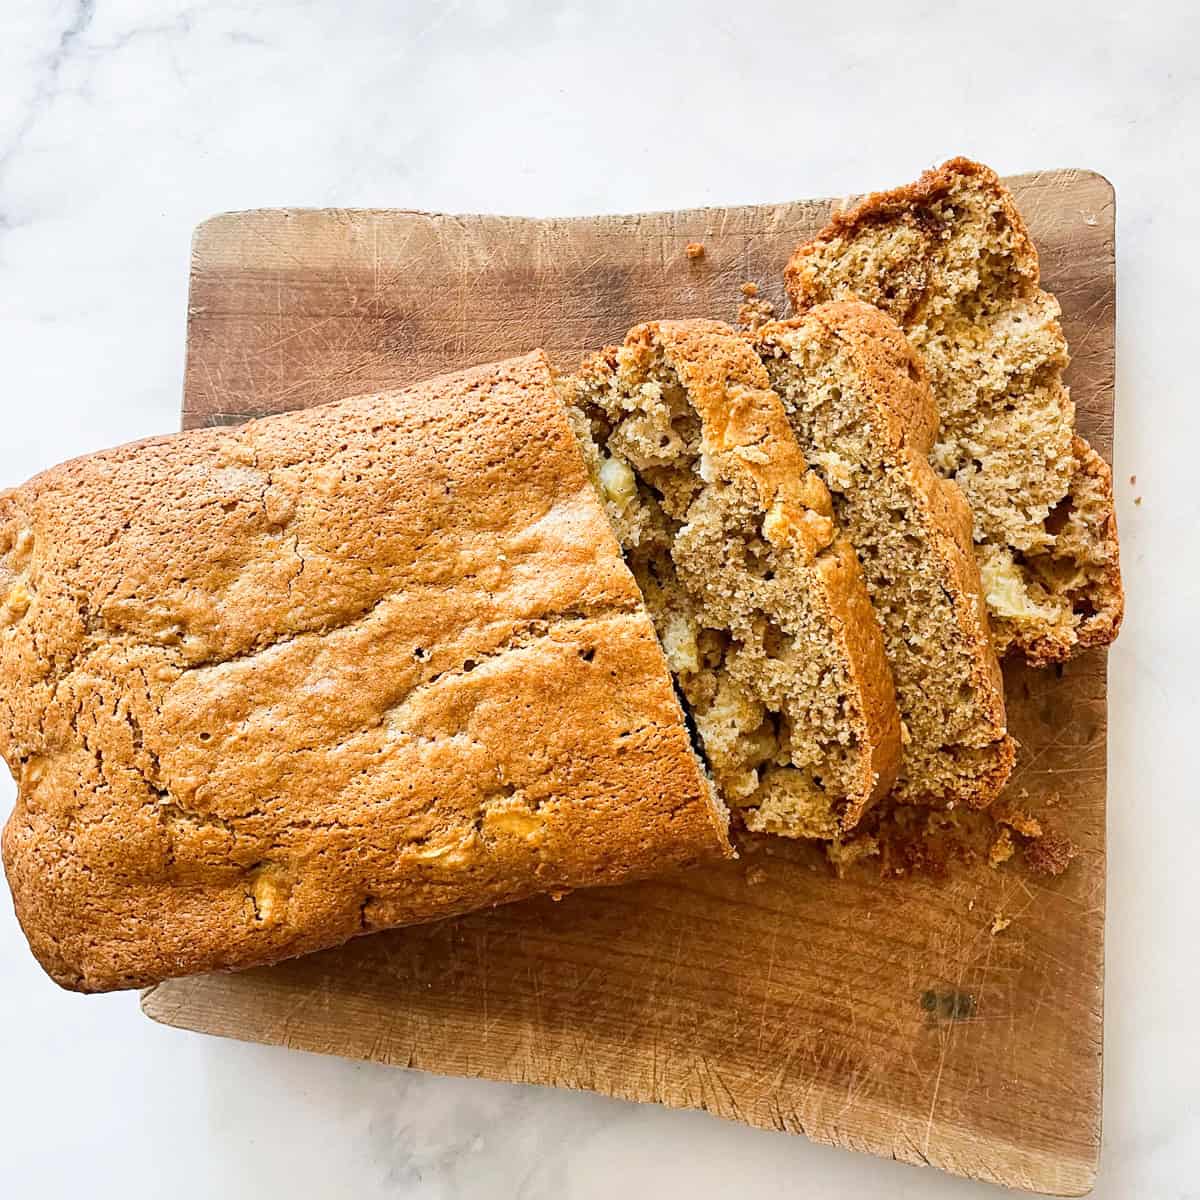
More Gluten Free Apple Recipes
Happy baking! If you make this recipe, I'd love to know. Please leave a comment below, reach out with any questions, and tag me on Instagram @Cucina Nicolina ❤️
Recipe

Gluten Free Apple Galette
Ingredients
- 1 ¾ cups gluten free flour (210 grams)
- 2 tablespoons granulated sugar
- ¼ teaspoon fine sea salt
- ½ cup unsalted butter cold
- ¼ cup ice water plus more as needed
Filling
- 4 medium apples peeled and sliced into ¼-inch slices
- ½ cup granulated sugar or brown sugar
- 1 teaspoon ground cinnamon
- ¼ teaspoon ground nutmeg
Instructions
Make the crust
- Whisk the 1 ¾ cups gluten free flour, 2 tablespoons granulated sugar, and ¼ teaspoon fine sea salt in a medium bowl. Then work in the ½ cup unsalted butter using a fork or your hands. Drizzle the ¼ cup ice water over the mixture, adding more if needed to form a smooth dough. Knead it a couple of times, then form a ball, flatten it into a disc, wrap it in plastic, and place it in the fridge for 1 hour.
Make Filling
- In a large bowl, toss together the sliced 4 medium apples, ½ cup granulated sugar or brown sugar, 1 teaspoon ground cinnamon, and ¼ teaspoon ground nutmeg together in a large bowl. Let it sit until the dough is ready.
- Have a large baking sheet ready. Place a piece of parchment paper or a silicone baking mat on the counter.
- Lightly flour the parchment, then take the dough out of the fridge, place it on the parchment and roll it into about a 12-inch circle
- Arrange the apples (and any juices from the bottom of the bowl) into the center of the dough, leaving a 2-3-inch border all around them. Then gently fold and crimp the edges of the dough over the filling, overlapping the dough as necessary. Gluten free dough is a little tricky, so go slow. Press to seal the edges and brush with the egg wash if using.
- Place the galette in the fridge for 20 minutes or up to 8 hours (covered).
- Preheat oven to 400°F.
- Take the galette on the baking sheet out of the fridge and bake until the filling is bubbly and the crust is golden brown and set, about 35-45 minutes. Check at 35 minutes and keep checking if it needs a little longer.
- Remove the galette from the oven and it allow to cool on the baking sheet for 10 minutes before slicing and serving.
Notes
- Chill the assembled galette. This may seem like just another step, but if you let the formed galette rest in the fridge before baking, it will keep the butter nice and cold, which will prevent the crust from spreading out too much in the oven. This is especially important when working with a gluten-free dough, which is more delicate.
- Rest the dough before assembling. Any pie crust will have you rest the dough for at least 30 minutes before using, and it's especially important when using gluten-free flour so that the flour hydrates while the butter chills.
- Roll the dough between parchment. Dust the bottom piece of parchment with a bit of gluten-free flour, top it with another piece of parchment, then roll out the dough with a (gluten free) floured rolling pin. This will help keep the dough from sticking.
- Temperature matters. If it's quite hot in your kitchen, roll out the dough as quickly as you can, then assemble the galette. The warmer the kitchen, the stickier the dough will become.
- Add lemon zest. Sprinkle in the zest of 1 lemon to the filling for a bit of citrus brightness.
- Don't overstuff the galette. Tempting as it may be to go wild on the apples, if the galette is too full, it may fall apart when baked. If you feel like you have too much filling, set some aside (make a quick applesauce or just snack on the extras) so the galette isn't overly full.
- Rest after baking. Let the galette cool fully to room temperature before slicing it to allow the crust to set.
- Sprinkle with sugar. Scatter coarse sugar over the top of the assembled galette for extra sweetness.
I'd love to hear from you! Please leave me a note.