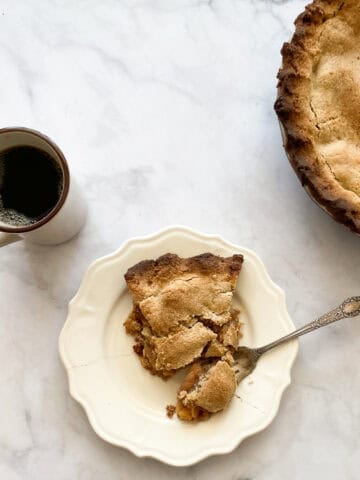
A flavorful and cozily-spiced gluten free apple pie is always welcome, especially during late summer into fall. Make the most of the season's ripe apples with this lightly sweet pie that features tender slices of apples sandwiched between a flaky gluten free crust.
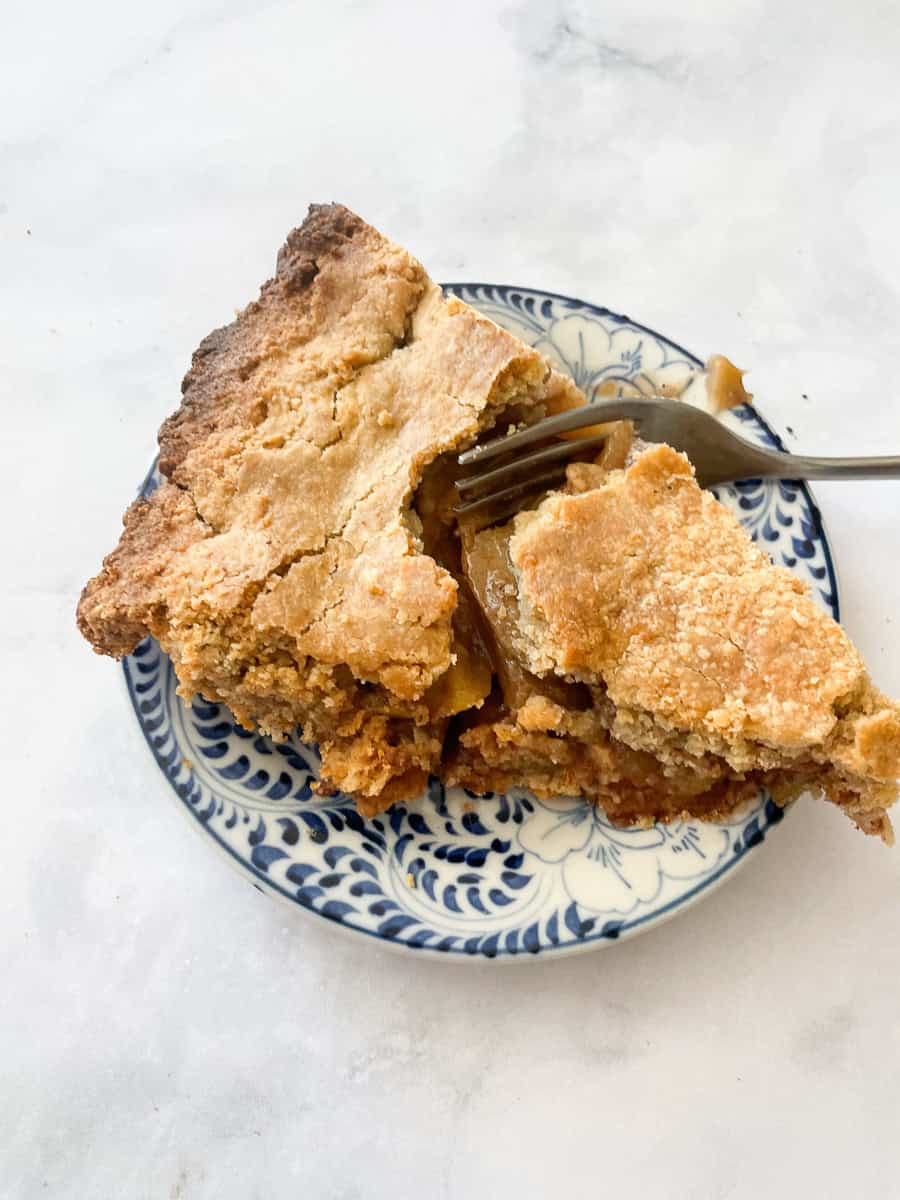
Easy Gluten Free Apple Pie Recipe
We're so lucky to have two apple trees in our backyard: a Gravenstein apple tree and a Golden Delicious tree. Each type of apple is wonderful in sauces, apple jelly, and of course, pie. The Gravensteins come in first, so I make a gluten free Gravenstein apple pie or two, then when we've used up our store of Gravs I keep going with the Golden Delicious apples. This simple gluten free apple pie can be made with whatever apples you have on hand, and is very lightly sweetened and spiced so that the apples remain the star.
The smell of apple pie cooling on the counter is the scent of the changing seasons, making apple pie a lovely bridge from late summer into early fall.
Jump to:
This Pie Is ...
- Flaky, buttery, and delicious!
- Easy, with just 1 gluten free flour needed to make the crust
- Packed with juicy, sweet apples
- A perfect way to celebrate fall
What You'll Need
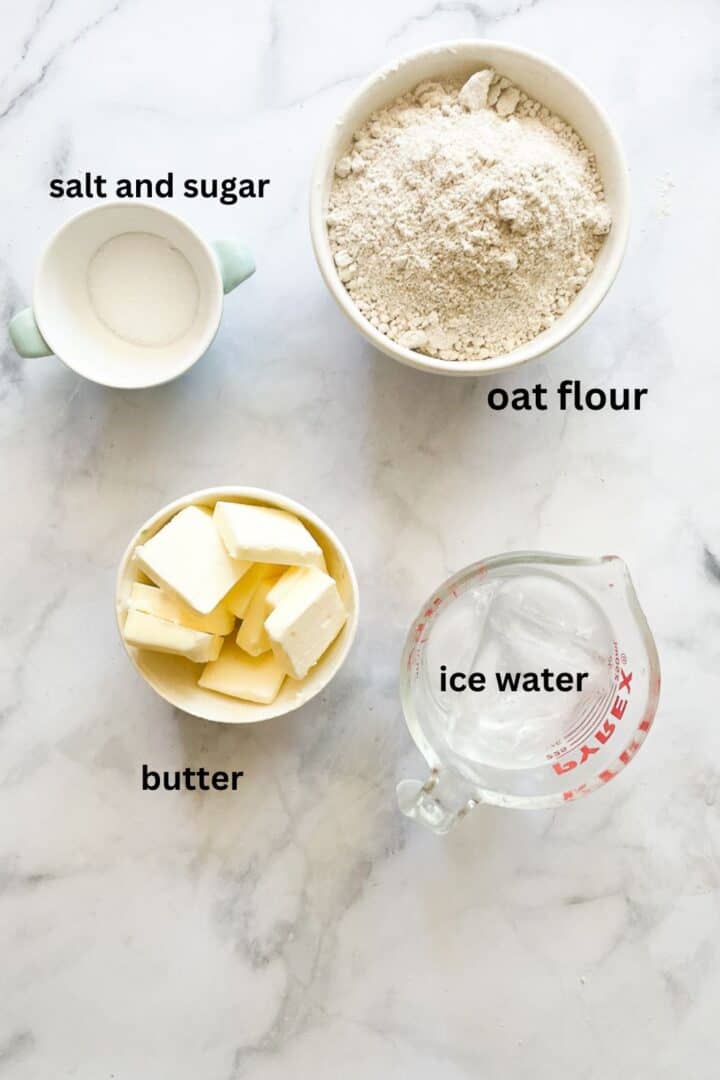
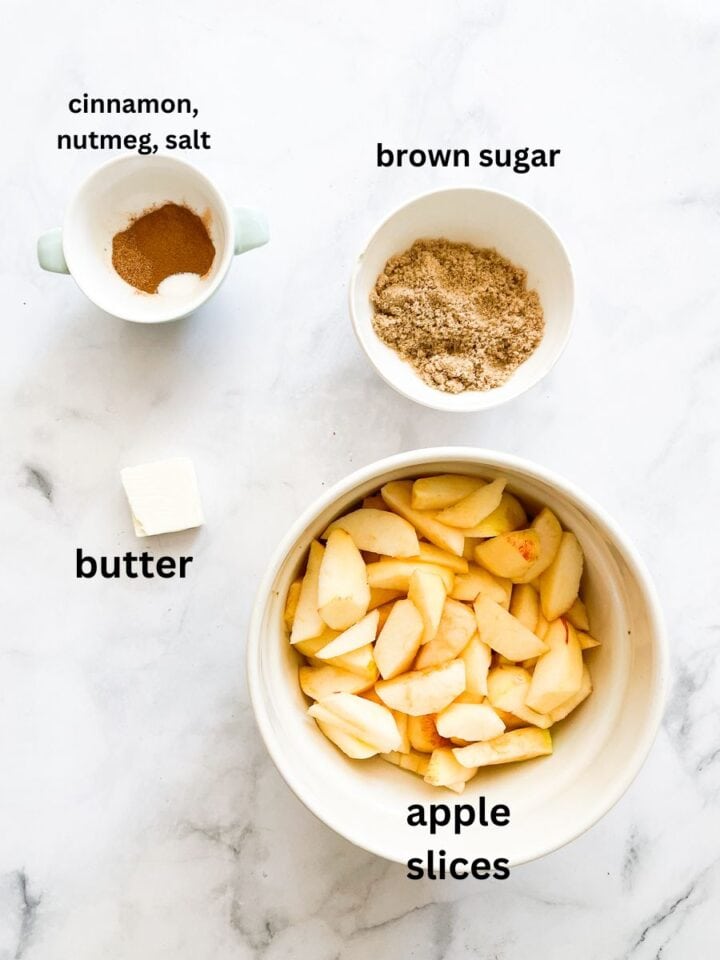
Here's a look at what you need to make gluten free apple pie. The full ingredient amounts and detailed instructions are in the recipe card lower down.
- Oat flour - Whole grain, naturally gluten free oat flour is a great choice for a pie crust because it creates a sturdy yet tender crust that rolls out well. Try sorghum flour, brown rice flour, or teff flour by weight if you don't eat oats.
- Granulated sugar - A hint of sugar adds sweetness to the pastry dough.
- Salt - I always use fine sea salt in my recipes. A good substitute is table salt.
- Butter - Use cold, unsalted butter in the crust.
- Ice water - Have the ice water ready to go when you start to make the crust.
For Filling
- Apples - Choose firm, ripe apples that are blemish-free.
- Spices - I use a combination of ground cinnamon and nutmeg to flavor the pie.
- Salt - A pinch of salt balances the sweetness of the filling.
- Brown sugar - Use either light or dark brown sugar, or swap granulated sugar.
- Butter - A little salted or unsalted butter adds richness.
What Kind of Apples are Best for Pie?
I personally think that the best kind of apple for apple pie is the apple from your tree, the orchard where you just went apple picking, or the ones you picked up at the market. But, yes, there are some apples that do perform a bit better in pie than others, notably ones that are firmer so that they hold up well during baking.
Some favorite apple varieties for use in pie include Golden Delicious, Honeycrisp, Braeburn, Crispin, and Cortland. Bright green Granny Smith apples are also a great choice for pie because they are beautifully crisp, firm, and on the tarter side, so if you prefer a less sweet pie this is the apple for you.
Substitution Suggestions & Variation Ideas
I've included some common ingredient substitutions below plus some variation suggestions to try.
- Make it vegan - Swap your favorite vegan butter for the butter in the crust and in the pie, or try cold coconut oil or olive oil.
- Make it refined sugar free - Use coconut sugar or maple syrup in place of the sugar in the crust and the brown sugar in the filling.
- Swap all purpose gluten free flour - If you want to use all-purpose gluten free flour here go ahead. Substitute a scant 3 cups of 1:1 gluten free flour for the oat flour.
- Adjust the amount of sugar - If your apples are quite sweet, or if you want to cut down on the sugar a bit, you can reduce the amount of brown sugar in the filling to ¼ cup. I find that my home grown apples are often very sweet and I can use less sugar in the filling without any noticeable difference.
- Do an apple crumble pie - Want to change up the way you serve the pie? Instead of doing a two-crust pie, use the traditional pie crust on the bottom and top the filling with a delicious oat crumble. Mix 1 cup of old fashioned rolled oats with ½ cup of oat or almond flour plus ½ cup of sugar, rub in ¼ cup of butter until it's crumbly, then evenly scatter the crumble topping over the filling.
- Other additions - Cinnamon is a classic addition to apple pie, but ginger is nice too, just make sure you don't add too many spices so that they don't overpower the taste of the apples. You could also add 1 teaspoon of pure vanilla extract to the filling, or the zest of 1 lemon. Or, thinking outside the box, add ½ cup of grated cheddar cheese to the top of the pie. In my college days I made a Moosewood Cookbook recipe that included cheddar cheese - if you try it, you might be surprised at how much you like it!
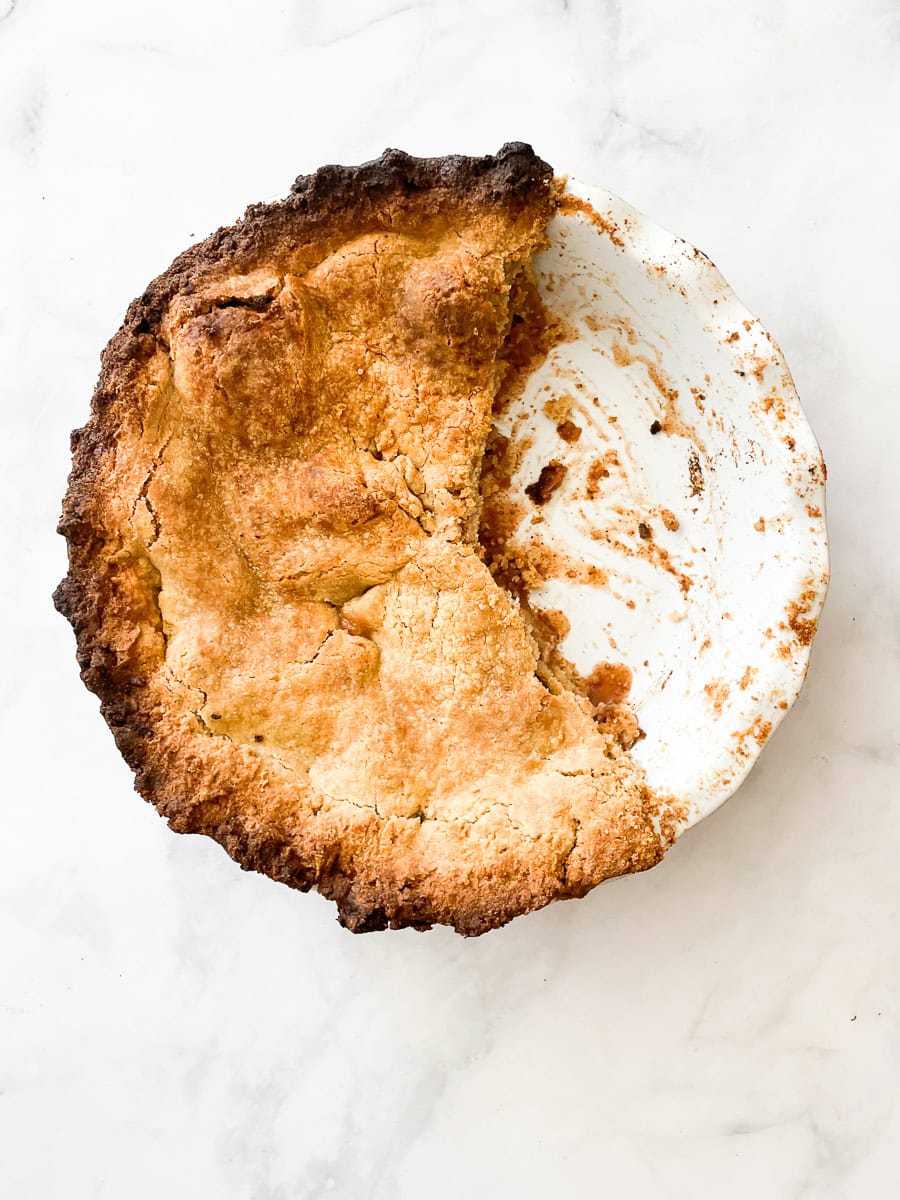
How to Make Gluten Free Apple Pie
Take a look at how to put this apple pie together in the photos below:
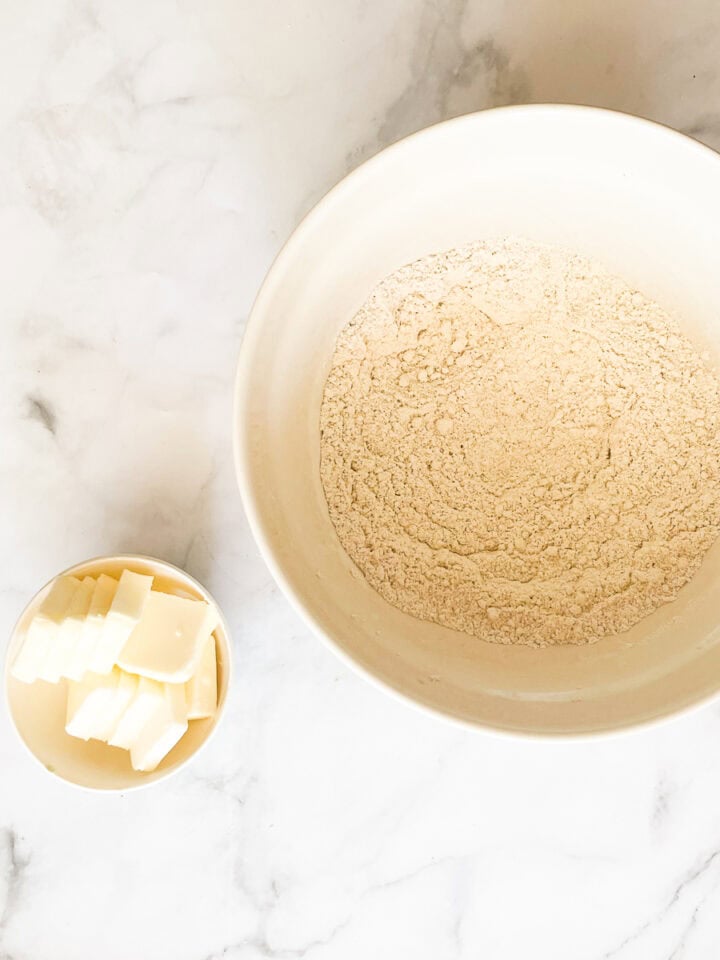
- Whisk flour: In a large bowl, whisk together the flour, sugar and salt.
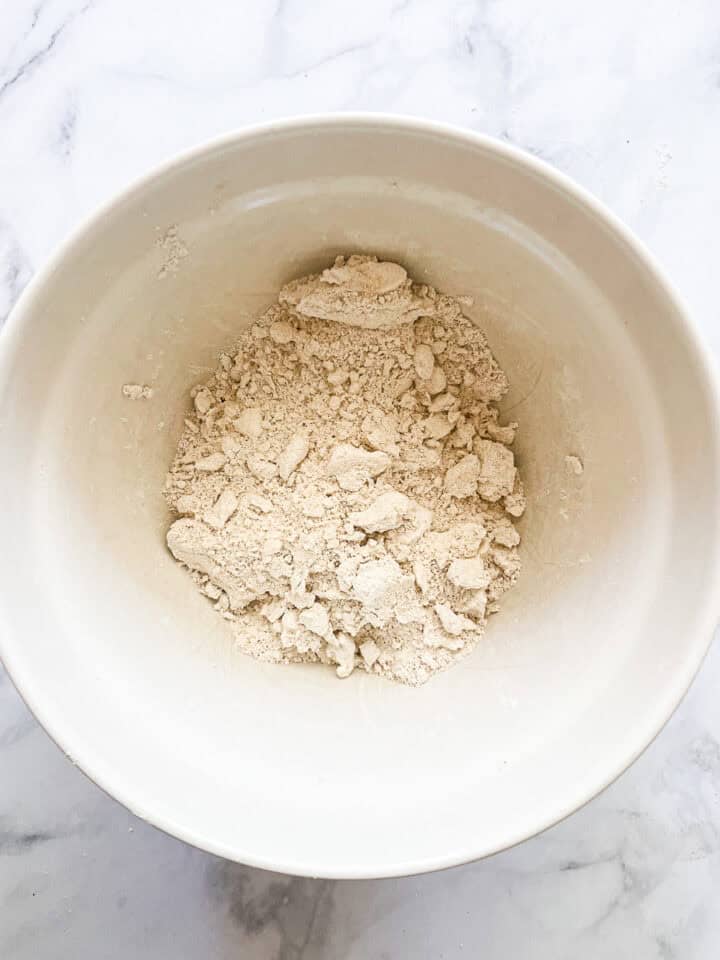
- Add butter: Cut in the butter with a fork or your hands until the flour is crumbly.
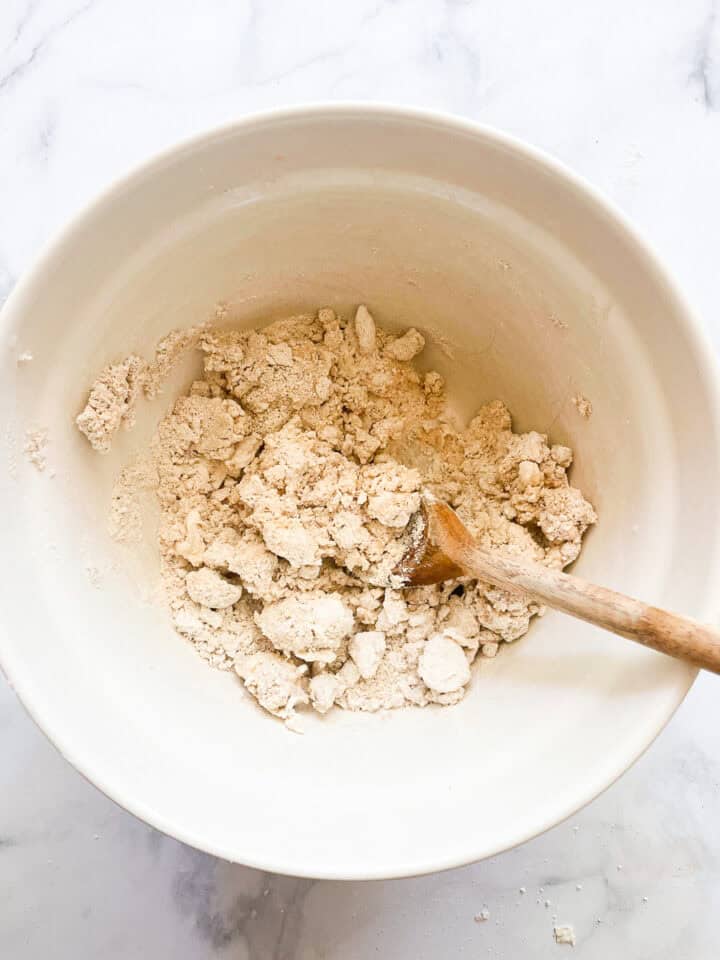
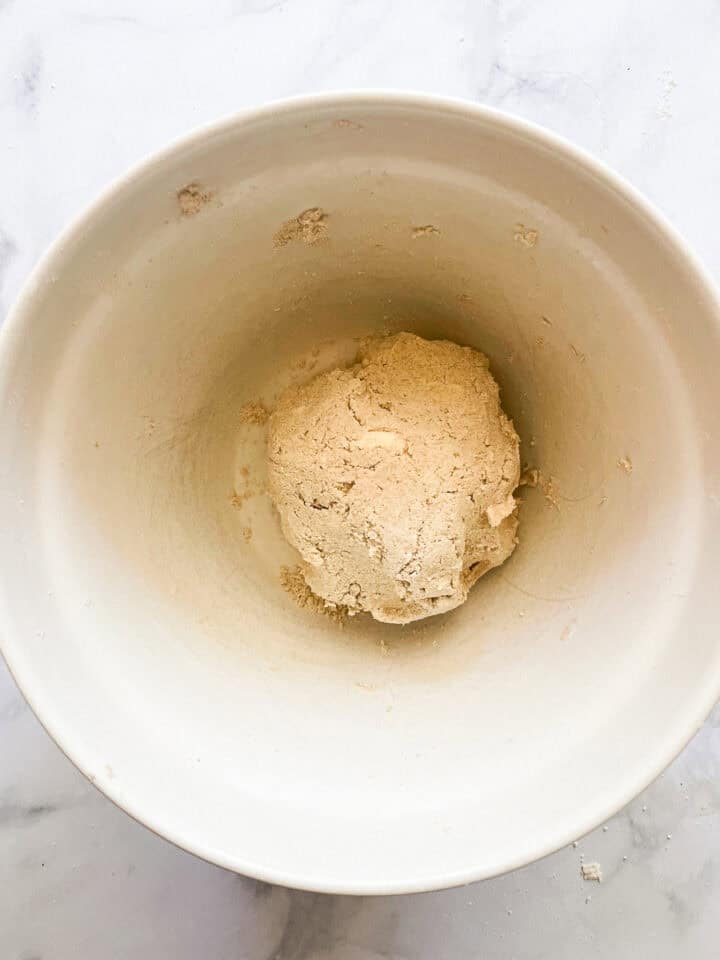
- Add water: Stir in the water a little bit at a time.
- Form a ball: Knead it with your hands until it can form a smooth ball. Divide into two pieces, wrap in plastic, and store in the fridge.
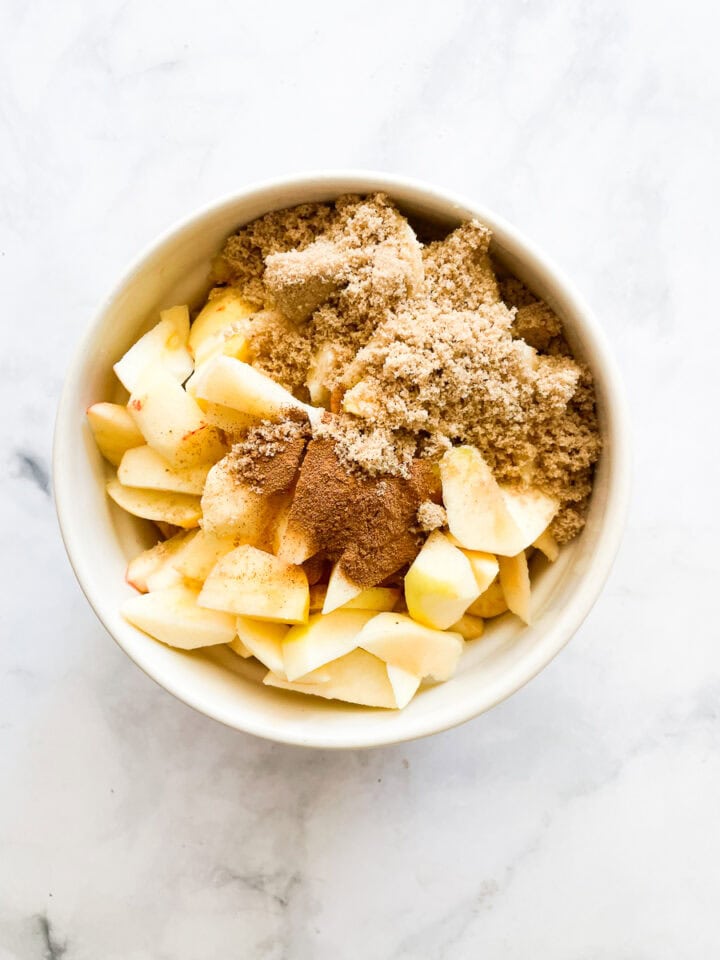
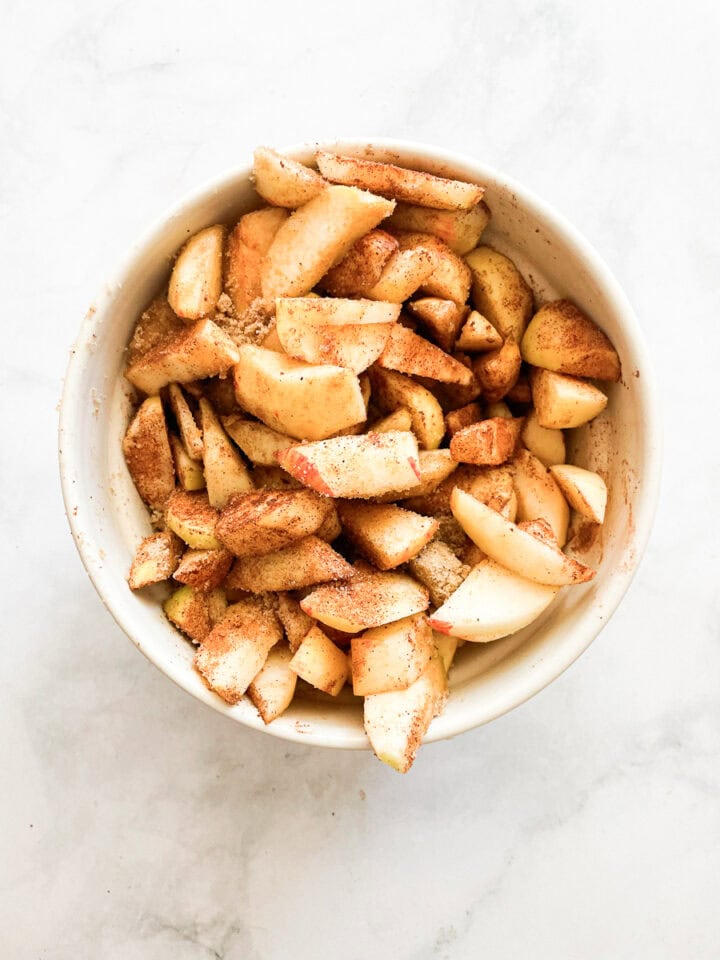
- Make filling: Preheat oven to 425° degrees F. Whisk together the brown sugar, cinnamon and nutmeg in a small bowl, then mix lightly through the apples.
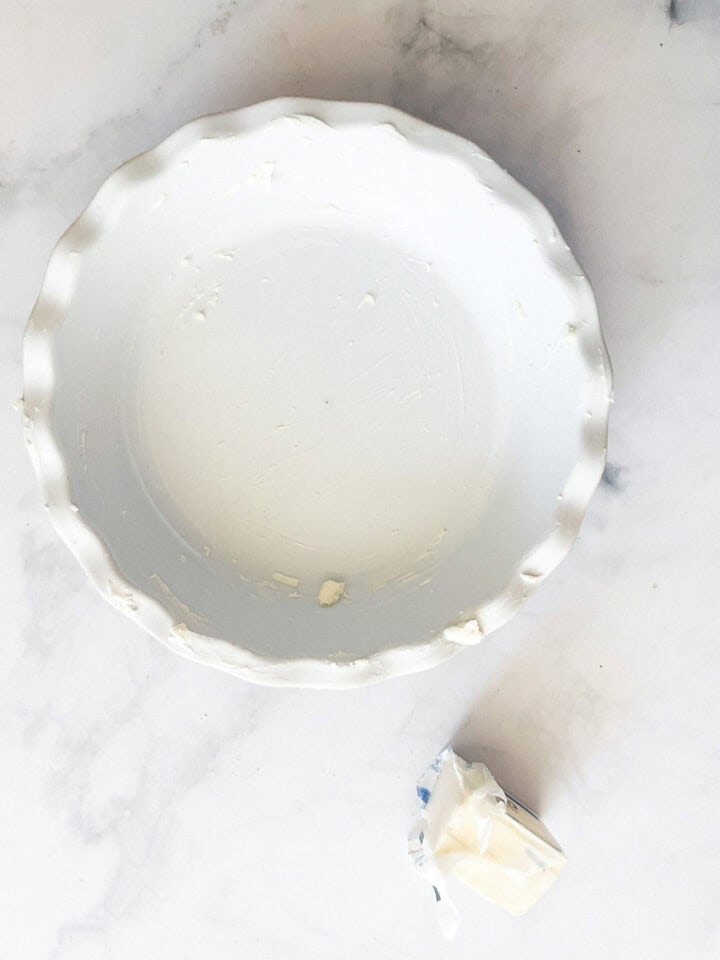
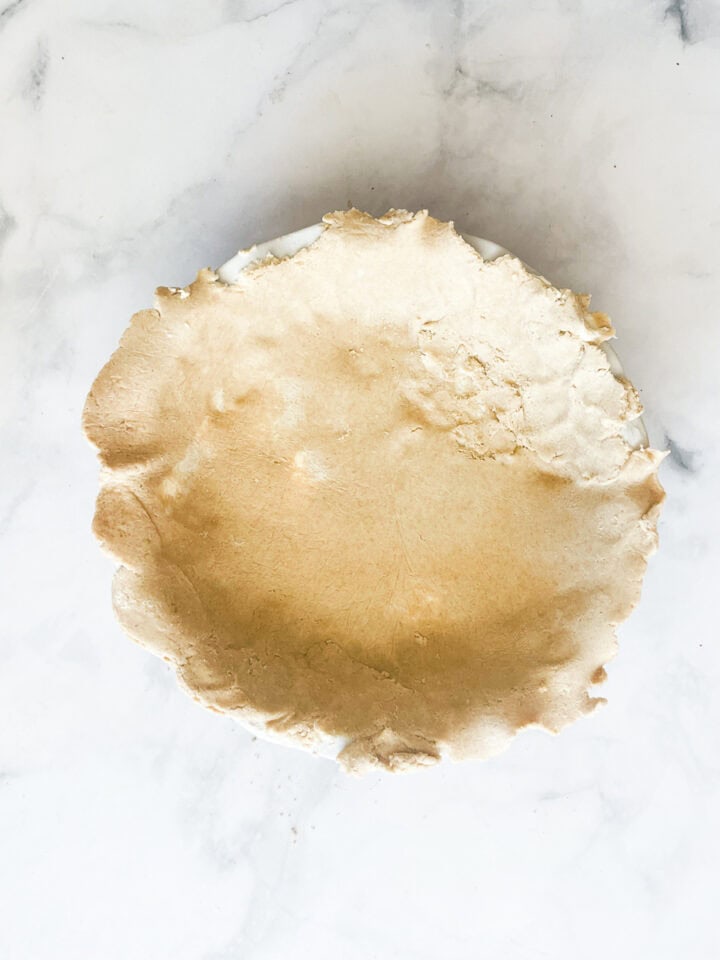
- Prep pan: Rub a pie pan with butter and have a baking sheet ready.
- Add dough: Roll out half of the dough and fit it into the prepared pan.
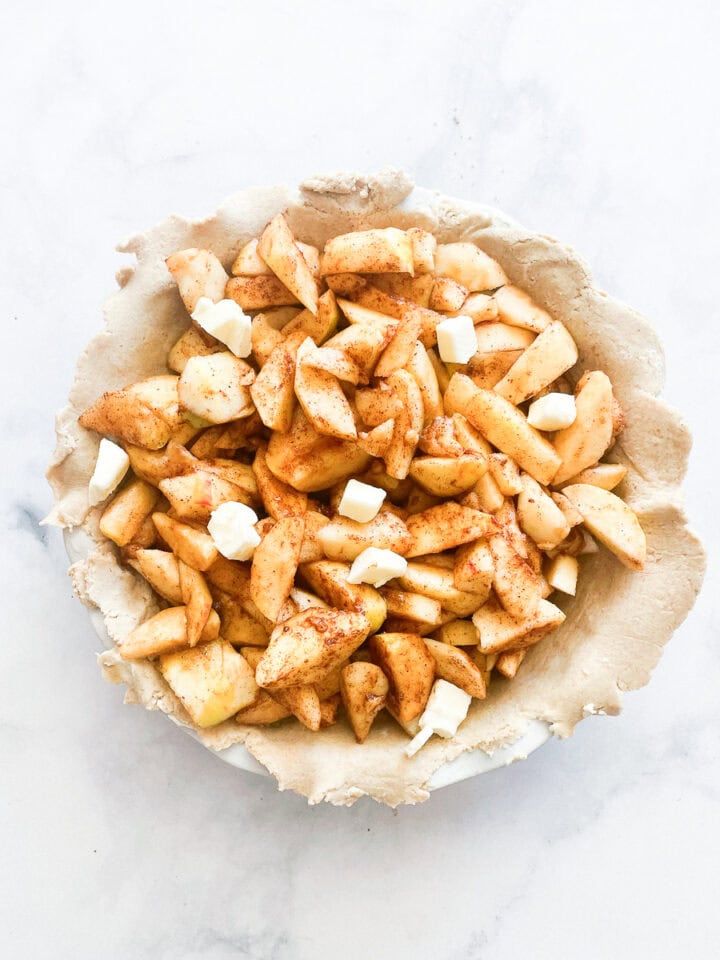
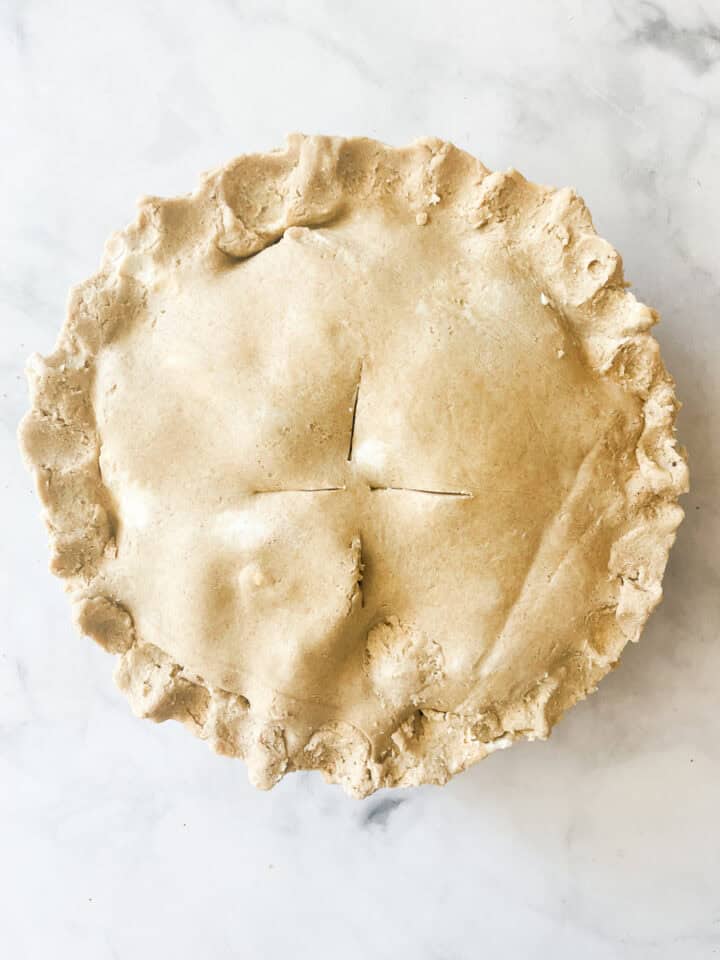
- Cool: Let the pie cool for at least 3 hours before serving..
- Add filling: Pile in the apples in the and dot with thin slices of butter. Place top crust on pie, crimp the edges, and cut a few vents in the top.
- Bake: Place pie on a baking sheet, place in the oven and bake for about 50 minutes or until the crust is lightly browned, apples are cooked through, and the filling is bubbling.
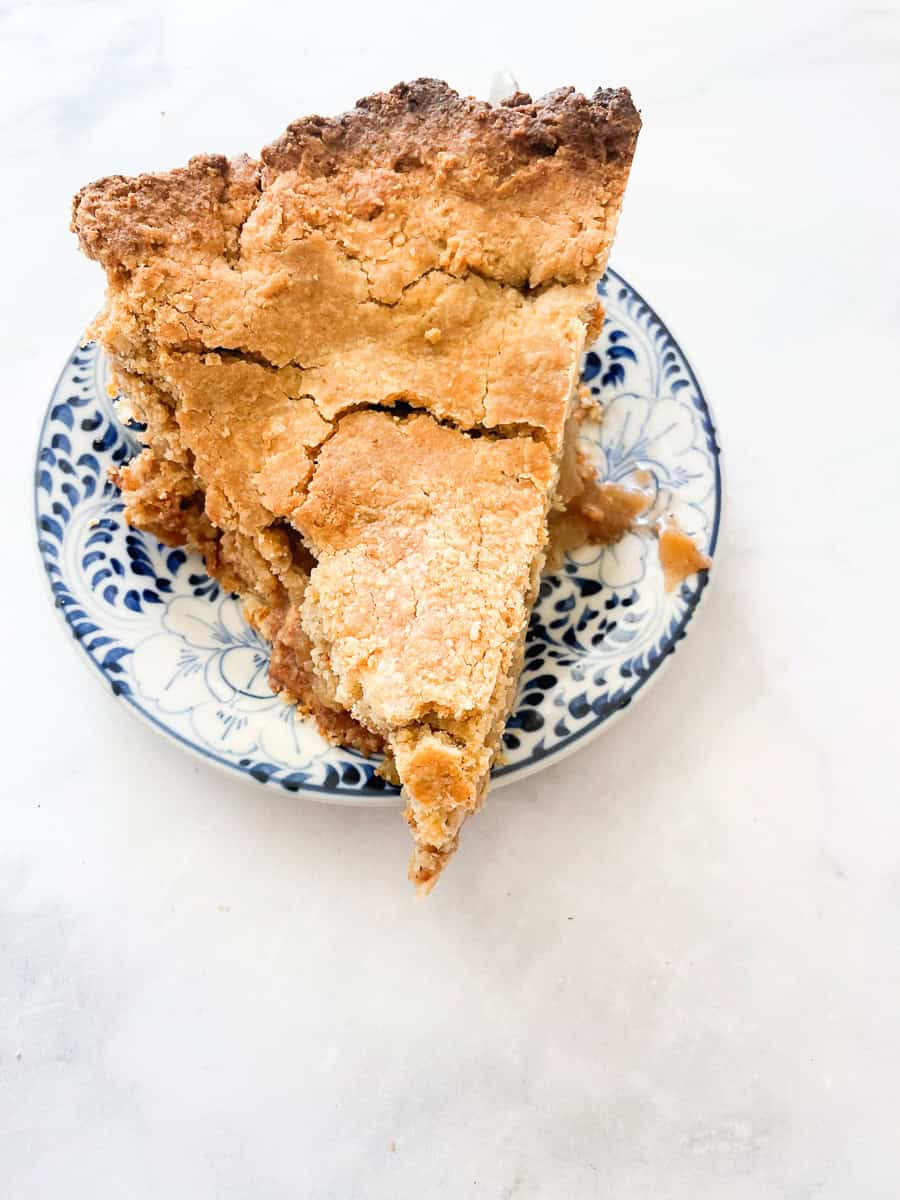
Gluten Free Apple Pie Tips
Apply these tips to any type of pie you bake, whether you make an oat flour pie crust, my classic gluten free pie crust, or a crust with your favorite 1:1 gluten free baking flour, or even when you bake with all-purpose flour!
- Use cold butter - For the flakiest crust, use very cold butter. When the butter mixes in with the flour it will form chunks of butter and flour which in turn steam and melt in the oven, creating those gorgeous flaky layers.
- Ice water - Likewise, make sure the water you use is actually ice water rather than just cold water from the tap. I prep my ice water as the first step to the recipe so that it's very cold when I add it to the crust.
- Rest the crust - Keep the crust cold in the fridge until you're ready to roll it out, especially important if your kitchen is warm (this gives the crust a fighting chance of being as flaky as possible). You can make the crust up to 3 days in advance and keep the wrapped discs in the fridge until you make the pie.
- Butter your pie dish! This will help the slices easily remove when you cut and serve the pie. This little step actually makes a big difference.
- Use a baking sheet. Another trick for a flaky crust is to place a large rimmed baking sheet in the oven while it preheats. Then, when you're ready to bake, carefully place the pie pan on the hot baking sheet. The baking sheet performs the double duty of catching any spills while also heating the bottom of the pie pan, creating a flakier bottom crust.
- Make the dough ahead. You can prepare the pie dough and store it in the fridge for 3 days, or freeze the dough for up to 3 months. Thaw the dough in the fridge thoroughly before rolling it out.
- Use a pie shield. This pie has a long baking time, and if you find that the crust is cooking too much you can make a little cover for the crust. First, cut a 14-inch square of aluminum foil and fold it in half. Cut out a 5-inch semi-circle on the folded edge then unfold. Carefully fit the aluminum foil over the pie crust edges, leaving the center of the pie exposed.
Serving Suggestions
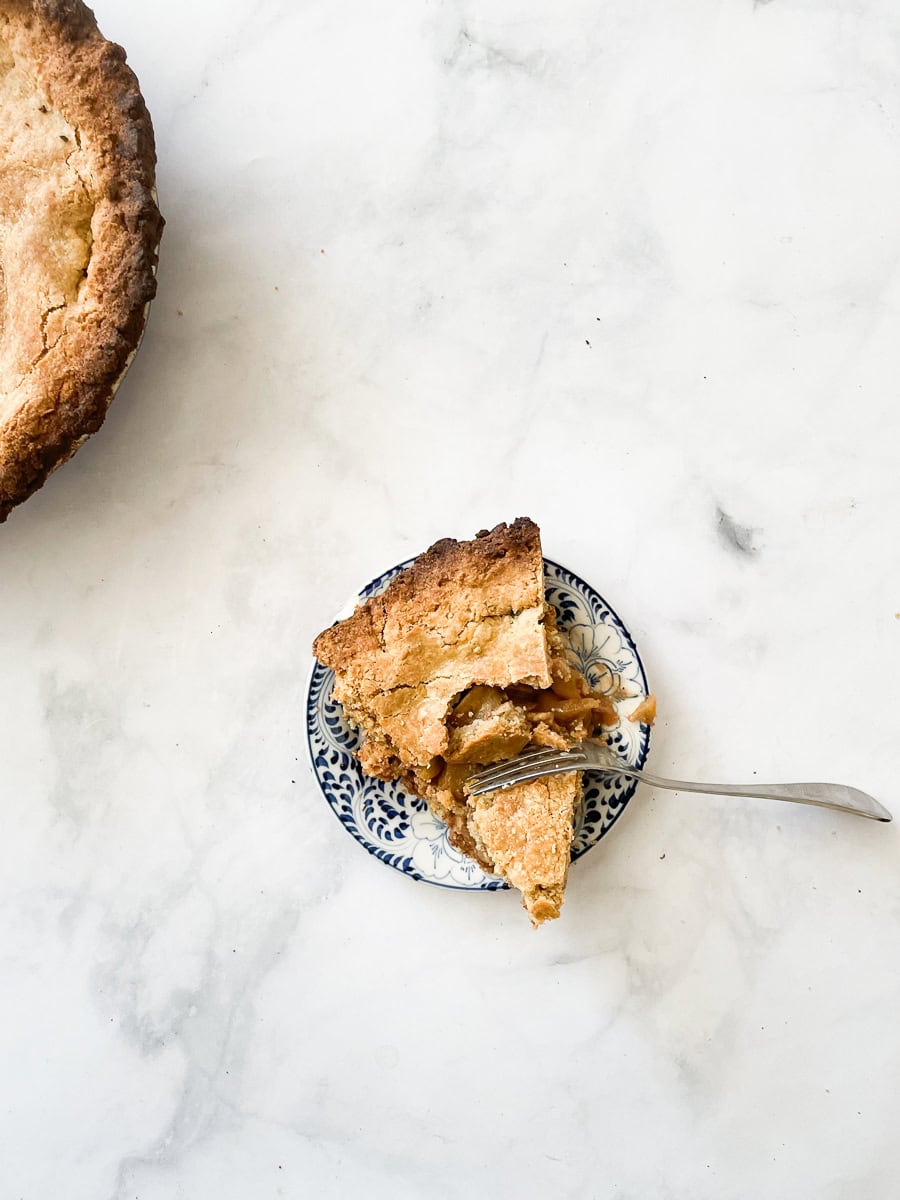
Apple pie is of course amazing served warm and a la mode with a nice, melty scoop of vanilla ice cream! Or drizzle salted caramel sauce over each slice of pie before serving (you could also add about ½ cup of homemade caramel sauce to the pie filling instead of the brown sugar). after you plate it. A piece of pie makes a lovely morning snack, either hot or cold.
Proper Storage
Pie freezes well and you can freeze a whole baked pie or individual slices if you have leftovers. Here's how to properly store your gluten free apple pie in a few different ways:
- Counter - Loosely cover the pie with foil and store it on the counter for one day.
- Fridge - Cover the pie with foil and store it in the fridge for up to 3 days.
- Freezer - Wrap the cooled, baked pie in a layer of plastic and a layer of foil and freeze it for up to three months. Thaw the pie overnight in the fridge before serving or reheating.
- To Reheat - Place the pie in a 350°F oven until warm.
More Gluten Free Apple Recipes
If you tried this Gluten Free Apple Pie or any other recipe on my website, please let me know how it went in the comments below! And I always appreciate a star rating if you loved it ❤️
Gluten Free Apple Pie
Ingredients
Crust
- 3 cups oat flour (360 grams)
- 2 tablespoons granulated sugar
- ½ teaspoon fine sea salt
- 1 cup unsalted butter, cold
- 1 cup ice water
Filling
- 3 ½ pounds apples, of choice, peeled, cored, and sliced
- ½ cup brown sugar
- 1 teaspoon ground cinnamon
- ½ teaspoon ground nutmeg
- ¼ teaspoon fine sea salt
Instructions
Make Crust
- In a large bowl, whisk together the oat flour, sugar, and salt. Cut in the butter with a fork or your hands until the flour is crumbly and the butter is well integrated. Using a fork, stir in the water a little bit at a time (you may not need all of it) until the dough holds together. Knead it with your hands until it can form a smooth ball, then divide the ball in half, press each half into a disk, wrap in plastic wrap, and rest in the fridge at least a half hour.
Make Pie
- Preheat oven to 425℉. Rub a pie pan with butter and have a baking sheet ready.
- Whisk together the brown sugar, cinnamon, nutmeg, and salt in a small bowl, then mix lightly through the apples.
- Roll out half of the pie crust and fit it into the pan, then in the apples. Roll out the remaining dough and place the top crust on the pie, crimp the edges, and cut a few vents in the top.
- Place pie on a baking sheet, place in the oven and bake for about 50-60 minutes or until the crust is lightly browned, apples are cooked through, and the filling is bubbling.
- Remove pie from the oven, place on a wire rack, and let it cool completely, at least 3 hours, so the filling can set. Serve warm or at room temperature. Pie will keep, covered in the fridge, for up to 5 days.
Notes
-
- Use cold butter - For the flakiest crust, use very cold butter. When the butter mixes in with the flour it will form chunks of butter and flour which in turn steam and melt in the oven, creating those gorgeous flaky layers.
-
- Ice water - Likewise, make sure the water you use is actually ice water rather than just cold water from the tap. I prep my ice water as the first step to the recipe so that it's very cold when I add it to the crust.
-
- Rest the crust - Keep the crust cold in the fridge until you're ready to roll it out, especially important if your kitchen is warm (this gives the crust a fighting chance of being as flaky as possible). You can make the crust up to 3 days in advance and keep the wrapped discs in the fridge until you make the pie.
-
- Butter your pie dish! This will help the slices easily remove when you cut and serve the pie. This little step actually makes a big difference.
-
- Use a baking sheet. Another trick for a flaky crust is to place a large rimmed baking sheet in the oven while it preheats. Then, when you're ready to bake, carefully place the pie pan on the hot baking sheet. The baking sheet performs the double duty of catching any spills while also heating the bottom of the pie pan, creating a flakier bottom crust.
-
- Make the dough ahead. You can prepare the pie dough and store it in the fridge for 3 days, or freeze the dough for up to 3 months. Thaw the dough in the fridge thoroughly before rolling it out.
-
- Use a pie shield. This pie has a long baking time, and if you find that the crust is cooking too much you can make a little cover for the crust. First, cut a 14-inch square of aluminum foil and fold it in half. Cut out a 5-inch semi-circle on the folded edge then unfold. Carefully fit the aluminum foil over the pie crust edges, leaving the center of the pie exposed.
- Counter - Loosely cover the pie with foil and store it on the counter for one day.
- Fridge - Cover the pie with foil and store it in the fridge for up to 3 days.
- Freezer - Wrap the cooled, baked pie in a layer of plastic and a layer of foil and freeze it for up to three months. Thaw the pie overnight in the fridge before serving or reheating.
- To Reheat - Place the pie in a 350°F oven until warm.




Lex says
Hi! Can you please clarify your directions regarding the bottom layer of pie crust? Should it be pre baked? Or does an oat flour crust not lend itself well to a bottom layer and skip it entirely? Thank you!
Nicole Spiridakis says
Hi - Yes, I have updated it! It's a two-crust pie ... I left out that step. I think I need to update this whole post, but for now, the recipe is updated. Thank you!