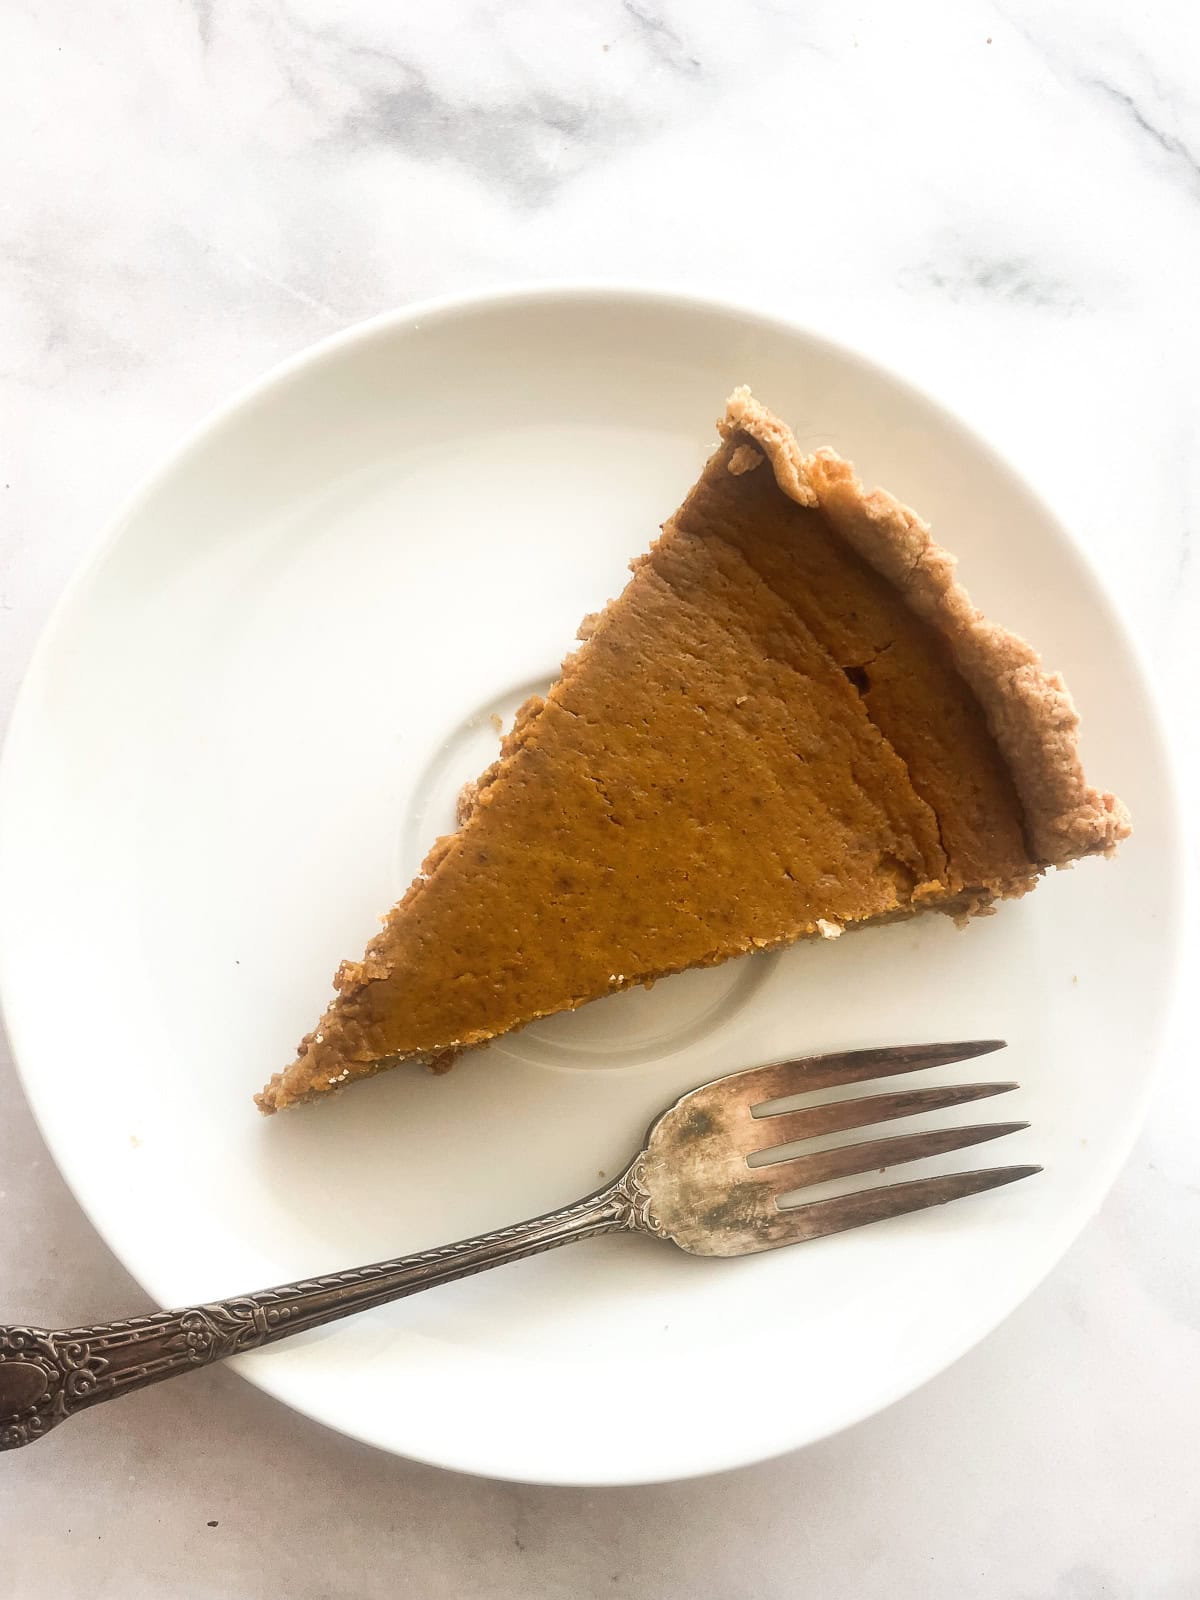
This gorgeously rich gluten free pumpkin pie balances a luxuriously smooth, cream-based custard infused with cozy spices and brown sugar on a buttery, flaky gluten free crust. Perfect for Thanksgiving!
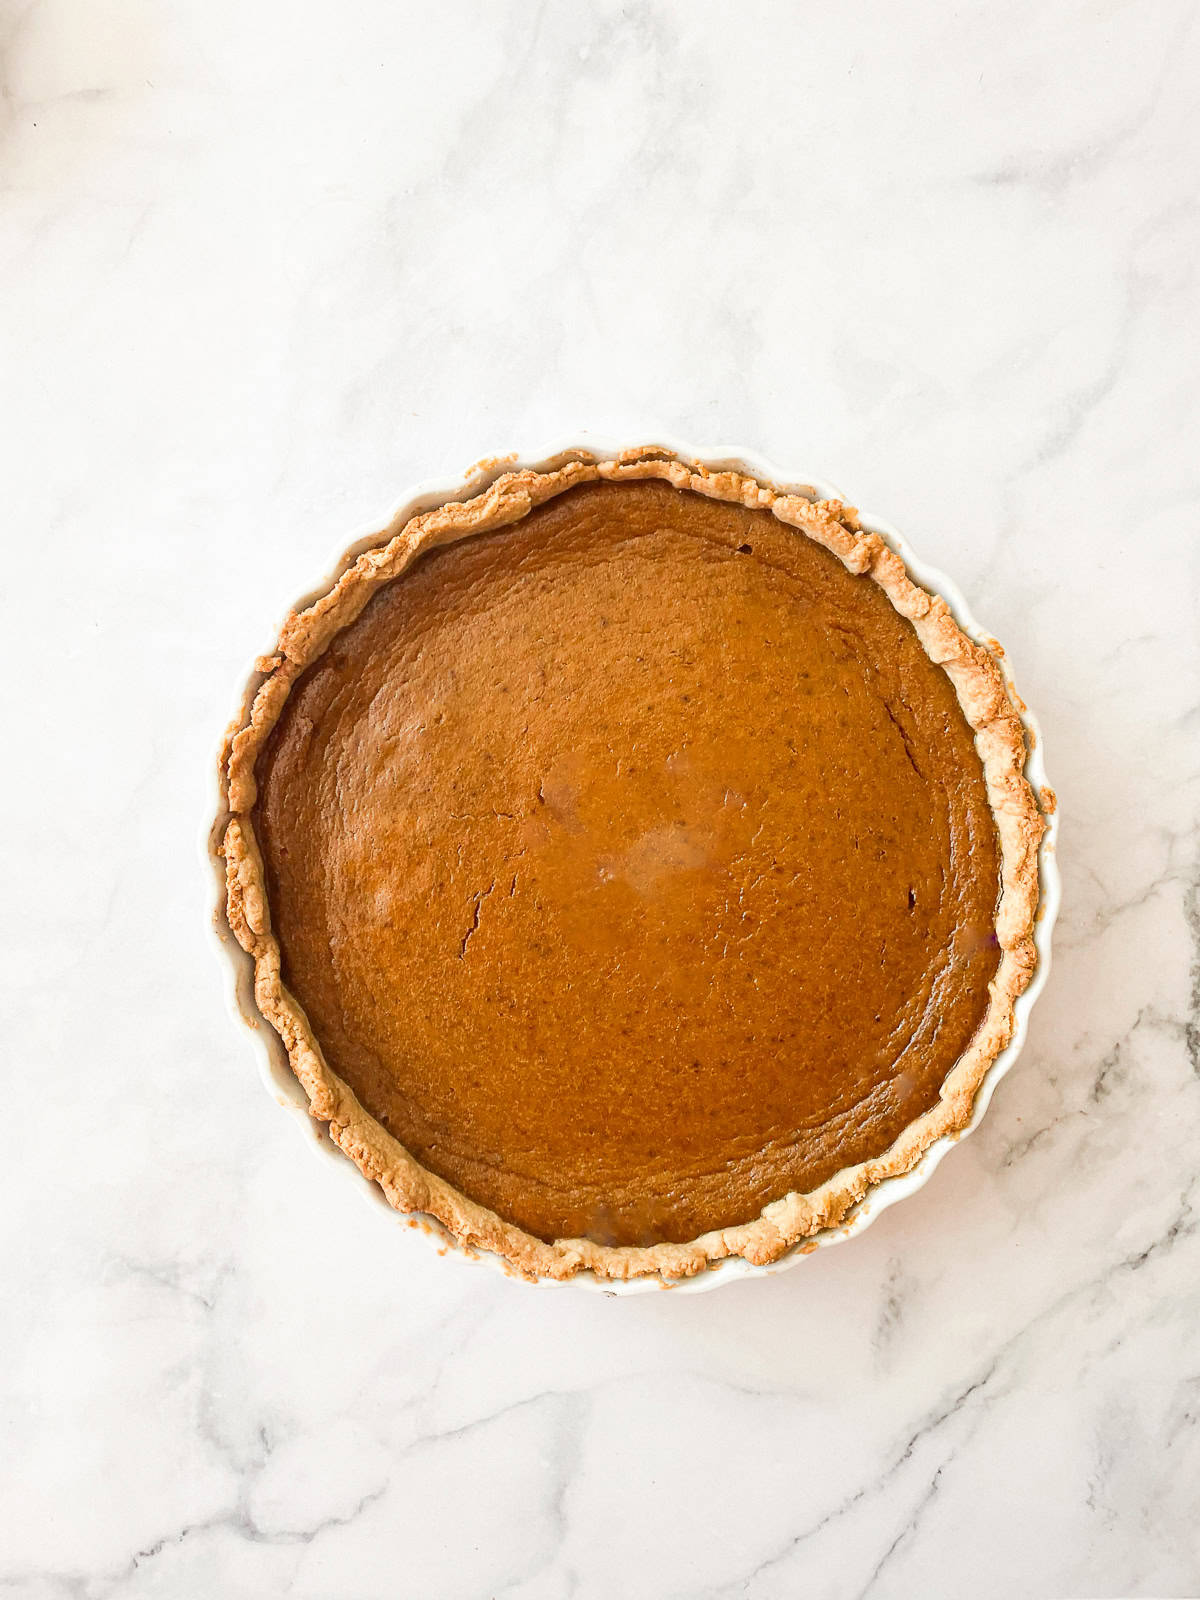
This gluten free pumpkin pie recipe will make all your Thanksgiving baking dreams come true! If you've been looking for a solid gluten free pumpkin pie look no longer: This recipe is IT. You'll find everything you love in a pumpkin pie in every bite, but made gluten free.
A plush pumpkin custard made with fresh heavy cream is baked to creamy perfection atop a wonderfully crisp gluten free all butter pie crust. It features all the classic flavors you love about pumpkin pie, all without any gluten. You'll want to make this pie every year, I promise!
Jump to:
Why You'll Love This Recipe
A bowl and a whisk are all that's needed to make the filling for gluten free pumpkin pie, and if you're short on time you can grab a gluten free pie crust from the store (although, I love making homemade crust! You can prep a few in advance and stash them in the freezer so they're ready to go whenever). Quick, easy, and oh-so-delicious, you are sure to love this amazing gluten free pumpkin pie.
- Whole ingredients. Skip the can of evaporated milk with its extra ingredients and just use heavy cream. The resulting custard is decadently rich without any weird extras.
- Easy ingredients. You'll see below that the ingredients list is brief, meaning you may already have a lot of what you need.
- Everyone can enjoy it! When you make gluten free pumpkin pie you'll be assured that everyone at the table can enjoy it, whether they need to be gluten free or not. I've even given substitution suggestions lower down if you want to make this pie dairy-free.
Ingredient Notes
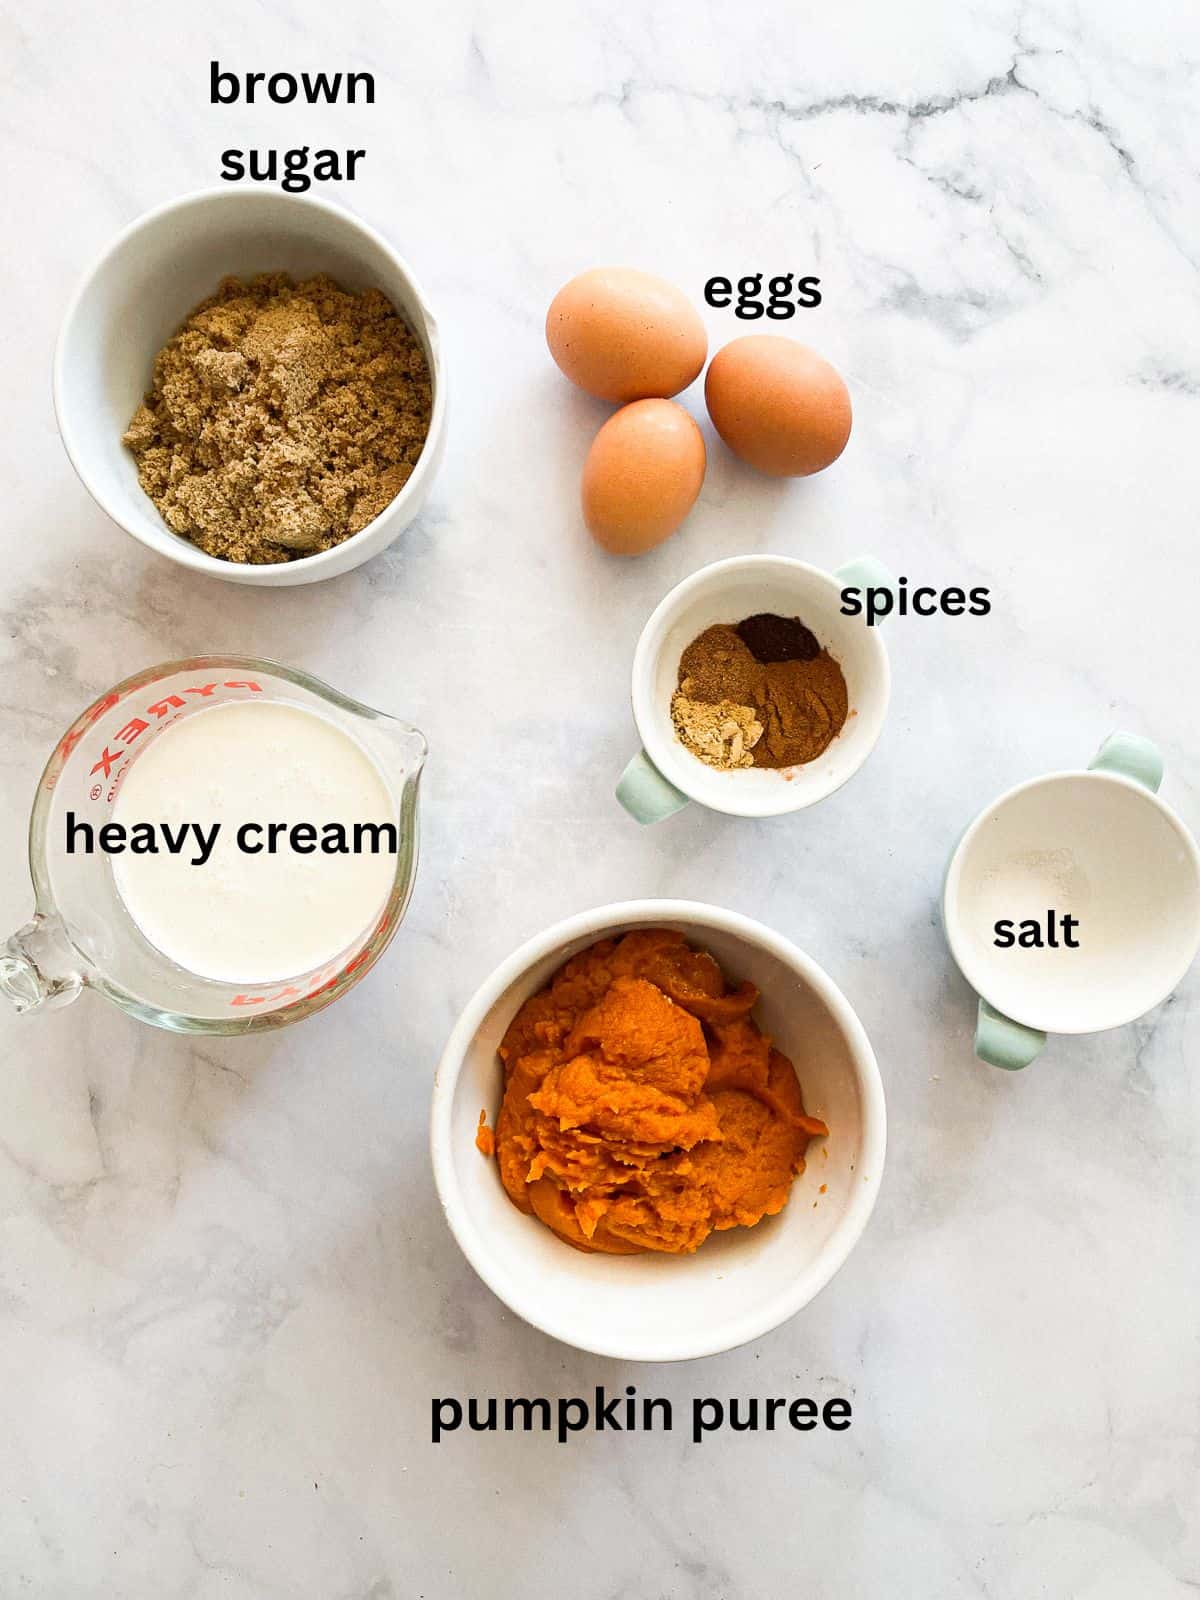
- Pie crust - You'll need 1 9-inch pie crust, homemade or store-bought.
- Pure pumpkin puree - Make sure to use pure pumpkin - pumpkin pie filling has added sweeteners and stabilizers.
- Heavy cream - For the best-tasting custard, heavy cream adds richness. In a pinch, use half-and-half or whole milk.
- Eggs - Use large eggs and not jumbo eggs which can make the filling too liquidy.
- Brown sugar - You can use light or dark brown sugar. Dark brown sugar may make the filling slightly darker.
- Ground spices - A combination of cinnamon, ginger, nutmeg, and cloves.
- Salt - Fine sea salt or table salt is best.
See the recipe card at the end of this post for the full ingredient amounts.
Variations
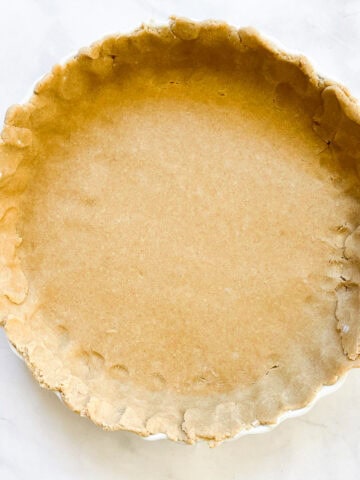
- Pie crust options - You can use your favorite homemade or store-bought pie crust for this pie. (You won't need to pre-bake homemade crust because the pie starts on high heat before dropping down a bit to finish the custard.) Try my oat flour pie crust or gluten free pie crust recipes instead of an all-butter pie crust if you like.
- Another sugar - If you want to use granulated sugar, go right ahead. For a naturally sweetened pie, add coconut sugar instead of brown sugar, or just make maple pumpkin pie!
- Salted caramel pie - Add ¼ cup of homemade salted caramel sauce to the filling to turn this into a salted caramel pumpkin pie!
If you have a hankering for cake on Thanksgiving in addition to or instead of pie, try my gluten free pumpkin bundt cake recipe!
Instructions
Here's a glance at how to easily make this pie. There's no need to blind-bake the crust because we'll start baking it on high heat, then reduce the heat after 15 minutes to cook the custard to creamy perfection.
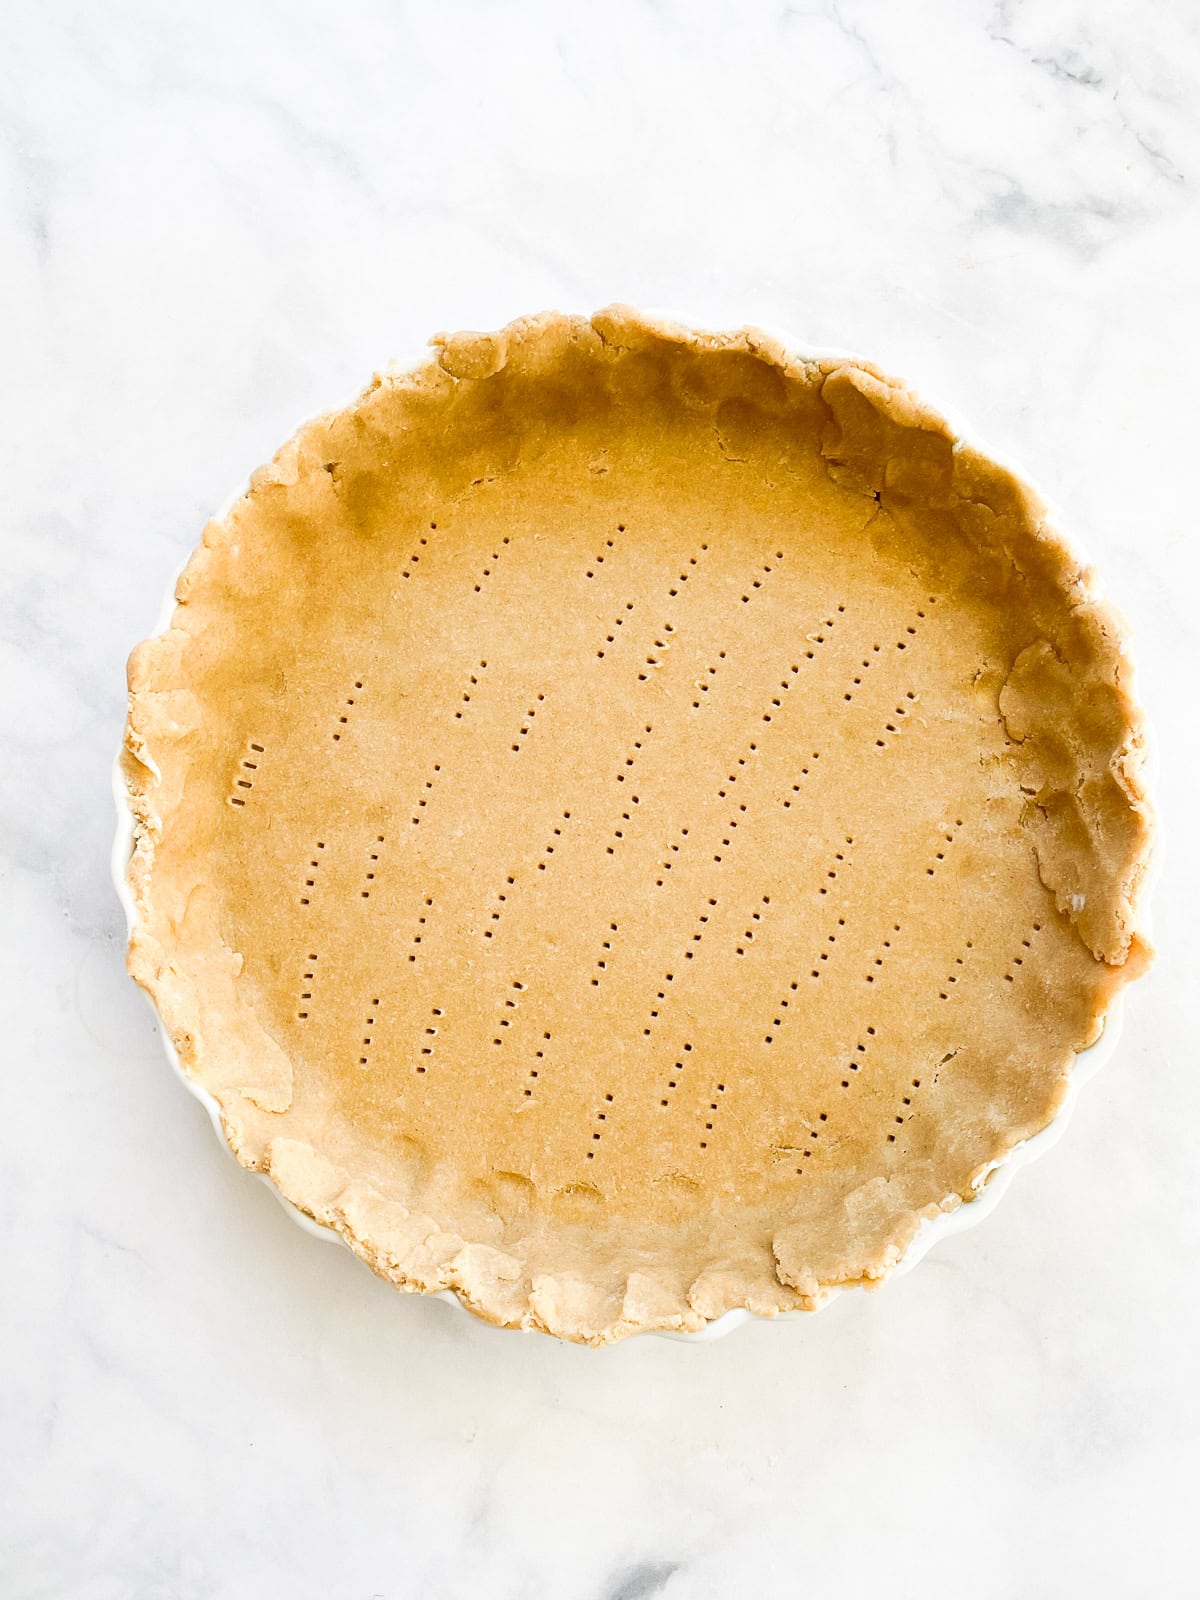
1. Prep pie crust. Roll out your pie crust and fit it into a pie pan. Prick it all over with a fork.
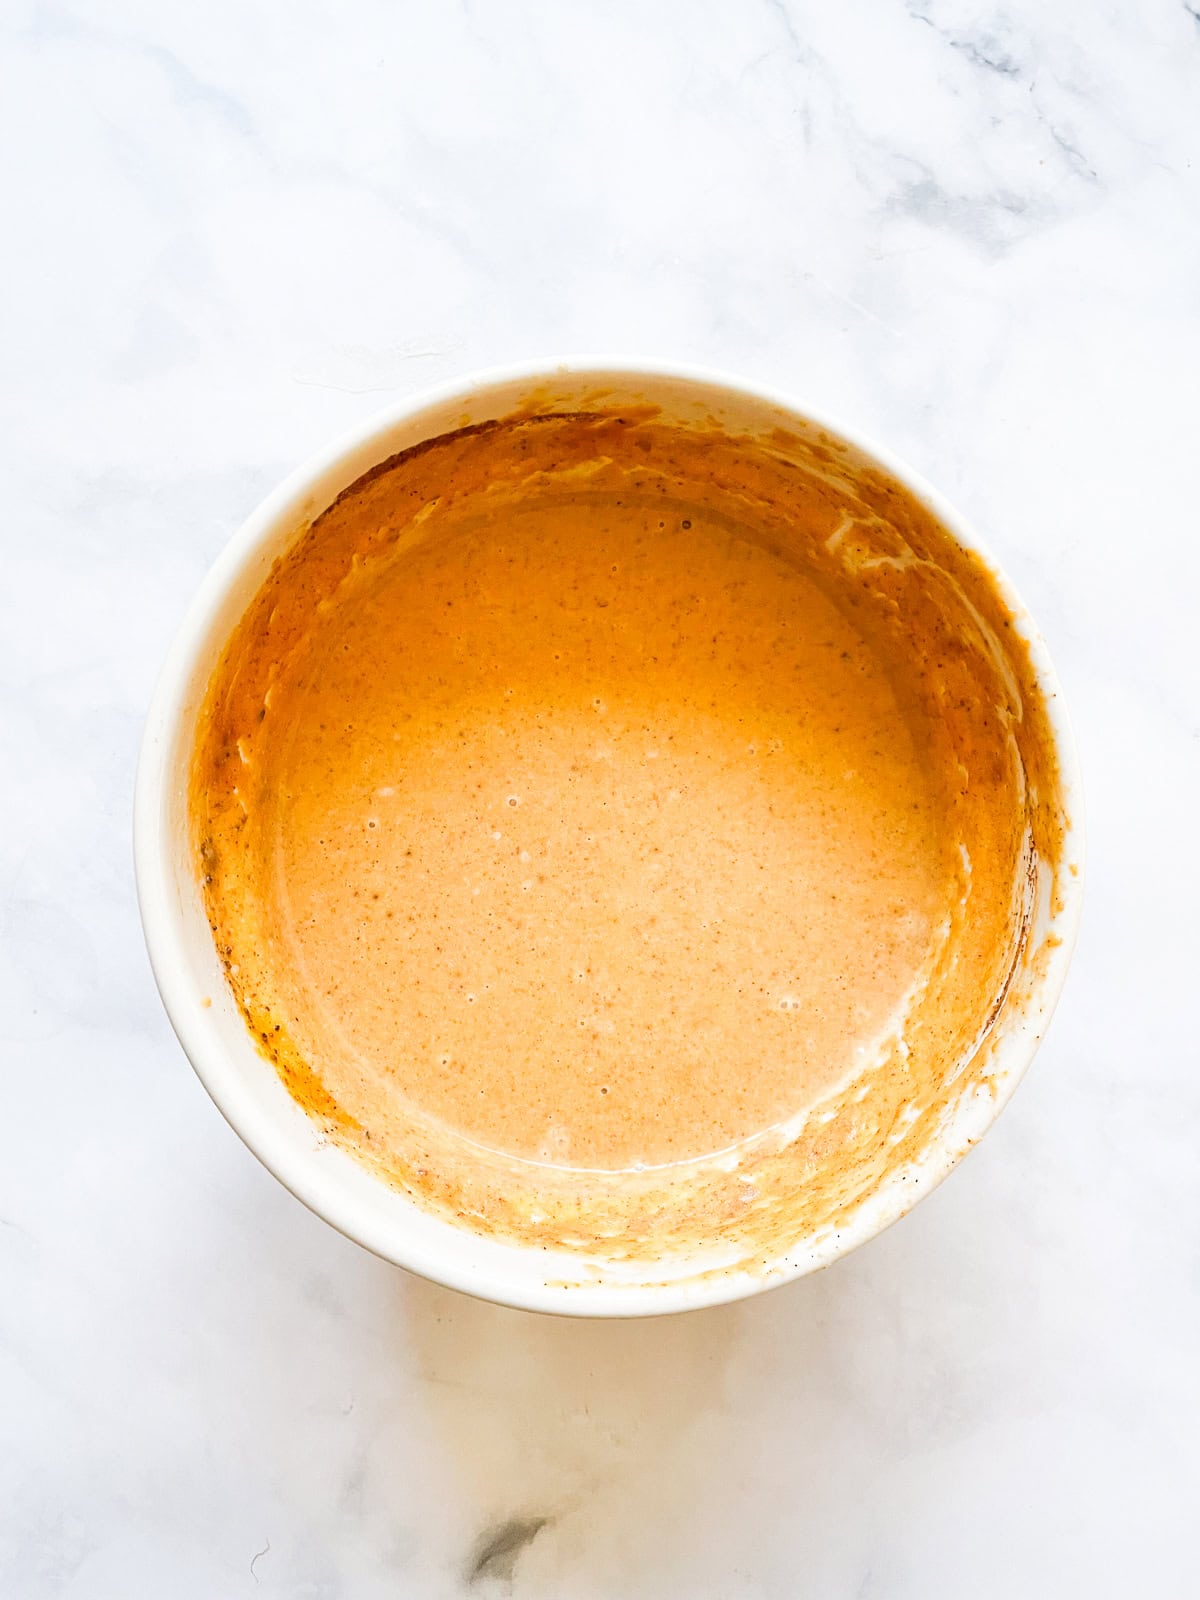
2. Make filling. Whisk the filling ingredients together in a bowl until smooth.
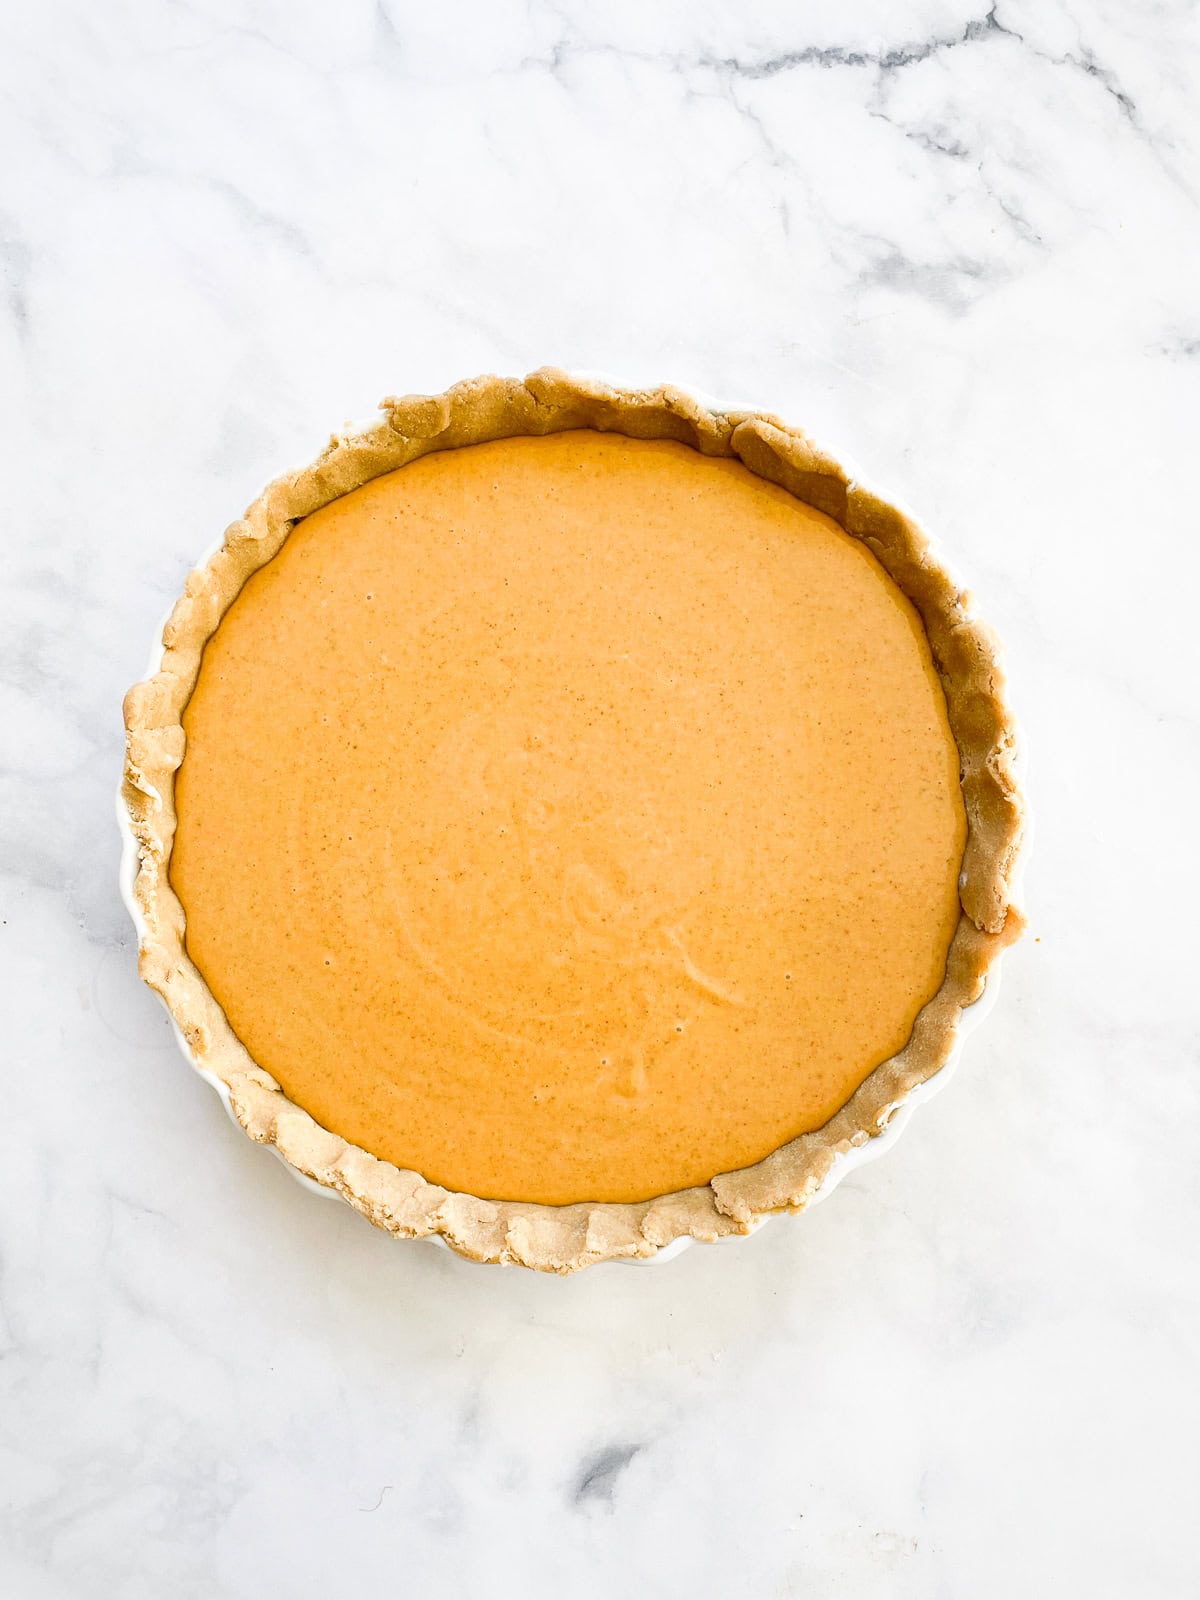
3. Add filling to the crust. Carefully pour the filling into the prepared crust.
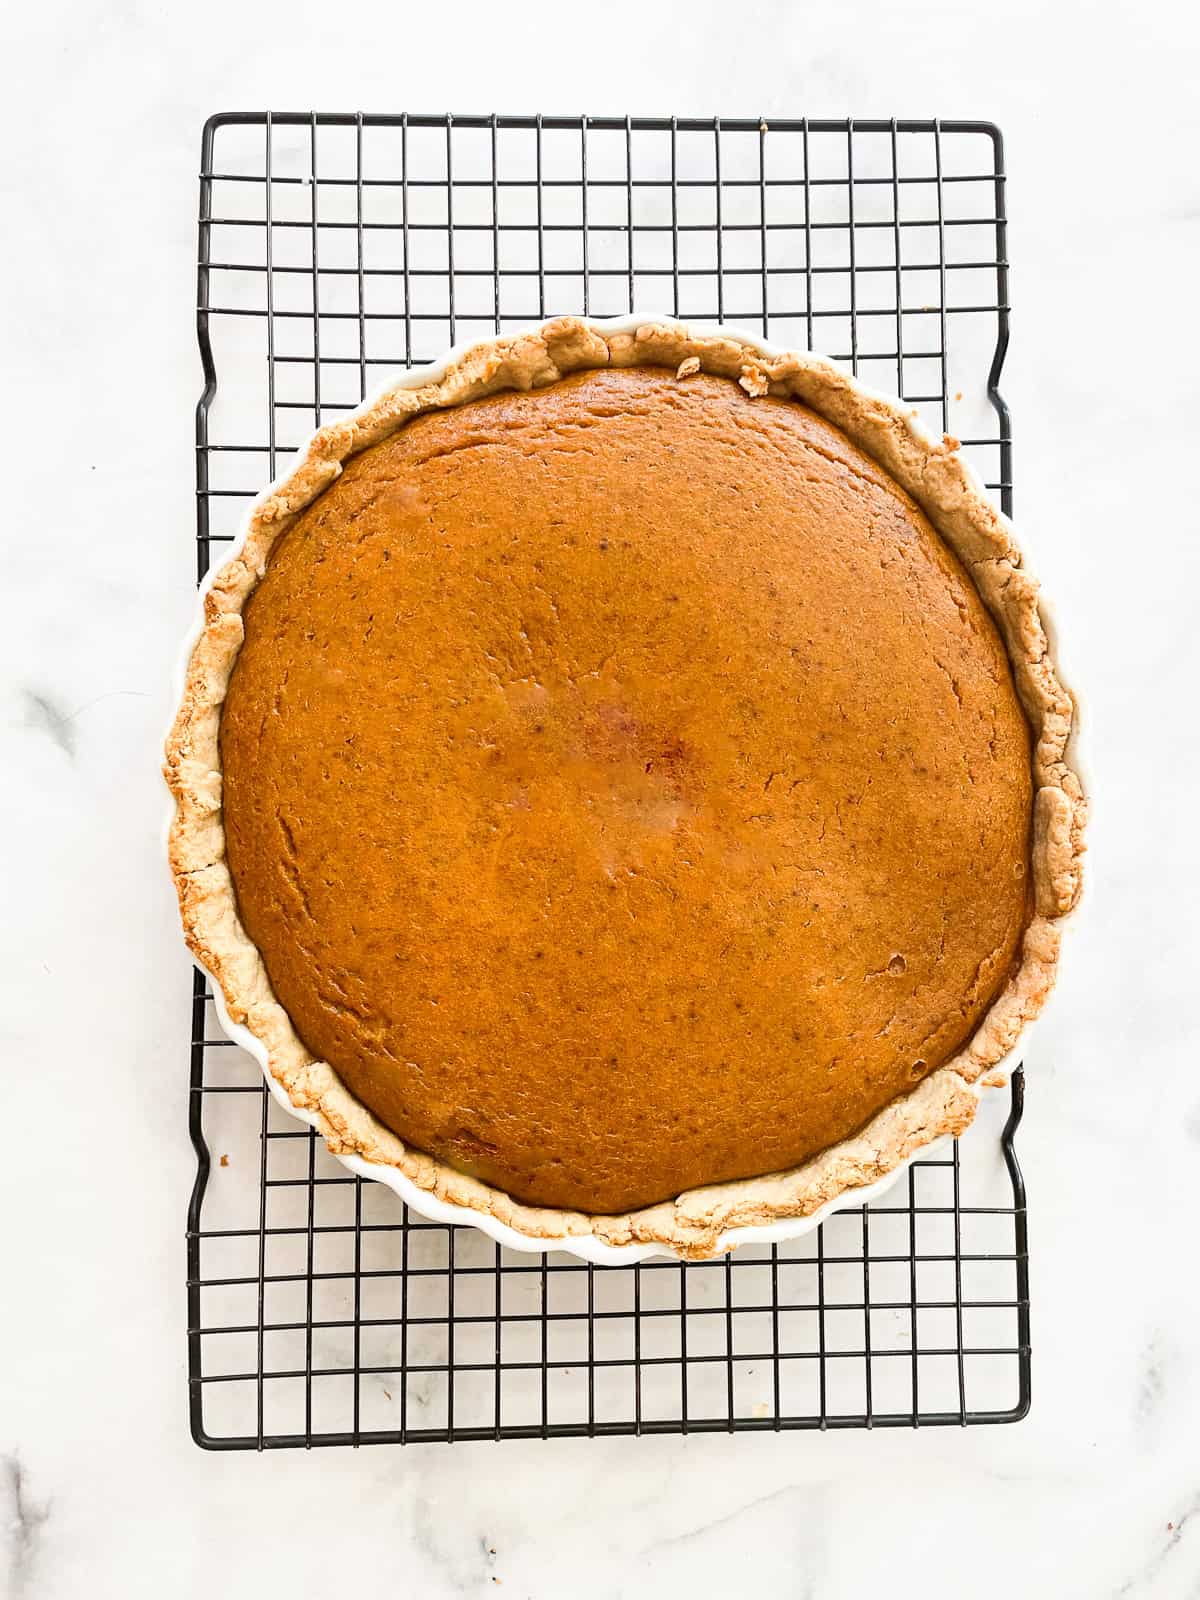
4. Bake. Now bake the pie for 15 minutes at 425℉, then reduce the heat to 350℉ and bake for 40 minutes more.
Baking Tip
Butter the pie dish. I didn't do this for years and always struggled to remove the slices without breaking the crust. I can't stress how important this is: butter (or grease) your pie pan before fitting in the crust. This will help tremendously with clean cuts and the neat removal of pie slices.
Tips for the Best Gluten Free Pumpkin Pie
- Prepare the filling ahead. You can whisk together the filling ingredients and store the mixture in a glass jar or airtight container for up to 24 hours before you plan to bake the pie. A rest will help the filling to deepen in flavor. Give the filling a good whisk to integrate it again before adding it to the crust.
- Use a large enough pie pan. Spillage is the worst! Make sure you use a 9-inch pie pan that isn't too shallow so that the filling cooks evenly and doesn't leak over the top.
- Heat a baking sheet. In addition to baking the pie on the lower rack, place a large baking sheet in the oven while it preheats. Then, when the oven is ready, place the pie on the baking sheet. The hot pan will help the crust to cook evenly and crisply.
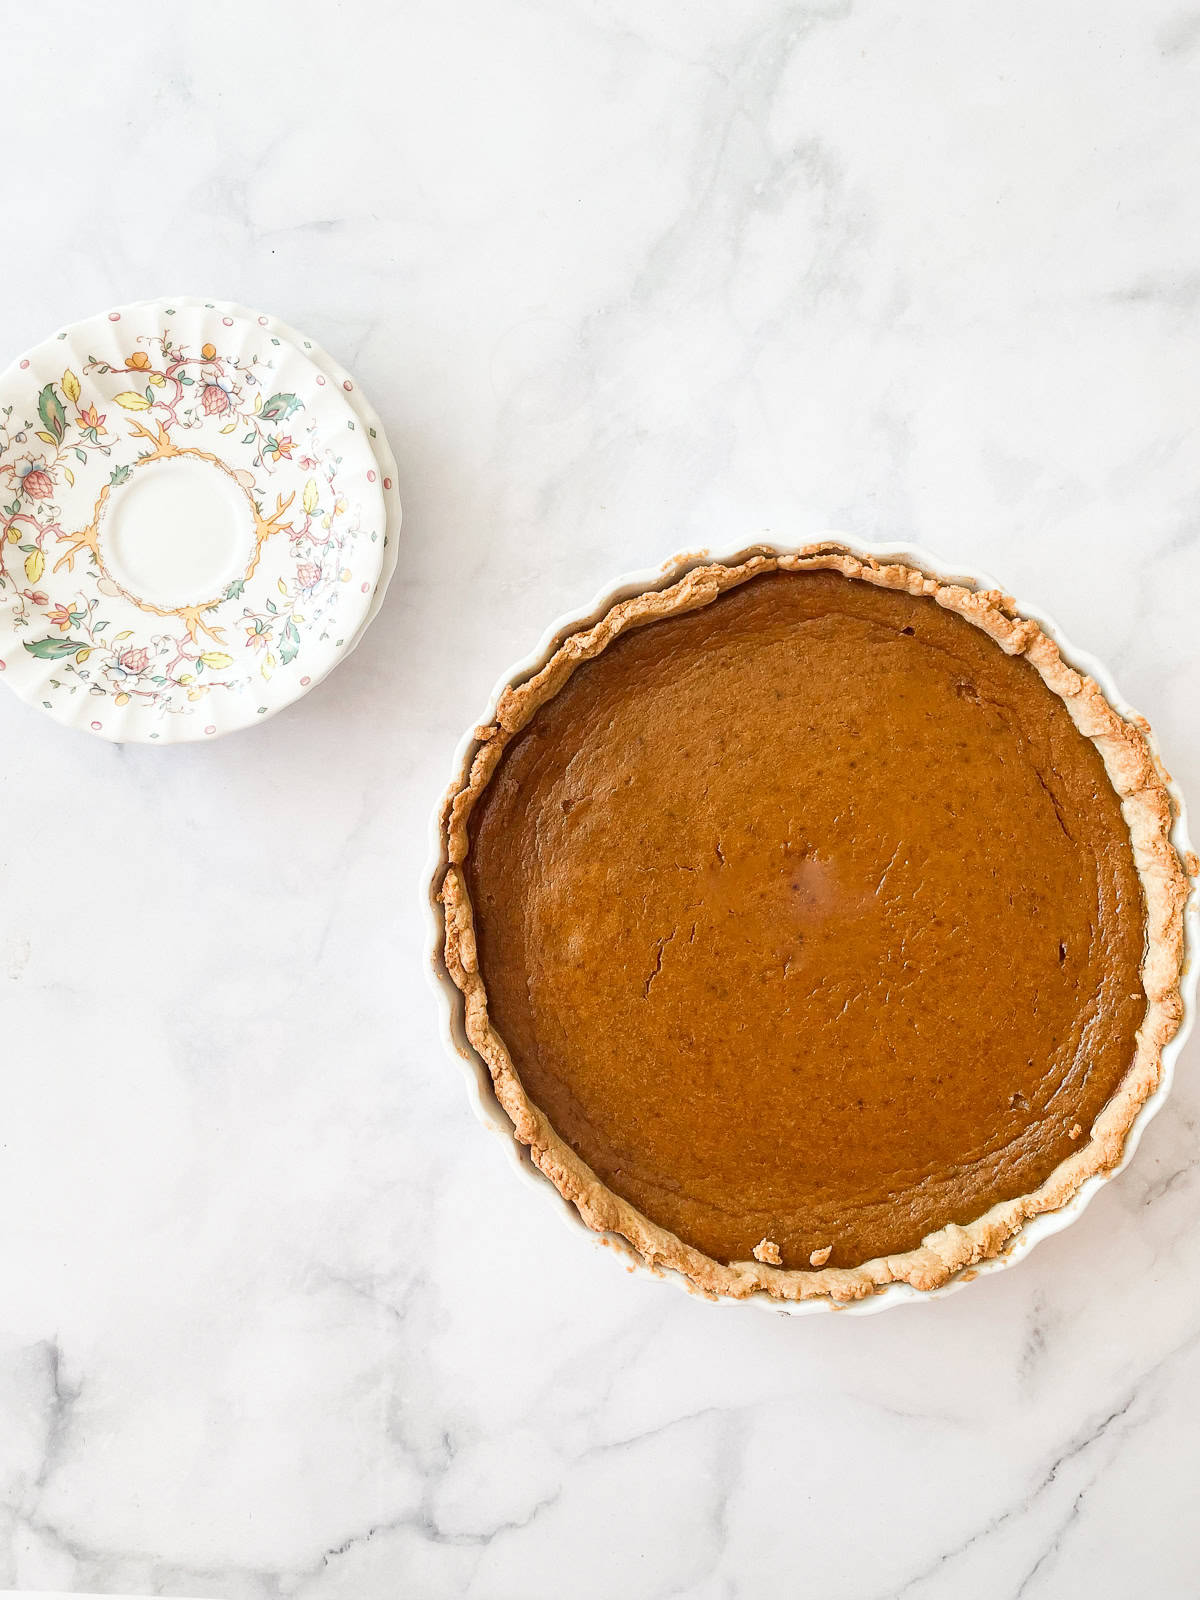
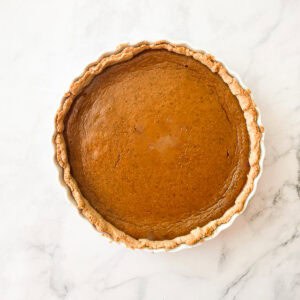
- Don't overbake. It's almost inevitable that you'll get a few cracks in your pumpkin pie, but the way to avoid this is to not let the pie bake for too long. The pie should look firm around the edges but still a little soft and "jiggly" in the center although NOT at all liquidy. Identifying when a pumpkin pie is done does take a bit of trial, error, and experience, so please know that even if you get a cracked surface the pie will still taste delicious.
- Fully cool the pie. Custard pies need time to cool fully after being baked, so it's really important to allow them to cool fully. Cool your pie at least to room temperature and then cut it or place it in the fridge to chill. I love pumpkin pie served cold, but it depends on personal preference!
- Make it dairy-free. Use whole-fat coconut milk in the filling or your favorite non-dairy milk to make this pie dairy-free.
- Use pumpkin pie spice. If you don't have all the spices in the pantry you can easily use pumpkin pie spice for the combination of the spices (2 ½ teaspoons).
Serving Suggestions
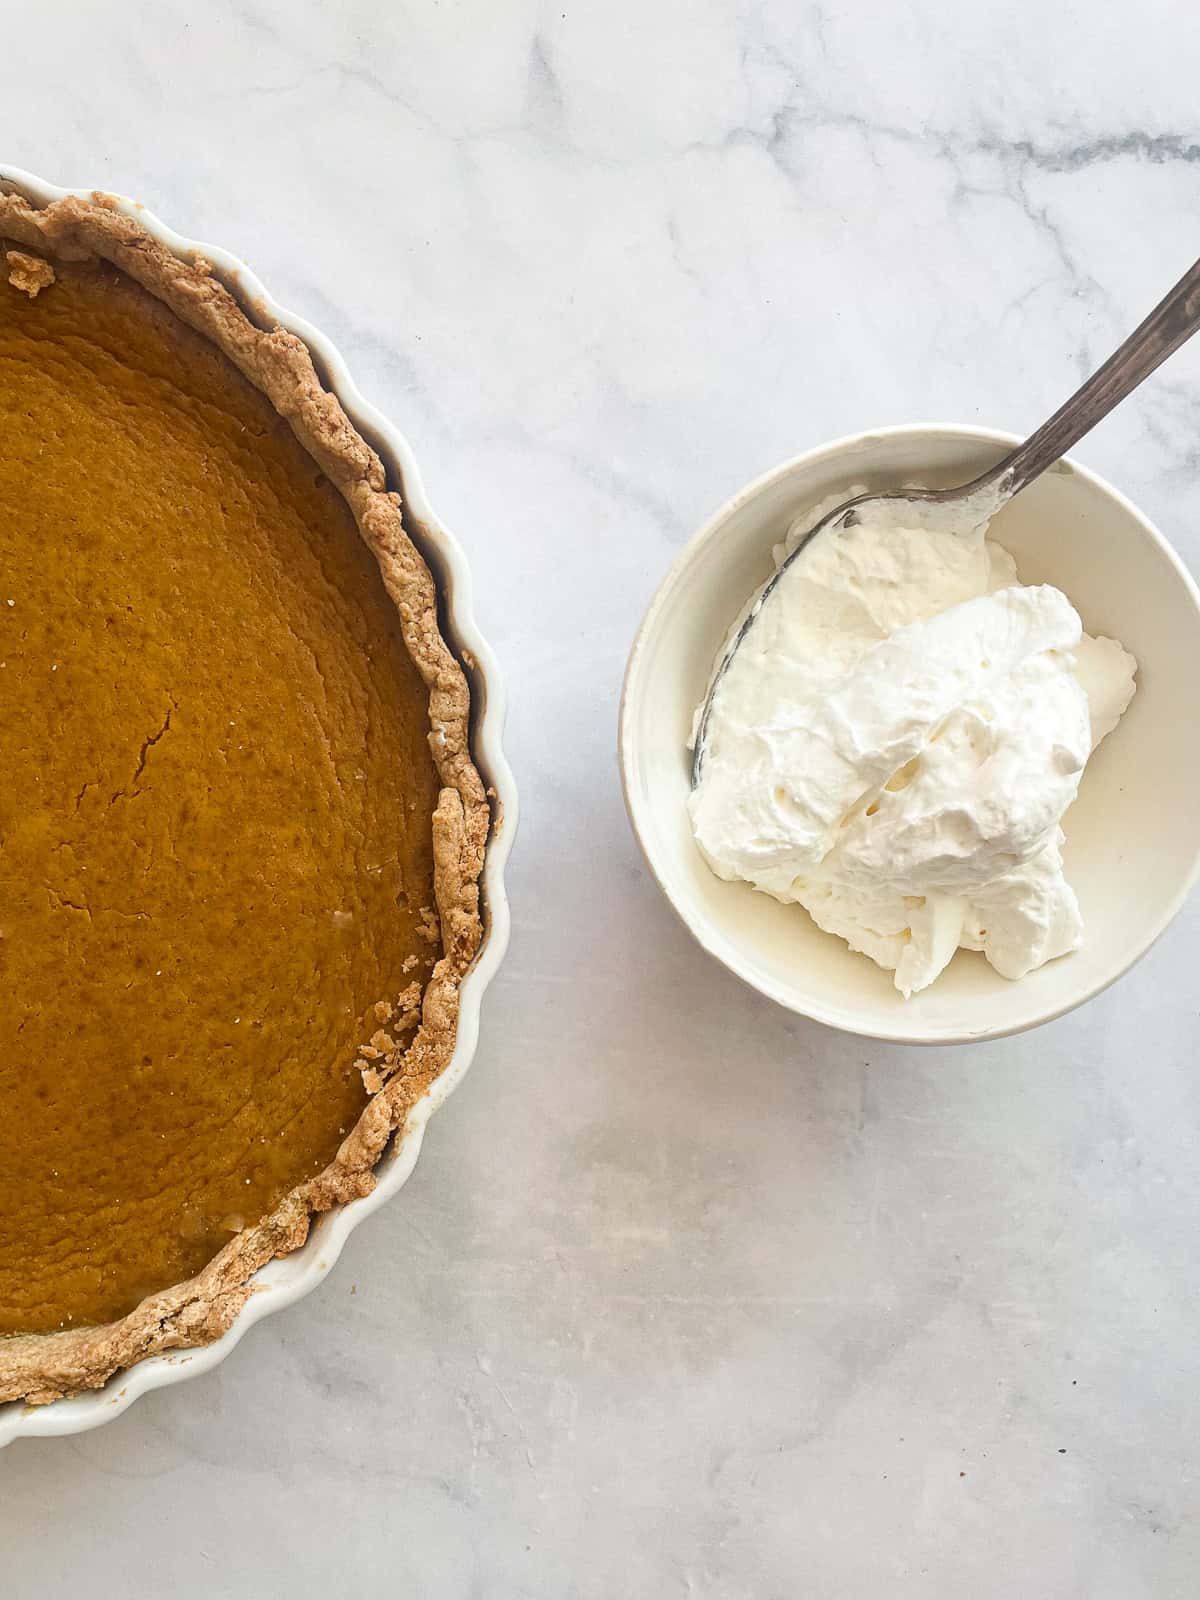
Homemade whipped cream, plain or lightly sweetened, is of course the very best topping for pumpkin pie! The next best is store-bought whipped cream or vanilla ice cream.
You could add a little flavor to your homemade whipped cream like pure vanilla extract, a tablespoon or two of maple syrup, or ½ teaspoon of ground cinnamon for cinnamon whipped cream.
Proper Storage
Store gluten free pumpkin pie covered with plastic or foil in the fridge for up to 5 days.
More Gluten Free Pumpkin Recipes
If you tried this Gluten Free Pumpkin Pie or any other recipe on my website, please let me know how it went in the comments below! And I always appreciate a star rating if you loved it ❤️
Gluten Free Pumpkin Pie
Ingredients
- 1 9-inch gluten free all butter pie crust, or a pie crust of your choice
- 1 can pure pumpkin
- 1 cup heavy cream
- 3 eggs
- 1 cup brown sugar, light or dark brown sugar
- 1 ½ teaspoons ground cinnamon
- ½ teaspoon ground ginger
- ¼ teaspoon ground nutmeg
- ¼ teaspoon ground cloves
- ½ teaspoon fine sea salt
Instructions
- Preheat oven to 425℉ with a baking sheet set on the lower rack.
- Butter a pie plate or ceramic tart pan and roll out the crust. Fit the crust into the prepared pan and prick the bottom all over with a fork.
- In a large bowl, whisk together the pumpkin, cream, eggs, brown sugar, spices, and salt. Pour the filling into the pie crust.
- Carefully place the pie in the oven on the hot baking sheet and bake for 15 minutes. Then turn down the heat to 350℉ and continue baking the pie for another 35-40 minutes, until the filling has set.
- Remove the pie from the oven and let cool to room temperature before serving.
Notes
- Prepare the filling ahead. You can whisk together the filling ingredients and store the mixture in a glass jar or airtight container up to 24 hours before you plan to bake the pie. A rest will help the filling to deepen in flavor. Give the filling a good whisk to integrate it again before adding it to the crust.
- Use a large enough pie pan. Spillage is the worst! Make sure you use a 9-inch pie pan that isn't too shallow so that the filling cooks evenly and doesn't leak over the top.
- Heat a baking sheet. In addition to baking the pie on the lower rack, place a large baking sheet in the oven while it preheats. Then, when the oven is ready, place the pie on the baking sheet. The hot pan will help the crust to cook evenly and crisply.
- Don't overbake. It's almost inevitable that you'll get a few cracks in your pumpkin pie, but the way to avoid this is to not let the pie bake for too long. The pie should look firm around the edges but still a little soft and "jiggly" in the center although NOT liquidy. Identifying when a pumpkin pie is done does take a bit of trial, error, and experience, so know that even if you get a cracked surface the pie will still taste delicious.
- Fully cool the pie. I can't stress how important this is! Custard pies need time to cool fully after being baked. Cool your pie at least to room temperature and then cut it or place it in the fridge to chill. I love pumpkin pie served cold, but it depends on personal preference!
- Make it dairy-free. Use whole-fat coconut milk in the filling or your favorite non-dairy milk to make this pie dairy-free.
- Use pumpkin pie spice. If you don't have all the spices in the pantry you can easily use pumpkin pie spice for the combination of the spices (2 ½ teaspoons).




Helen Spiridakis says
Another winner. Gluten free is fast becoming a go to choice because of its healthy and delicious nature. Happy turkey day to all