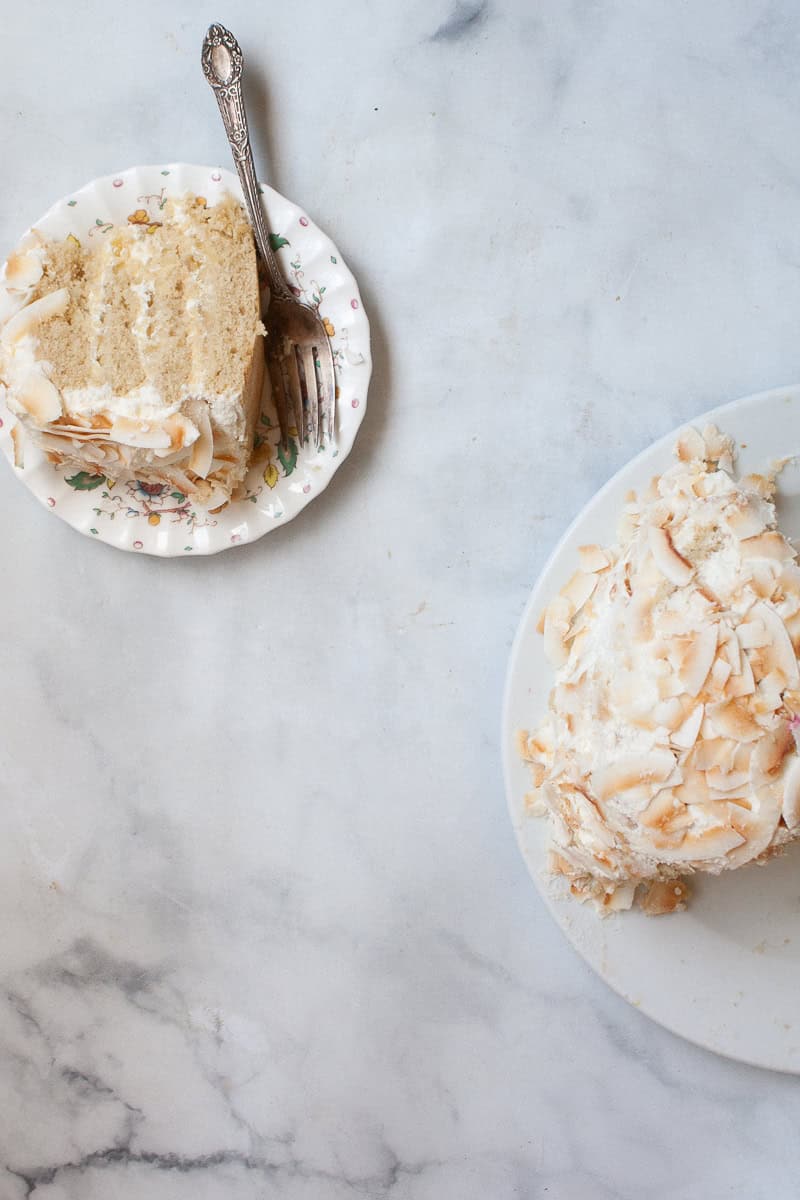
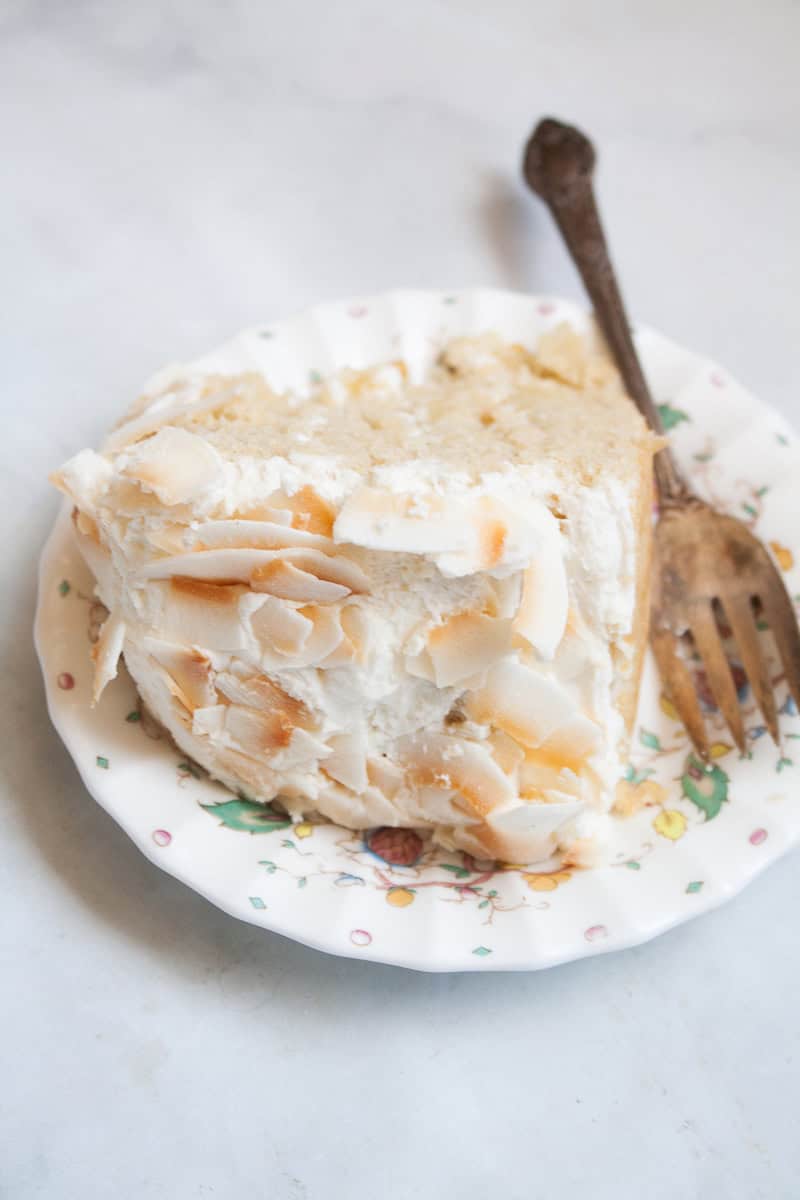
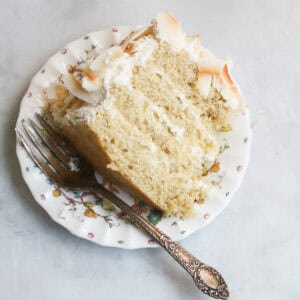
This incredibly decadent gluten free coconut pineapple cake features layers of tender cake split and spread with an easy homemade pineapple filling. It's finished with clouds of lightly sweetened whipped cream and a generous sprinkling of toasted flaked coconut. Truly beyond!
Sumptuous Coconut Pineapple Cake Recipe
I've been baking this dream of a cake for over 20 years now and let me tell you: This is a cake fit for any celebration from a birthday (this is my husband's annual requested birthday cake) to an anniversary and even for a special wedding cake! The balance of tropical flavors - please don't skip that pineapple jam tucked in between the layers - and the contrast between the fluffy whipped cream frosting and the crisp coconut flakes make it stand out. And while I used to make it with regular flour, I have easily adapted it to being gluten free with stellar results. Best of all? No one will be able to tell, I promise.
Treat Yourself ...
To fluffy layers of gluten free cake, sweet pineapple, and a pile of whipped cream. This cake is:
- Made with a simple yet ultra-tender and delicious butter cake that holds up well to the whipped cream
- Totally gluten free
- Hefty - you will need some muscle to transport the cake from the fridge to the table! Be sure to cut thin slices!
- Cool and sweet
- Enough for a crowd
- Decadent yet light (I love how whipped cream can accomplish this - even though cream by definition is rich, it doesn't feel like too much in this cake)
- Coconut and pineapple - need I say more?
Ingredients for Coconut Pineapple Cake
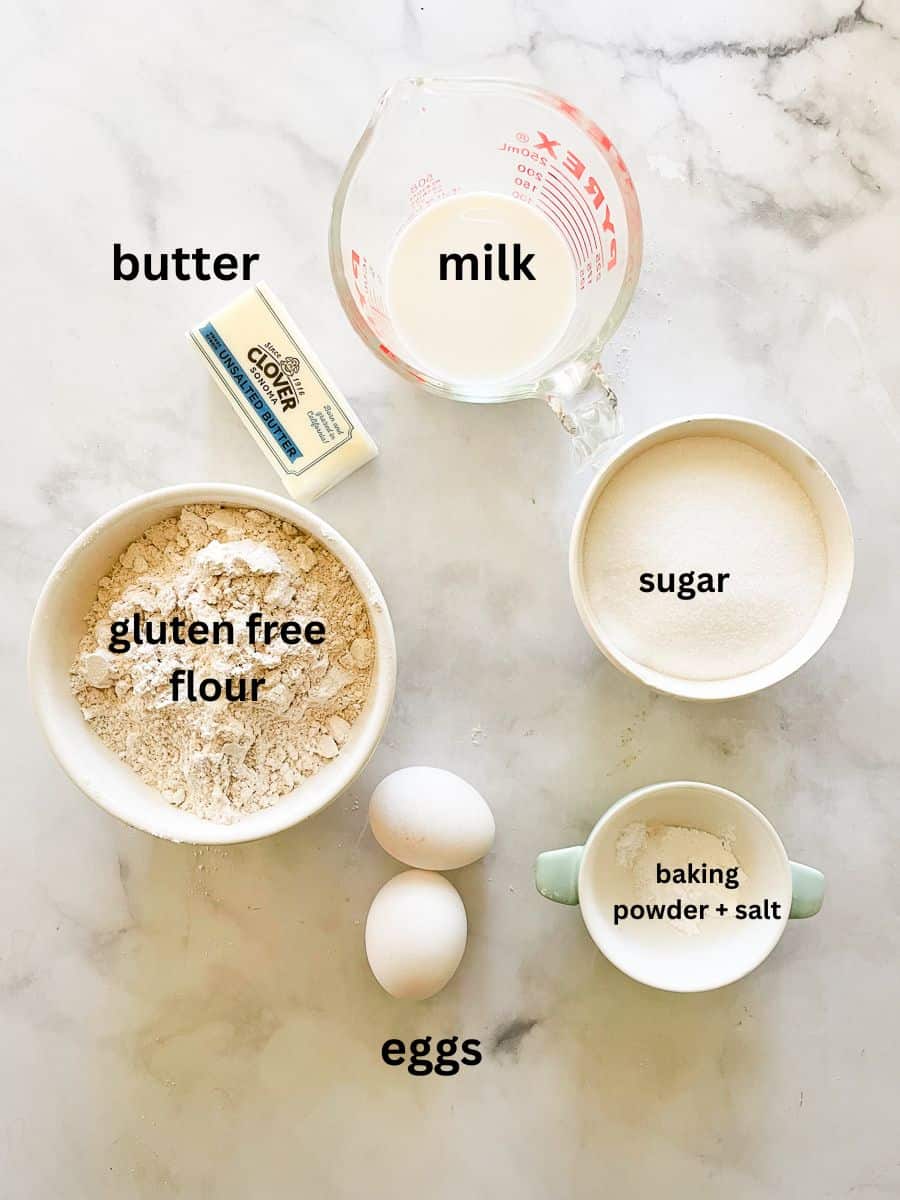
See a few ingredient notes below as you gather up what you'll need to bake this beautiful cake. I've included the full ingredient amounts in the recipe card at the end of this post.
Cake
*** Note that this photo shows ½ of the quantities needed to make the cake.
- Gluten free flour - I developed this recipe using my homemade gluten free flour blend, but you can use another gluten free flour blend if you prefer. Note that the texture of the cake may be a bit different depending on what kind of gluten free flour you use.
- Baking powder - Baking powder is the leavening agent used in this cake to give it lift.
- Salt - I always use fine sea salt in my recipes!
- Butter - Unsalted butter is best so that it doesn't detract from the sweetness of the cake. If you need to use salted butter, omit the added salt called for.
- Granulated sugar - A decent amount of sugar is needed to make the cake, which also helps to keep it tender and fresh longer (sugar is fun that way).
- Eggs - As with all of my recipes, I developed this cake recipe with large eggs, so please do use large eggs if you can for the best results.
- Milk - I prefer whole milk for added richness, but 2% milk also works.
- To assemble - Toasted coconut flakes (I use unsweetened coconut flakes).
Pineapple Filling
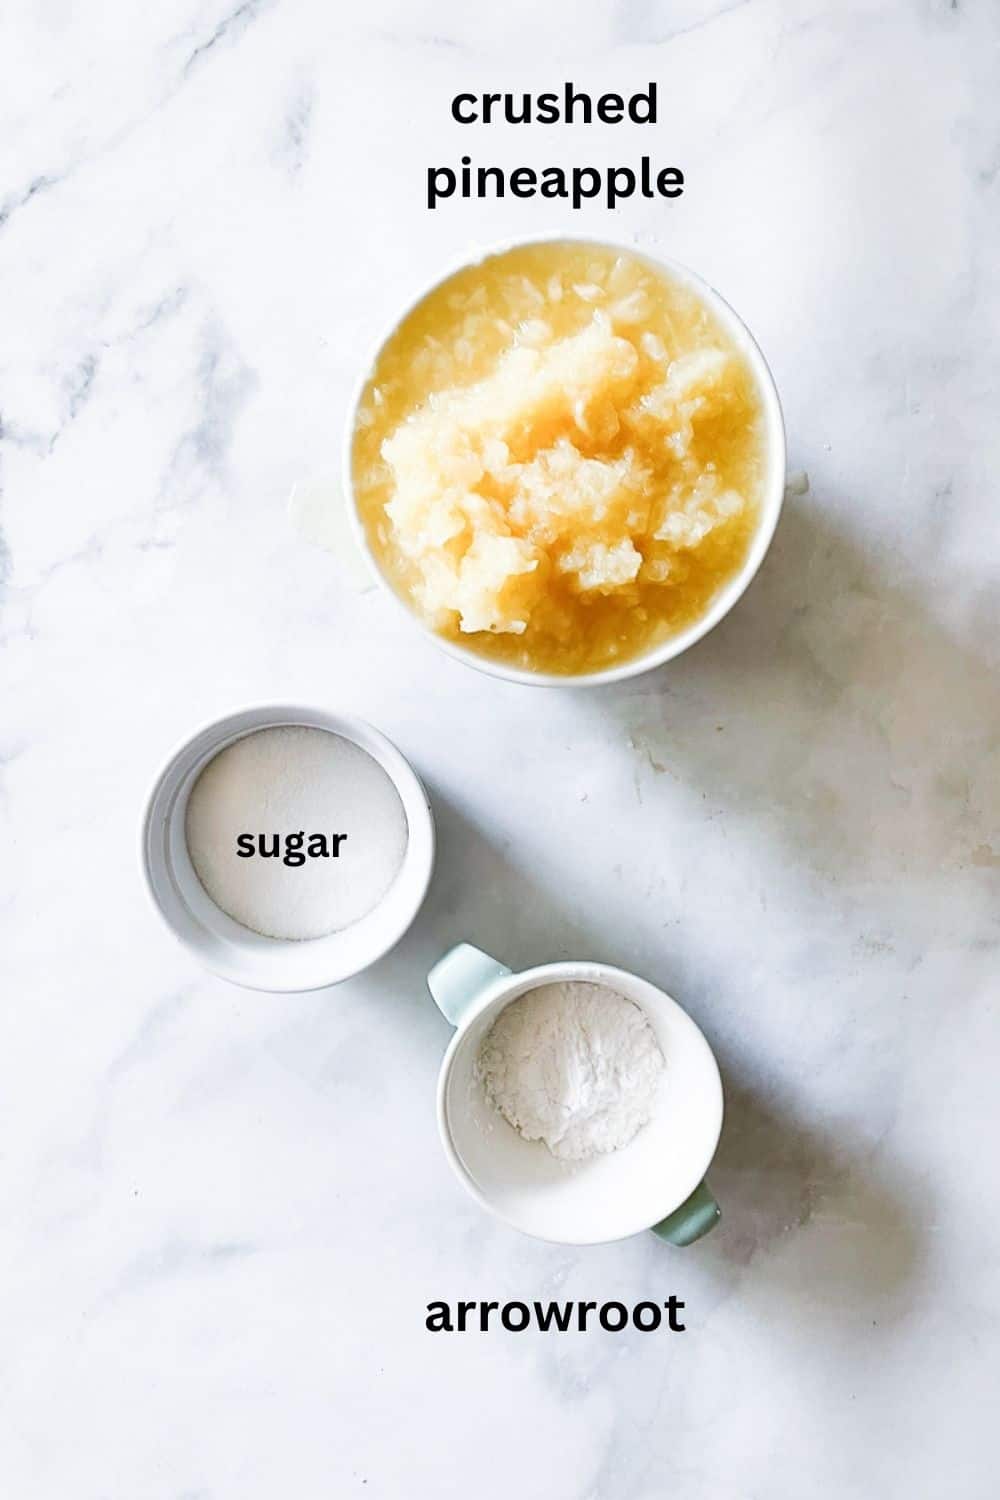
- Pineapple - Use a can of crushed pineapple in unsweetened juice to make the filling. I prefer pineapple in juice rather than syrup so that it's not too sweet.
- Arrowroot - Or substitute 1 tablespoon of cornstarch.
- Granulated sugar - A touch of extra sugar plays up the natural sweetness of the pineapple.
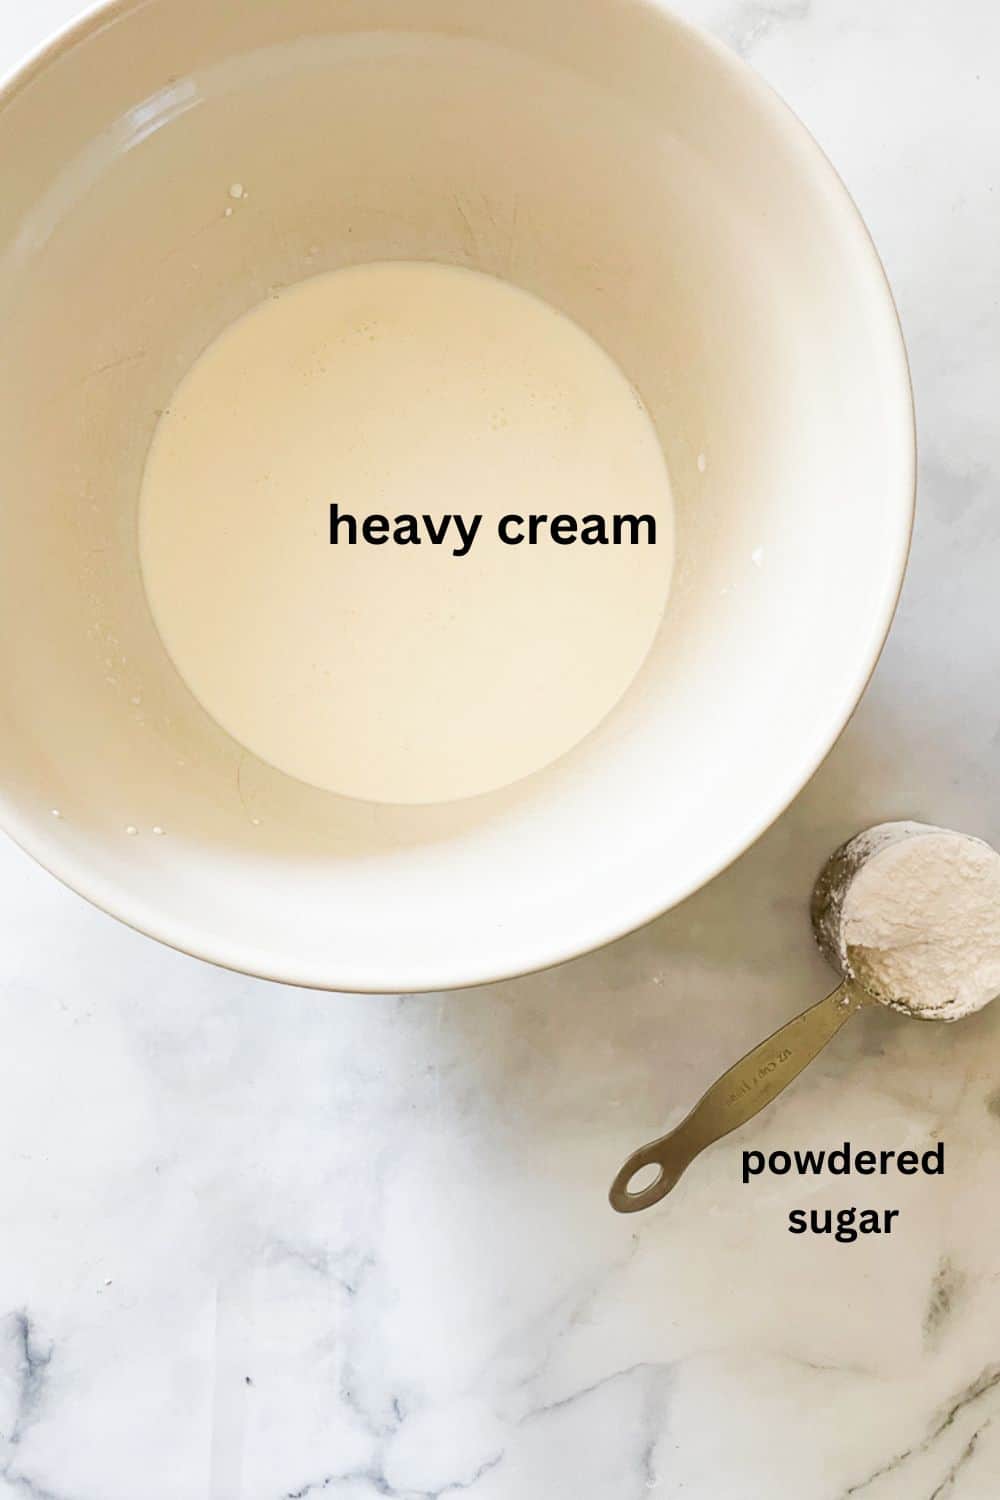
Whipped Cream Frosting
- Cream - Since we make whipped cream, please use heavy cream! There is no substitute unless you wish to make dairy-free whipped cream, in which case - use coconut cream.
- Powdered sugar - Make sure to sift the powdered sugar so that the whipped cream is smooth and without any lumps.
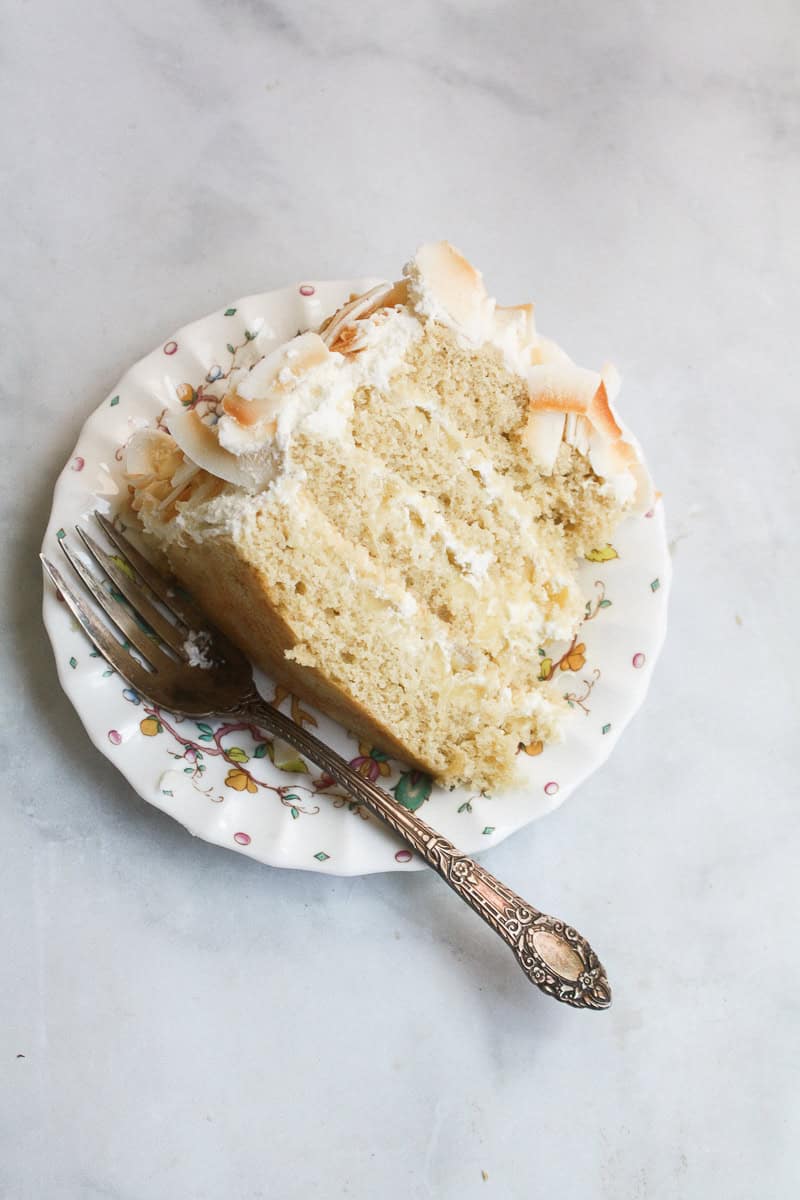
How to Make Gluten Free Pineapple Coconut Cake
Here's a look at how you'll make this cake, with the detailed instructions included lower down in the printable recipe card.
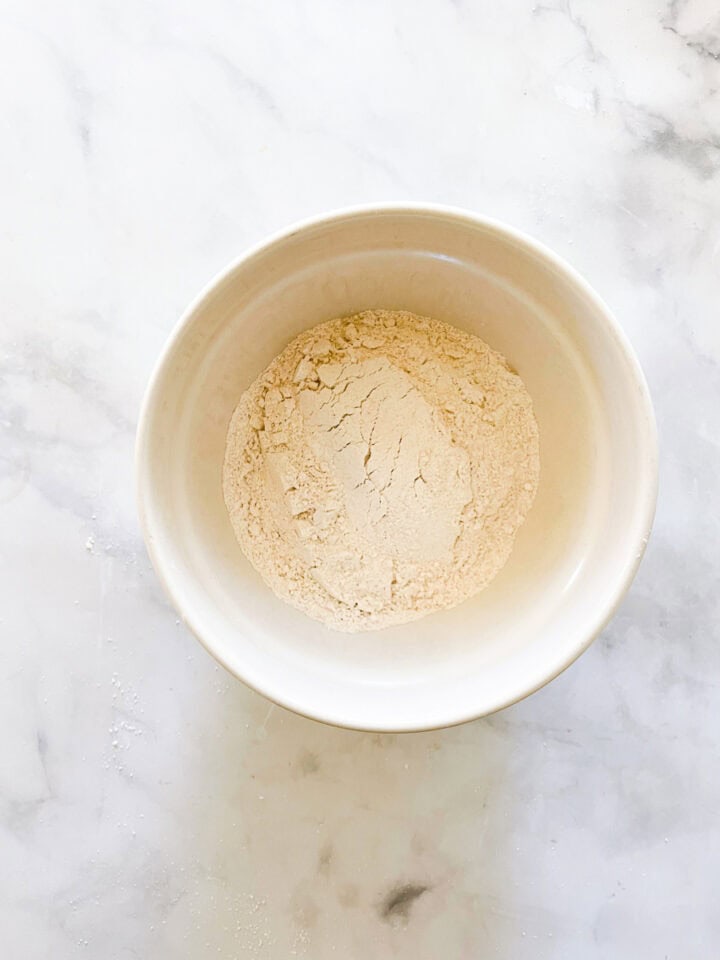
- Make the cake: Grease and line the bottom of two 9-inch round cake pans.
- Whisk dry mix: In a small bowl, whisk together the flour, baking powder, and salt.
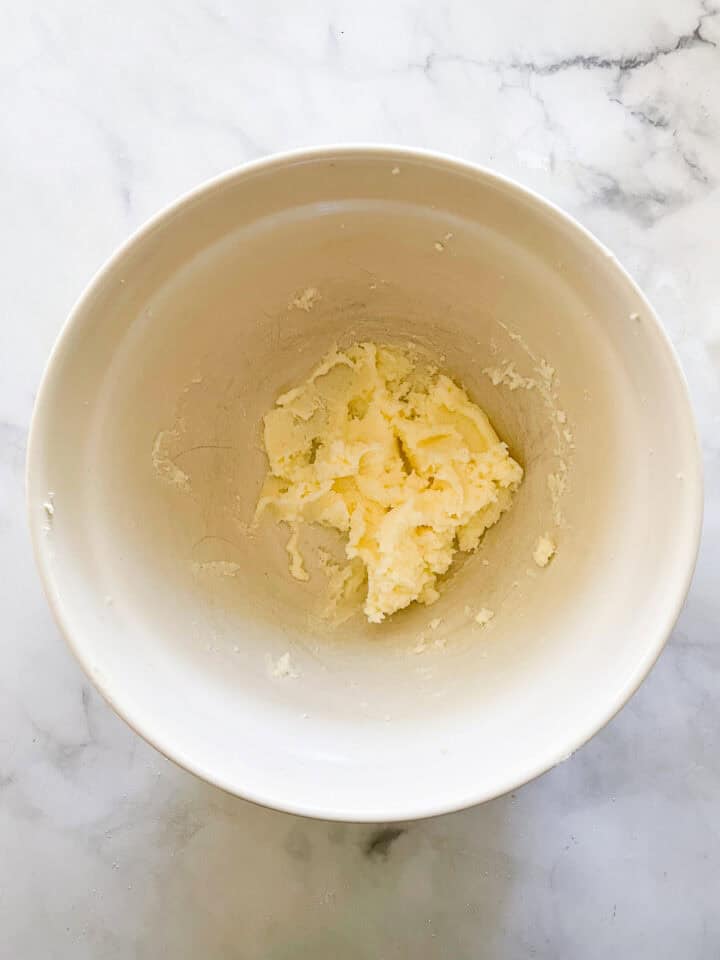
- Cream butter: In a large bowl, cream the butter, then add the sugar and beat for about about 5 minutes.
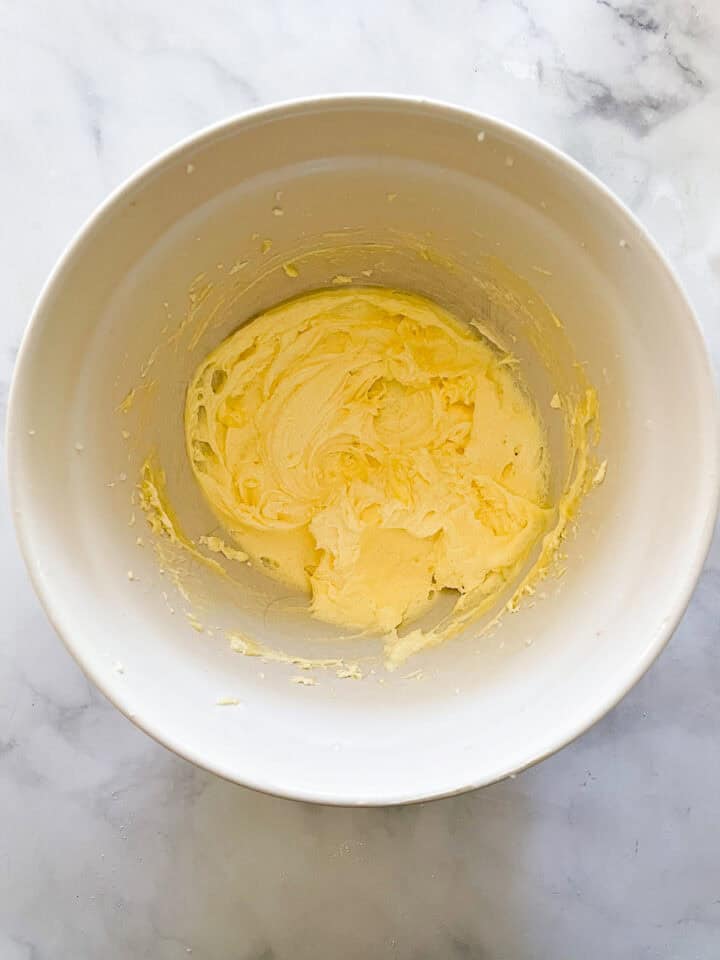
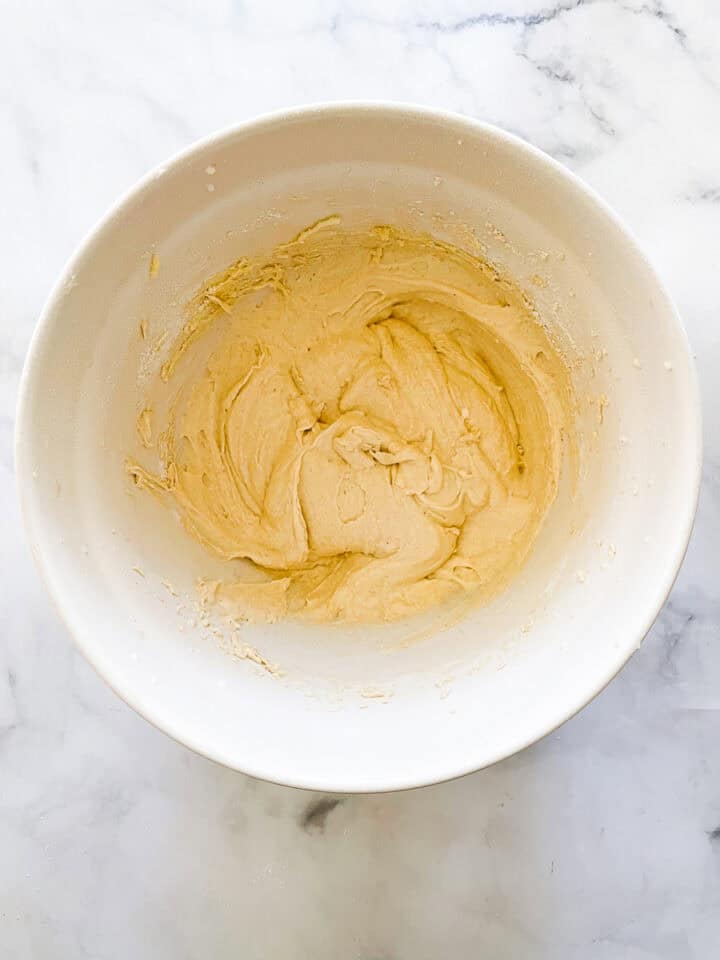
- Add eggs: Slowly pour in the eggs a little at a time, and beat very well for about 2 minutes.
- Add flour: Alternating with the milk, add the flour in four doses.
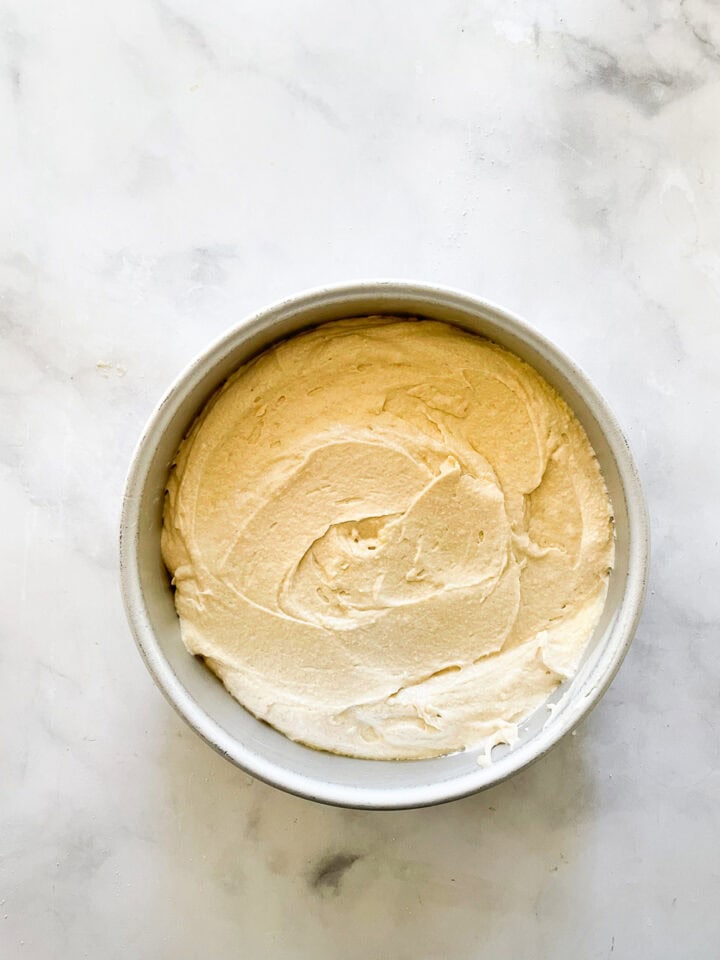
- Rest batter: Divide the batter evenly between the prepared cake pans. Preheat the oven to 350℉ and let the batter rest, for up to 30 minutes.
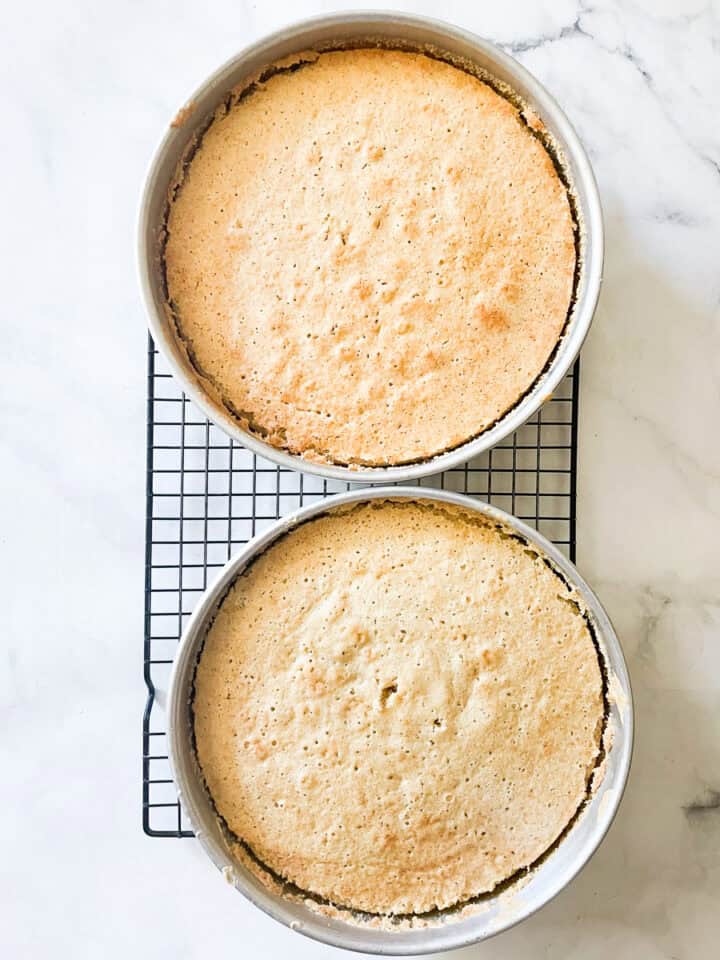
- Bake and cool: Place the cake in the oven and bake for 25 to 30 minutes. Cool in the pan on a rack for 10 minutes then turn out onto the rack.
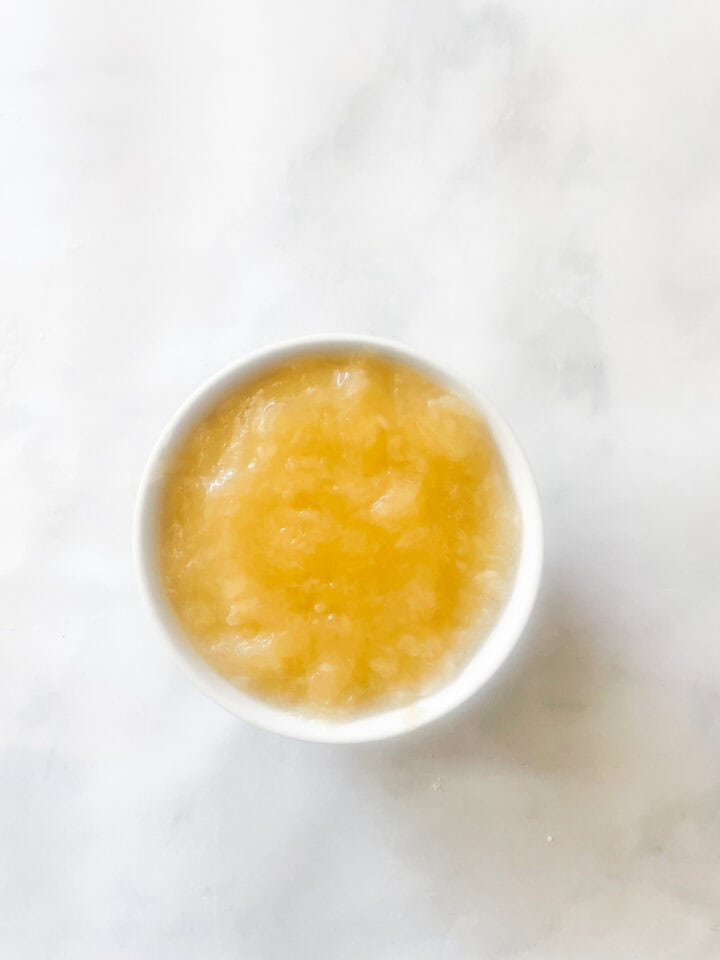
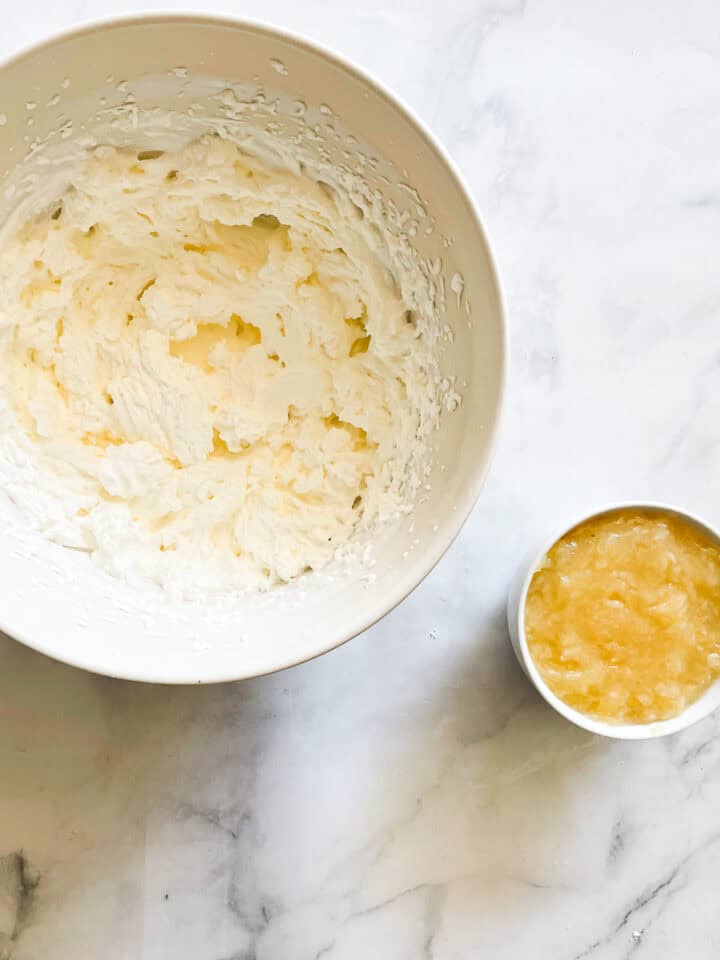
- Make pineapple: Combine the pineapple, sugar, and arrowroot and cook over medium heat until thick, then set aside to cool.
- Make whipped cream: Beat the cream and powdered sugar until medium-stiff.
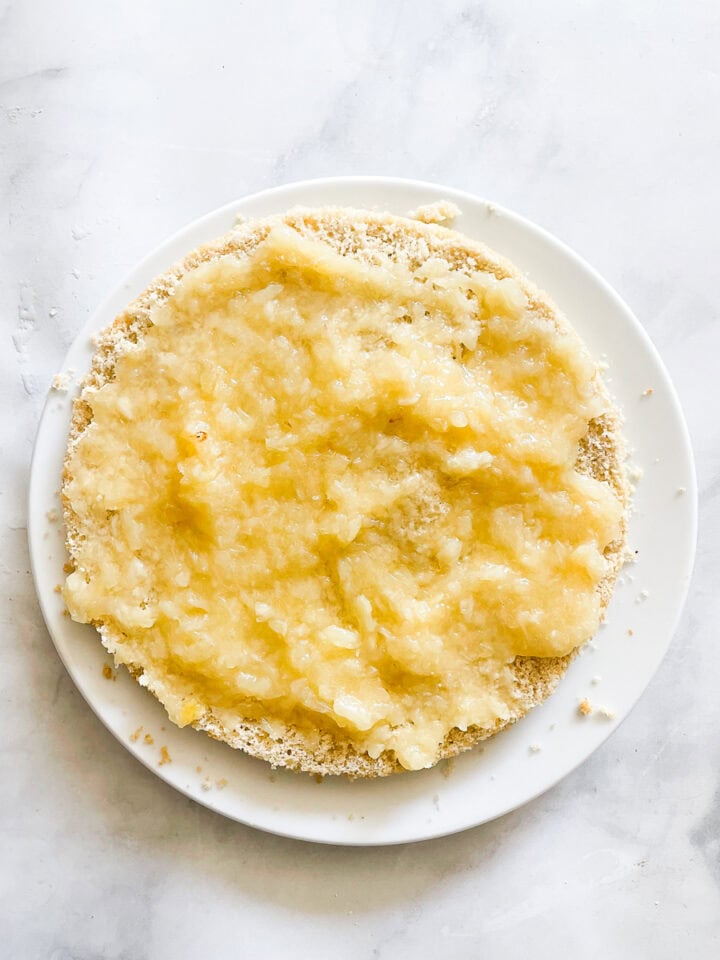
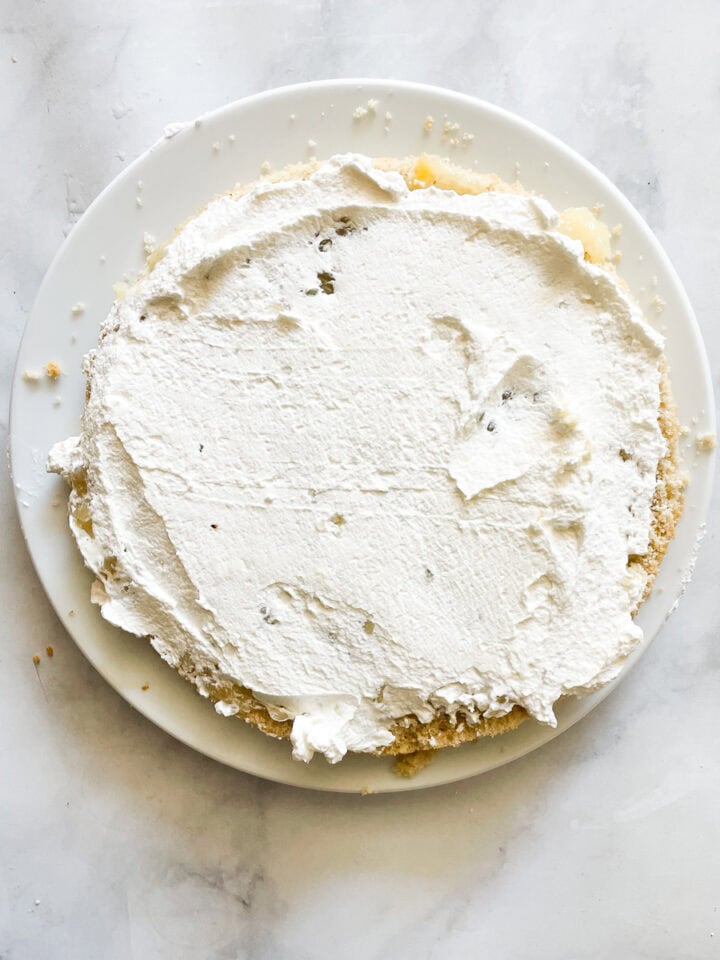
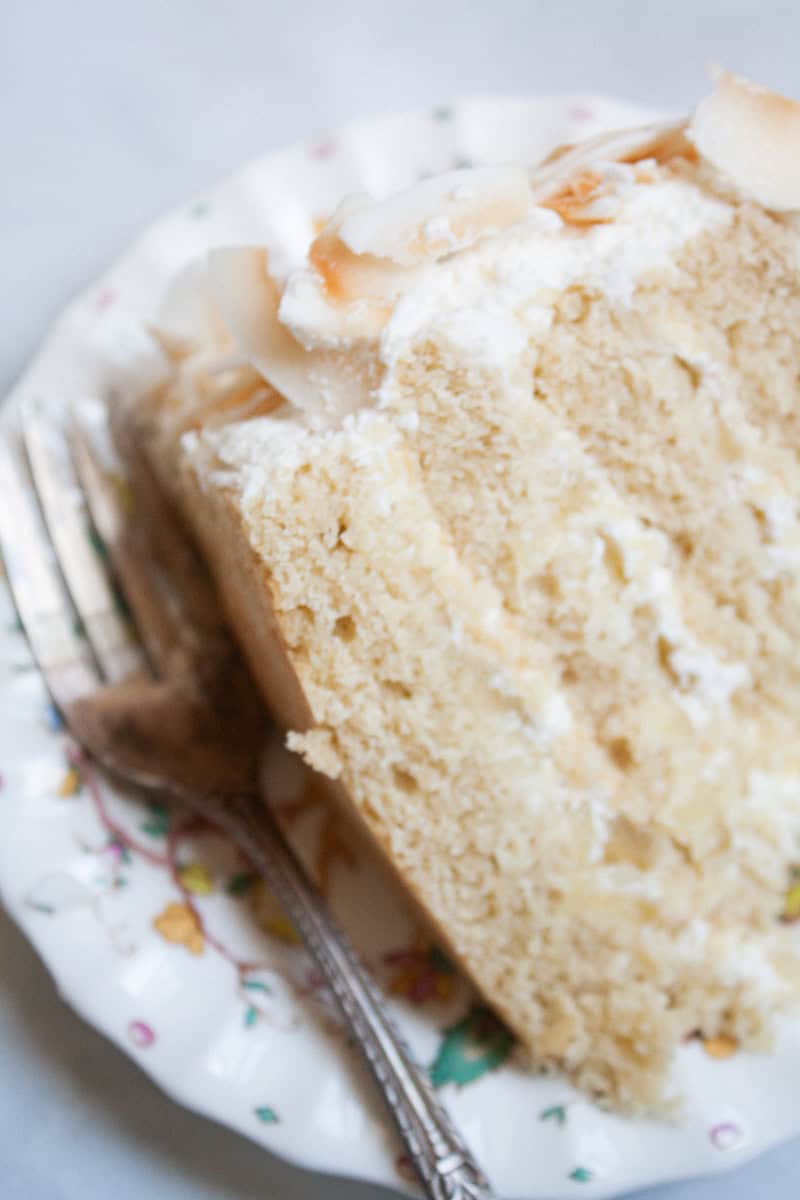
- Assemble the cake: Cut each layer in half. Spread ⅓ of the pineapple filling over the bottom layer.
- Add whipped cream: Top it with a few spoonfuls of whipped cream.
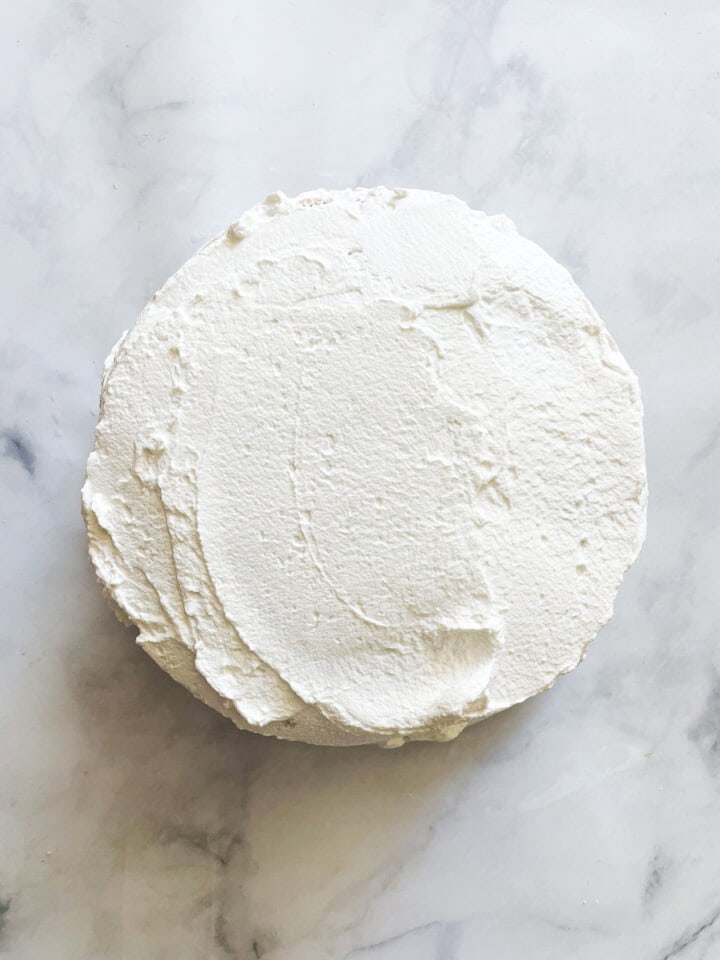
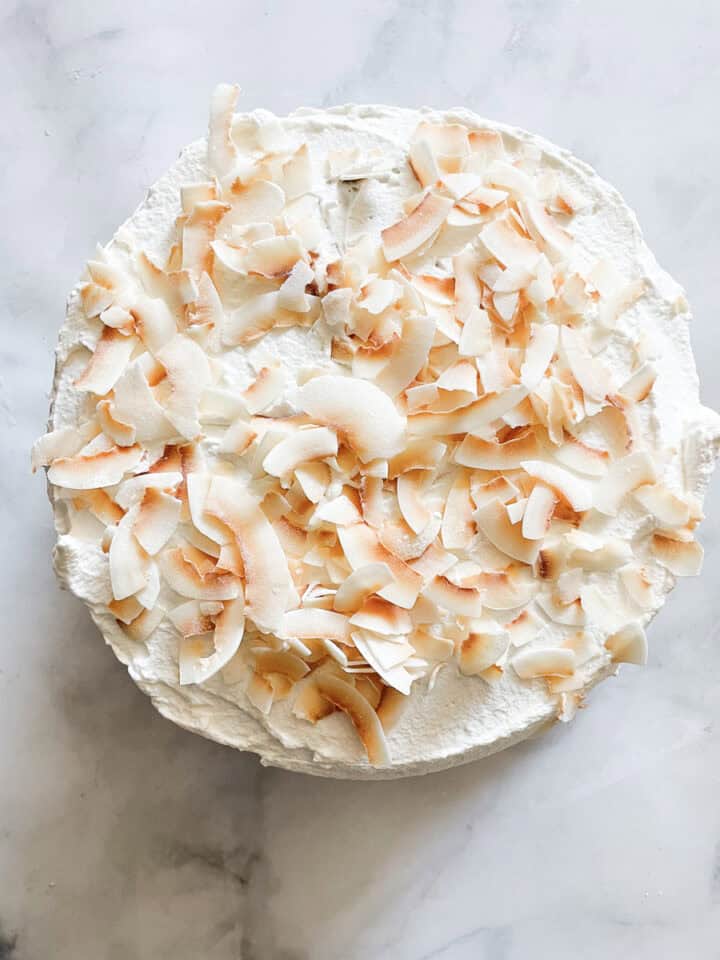
- Finish: Top with cake, and repeat until the pineapple is used up. Spread the cake with the remaining whipped cream, covering the top and sides completely.
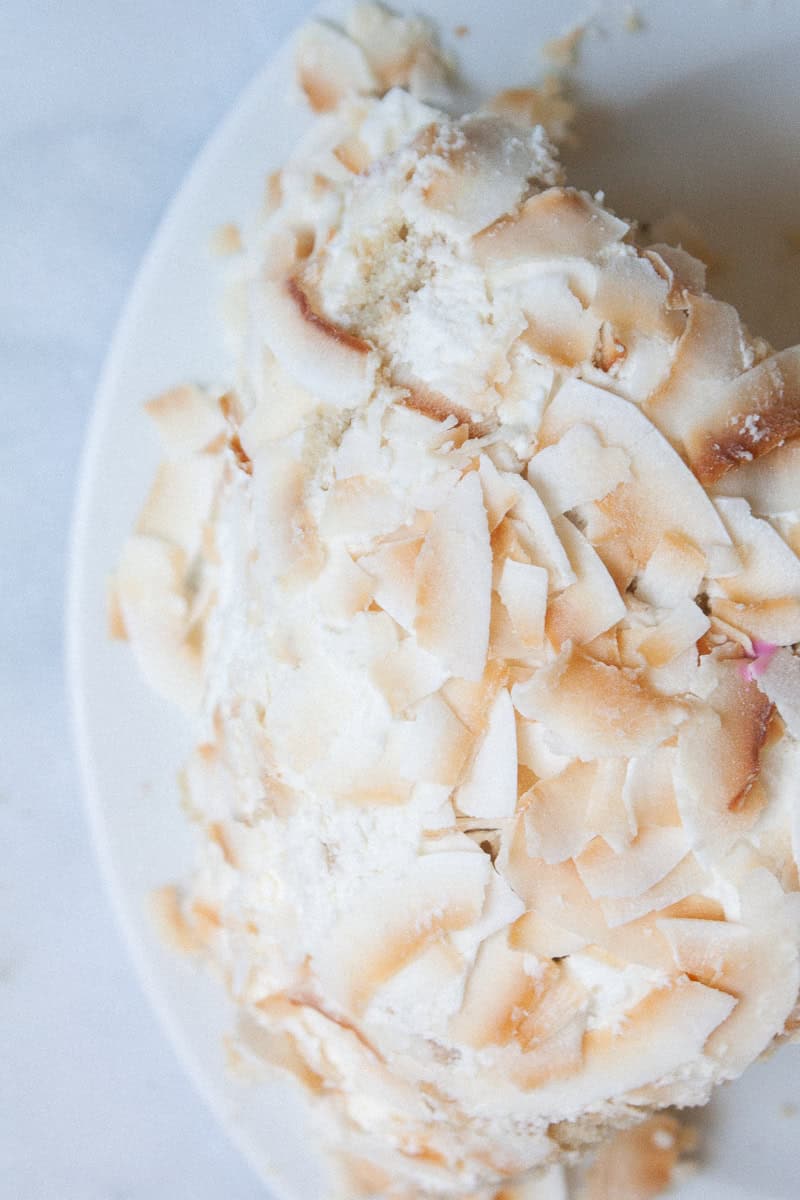
- Add coconut: Liberally sprinkle coconut over the top and sides of the cake.
Recipe Tips
This cake is a bit of an undertaking but despite the three components you will need to make it comes together surprisingly quickly. You can cook the pineapple filling while the cake cools, and then make the whipped cream just before you plan to finish the cake. See a few more tips below:
- Bring ingredients to room temperature - For most baking recipes, bringing the ingredients to room temperature helps them to incorporate better into the batter. This is especially helpful with butter! Leave the ingredients on the counter at least 15 minutes before you use them, and check that the butter is soft enough by gently pressing into it - it should feel soft to the touch.
- Rest that batter - Always rest a gluten free batter. Up to 30 minutes is ideal, or use the time that the oven preheats if you're short on time. This allows the flour to hydrate, an important step.
- About the whipped cream - You're going for a sweet spot of firm-ish but not super thick. The whipped cream should be spreadable but not goopy. I keep it very simple in this cake by using lightly sweetened whipped cream both in the filling and to frost the cake, and it holds up well but do note that it is slightly different than a firmer buttercream frosting. If the whipped cream seems too thin, keep beating it until it gets to a more spreadable state.
- Bake the cake a day in advance - If you can, plan to bake the cake rounds a day before assembling the cake. This will allow the crumb to firm and set a bit, making for easier cutting, filling, and frosting. Wrap the layers in foil or plastic and keep them in the fridge until you assemble the whole cake.
- Make the filling in advance - You can also make the pineapple filling a day in advance and store it in a glass jar with a tight-fitting lid in the fridge until you're ready to use it. I don't recommend making the whipped cream in advance - it's best to make it just before you finish assembling the cake.
- Assembly tips: You may cut each cake layer in half or keep the layers whole (I prefer the look and taste of a layered cake but you do you). If you make a 4-layer cake, spread ⅓ of the pineapple filling over the bottom layer, and top it with a few spoonfuls of whipped cream. If just doing two layers, use all of the pineapple filling in the middle layer.
- Use gluten free flour - Swap your favorite 1:1 gluten free flour for the DIY flour blend. Note that my blend doesn't contain xanthan gum so your cake may turn out a bit differently if you use a blend that contains gums.
How to Store
Whipped cream cakes do not last as long as regular cakes, and once you've assembled this cake it's best to eat it up within 3-5 days (preferably closer to 3 days than to 5, although it will last up to 5 days without drying out). I also don't recommend freezing the cake, because the whipped cream may break when it's defrosted. So, enjoy it in the moment! Cover the cake with foil and store it in the fridge for up to 5 days. Let the cake sit at room temperature for about 20 minutes before serving for the best texture.
More Gluten Free Cake Recipes
Gluten Free Coconut Pineapple Cake
Ingredients
Make Cake
- 3 ½ cups homemade gluten free flour blend (420 grams)
- 3 teaspoons baking powder
- ¼ teaspoon salt
- 1 cup unsalted butter, at room temperature
- 2 cups granulated sugar
- 4 eggs, lightly beaten
- 1 cup whole milk
Pineapple Filling
- 1 28-ounce can crushed pineapple in unsweetened juice
- 2 tablespoons arrowroot
- ¼ cup granulated sugar
Whipped Cream Frosting
- 3 cups heavy cream
- ½ cup powdered sugar, sifted
- 2 cups toasted unsweetened coconut flakes
Instructions
Cake
- Grease and line the bottom of two 9-inch round cake pans with circles of parchment.
- In a small bowl, whisk together the flour, baking powder, and salt.
- In a large bowl and using an electric mixer on medium speed, cream the butter, scraping down the sides of the bowl as necessary, until the butter is lighter in color, about 45 seconds. Then add the sugar in a steady stream and mix on medium speed until the mixture is very light in color and texture, about 4 to 5 minutes.
- Slowly pour in the eggs a little at a time, and beat very well for about 2 minutes.
- With the mixer on low, add the flour mixture in four doses, alternating with the milk in three doses. Scrape down the sides of the bowl in between additions.
- Divide the batter evenly between the prepared cake pans. Preheat the oven to 350℉ and let the batter rest while it heats, up to 30 minutes. Place the cake in the oven and bake for 25 to 30 minutes, or until a toothpick inserted in the center comes out clean.
- Remove from the oven and set on a rack to cool for 10 minutes then turn out onto rack to finish cooling completely.
Make Filling
- In a heavy saucepan over medium heat, combine the pineapple, sugar, and arrowroot. Stir well to combine and bring to boil. Reduce heat and simmer until thick. Remove from heat and let cool completely.
Make Frosting
- Place the cream in a bowl and sift over the powdered sugar. Beat with an electric mixer on medium speed until medium-stiff peaks form.
Assembly
- You may cut each cake layer in half or keep the layers whole. If you make a 4-layer cake, spread ⅓ of the pineapple filling over the bottom layer, and top it with a few spoonfuls of whipped cream. Top with cake, and repeat until the pineapple is used up. Spread the cake with the remaining whipped cream, covering the top and sides completely. Liberally sprinkle coconut over the top and sides of the cake.
Notes
- Bring ingredients to room temperature - For most baking recipes, bringing the ingredients to room temperature helps them to incorporate better into the batter. This is especially helpful with butter! Leave the ingredients on the counter at least 15 minutes before you use them, and check that the butter is soft enough by gently pressing into it - it should feel soft to the touch.
- Rest that batter - Always rest a gluten free batter. Up to 30 minutes is ideal, or use the time that the oven preheats if you're short on time. This allows the flour to hydrate, an important step.
- About the whipped cream - You're going for a sweet spot of firm-ish but not super thick. The whipped cream should be spreadable but not goopy. I keep it very simple in this cake by using lightly sweetened whipped cream both in the filling and to frost the cake, and it holds up well but do note that it is slightly different than a firmer buttercream frosting. If the whipped cream seems too thin, keep beating it until it gets to a more spreadable state.
- Bake cake a day in advance: If you can, plan to bake the cake rounds a day before assembling the cake. This will allow the crumb to firm and set a bit, making for easier cutting, filling, and frosting. Wrap the layers in foil or plastic and keep them in the fridge until you assemble the whole cake.
- Make the filling in advance: You can also make the pineapple filling a day in advance and store it in a glass jar with a tight-fitting lid in the fridge until you're ready to use it. I don't recommend making the whipped cream in advance - it's best to make it just before you finish assembling the cake.
- Assembly tips: You may cut each cake layer in half or keep the layers whole (I prefer the look and taste of a layered cake but you do you). If you make a 4-layer cake, spread ⅓ of the pineapple filling over the bottom layer, and top it with a few spoonfuls of whipped cream. If just doing two layers, use all of the pineapple filling in the middle layer.
- Use gluten free flour - Swap your favorite 1:1 gluten free flour for the DIY flour blend. Note that my blend doesn't contain xanthan gum so your cake may turn out a bit differently if you use a blend that contains gums.








I'd love to hear from you! Please leave me a note.