Buttery and sweet gluten free cherry scones are absolutely crammed with juicy, fresh cherries! Add a few cozy spices and they'll be just what you want for afternoon tea.
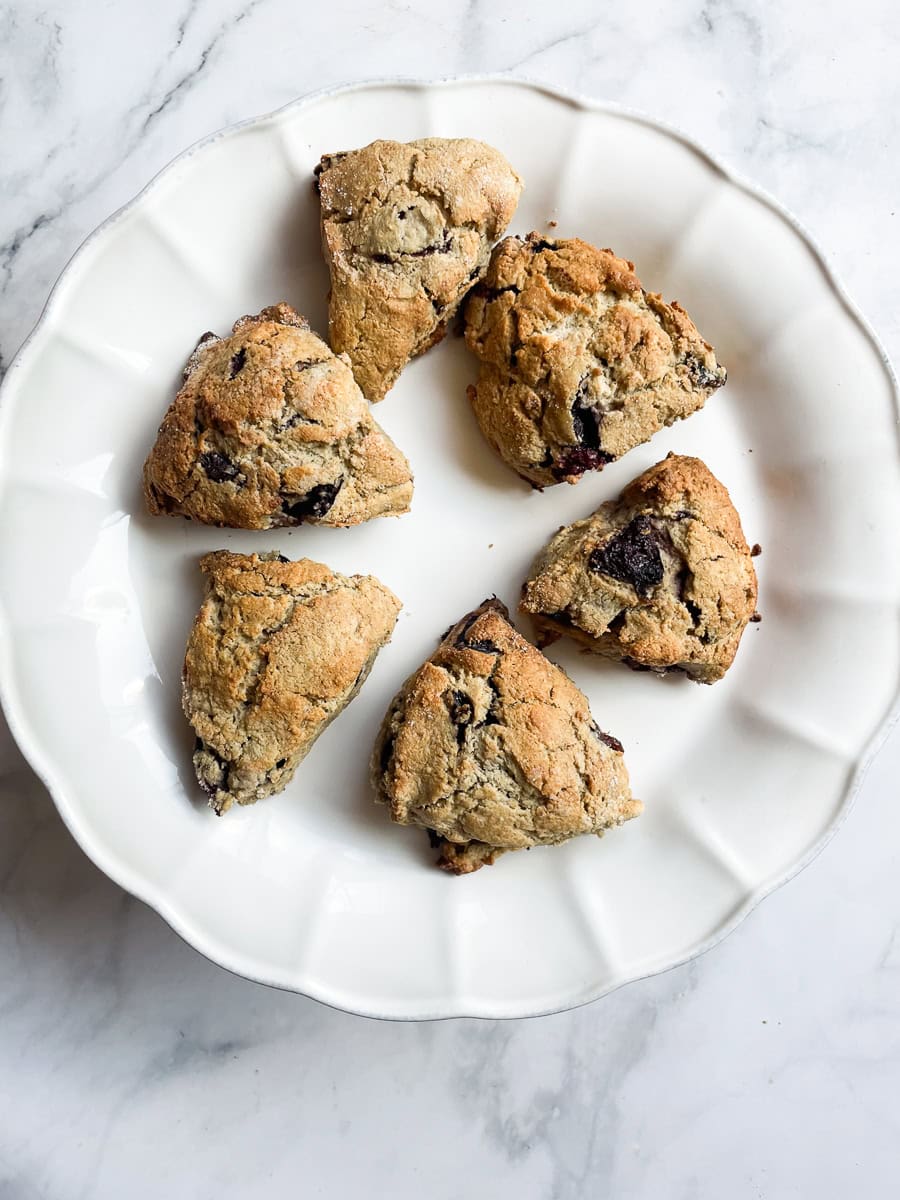
These beautiful cherry scones are a riff on my oat flour scones recipe. I took advantage of cherry season and added them to a tender scone base lightly accented with ground ginger and a pinch of cardamom. Serve scones at breakfast time along with a blueberry-studded gluten free blueberry banana bread loaf, a silky banana strawberry smoothie, and a jar of strawberry honey jam! Or, enjoy them with an afternoon cuppa.
Jump to:
Why You'll Love Cherry Scones
Picture your favorite scone, then turn it gluten free. This oat flour-based recipe will produce the scones of your dreams, with no gritty commercial gluten free flour mix needed! These flavor-packed, moist, and delicious scones bake up beautifully tender every time. And, they're just jam-packed with fresh cherries! I hope you love these as much as I do. Some high points include:
- An easy gluten free recipe. You'll only need flour to make cherry scones - and you can easily make oat flour at home - making this a super simple, super easy recipe. If you like, you could also swap in my homemade gluten free flour blend by weight, but I think you'll love the oat flour.
- Make ahead. Scones are great to make ahead. You can freeze them until you're ready to bake, allowing you to have a fresh batch of scones anytime you wish. As a bonus, freezing will actually help the scones turn out even more flaky. Bonus!
- Try add-ins. Cherry scones take well to add-ins like nuts, citrus, and more. Give them a try and make this recipe your own!
Ingredient Notes
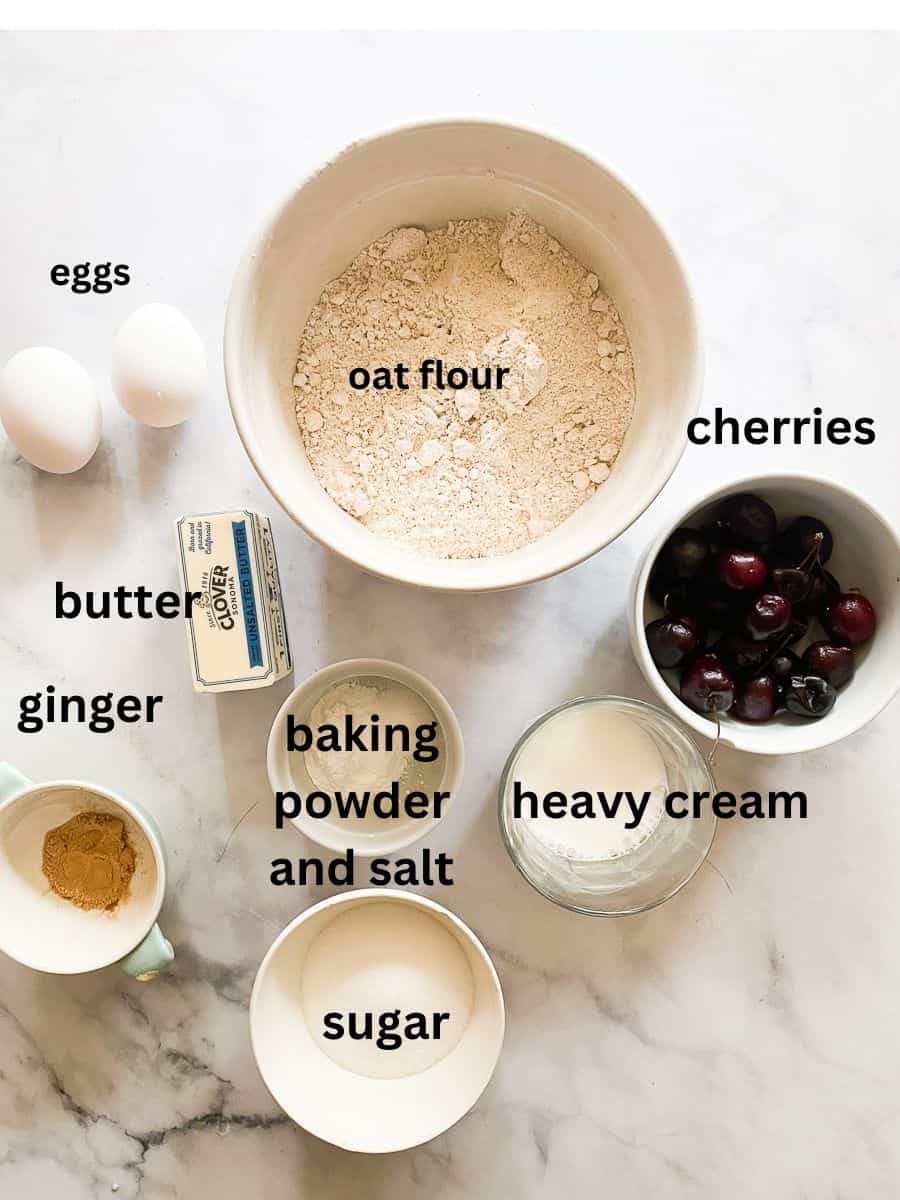
This short ingredients list will have you baking scones in no time! You can find the full ingredient amounts and detailed instructions in the recipe card lower down.
- Oat flour - Naturally gluten free oat flour is the only flour you'll need for these scones. If you can't eat oats, try sorghum flour or brown rice flour.
- Granulated sugar - See my notes lower down on how much sugar to use. You can also sprinkle sugar over the tops of the scones before baking.
- Salt - A pinch of fine sea salt balances the sweetness of the scones.
- Baking powder - Make sure to check the expiration date on your carton of baking powder! If it's old, the scones won't rise well.
- Spices - Ground ginger and an optional pinch of ground cardamom.
- Unsalted butter - Always use unsalted butter in baking recipes unless otherwise specified so that your finished product is not too salty.
- Eggs - I used large eggs in this recipe and I recommend using large eggs.
- Heavy cream - I love using heavy cream in gluten free scones because it gives that extra richness and moisture needed in gluten free baking. However, I have also made this recipe using whole milk, and the scones also turn out very well.
- Cherries - I love using fresh cherries in this recipe. You can also use dried cherries.
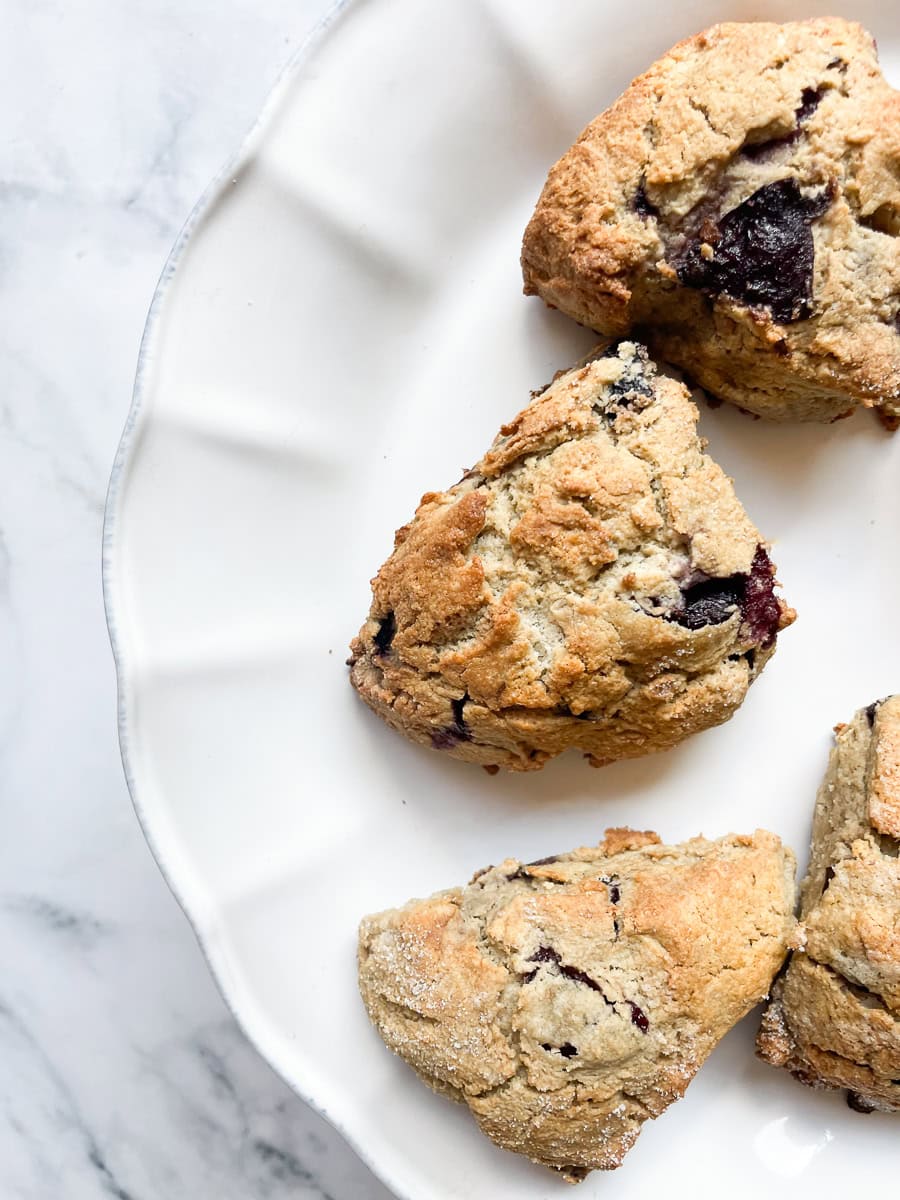
Variations
Cherry scones can be punched up with a bit more flavor and other ingredients. A few lovely additions include:
- Chocolate - I recommend using finely chopped chocolate or mini chocolate chips in scones so that you don't end up with big clunky chunks of chocolate. Semisweet chocolate is my favorite here.
- Dried cherries - I LOVE fresh cherries for a juicy burst when you bite into them, but dried cherries are also quite nice. You can leave them whole or chop them up.
- Lemon - Add a bit of citrus to these scones with the zest of 1 lemon added to the dough.
- Spices - Try different spices! Fresh ginger, dried ginger, cinnamon, nutmeg, cardamom, cloves are all lovely in cherry scones.
- Vanilla - Add 1 teaspoon of vanilla extract to the wet ingredients, or add ½ teaspoon of almond extract.
- Almonds - Cherries and almonds are a classic pairing. Try ½ cup of sliced almonds added to the dough with the cherries. If you prefer walnuts, try chopped walnuts instead.
How to Make Gluten Free Scones
Here's a look at how you'll make these scones:
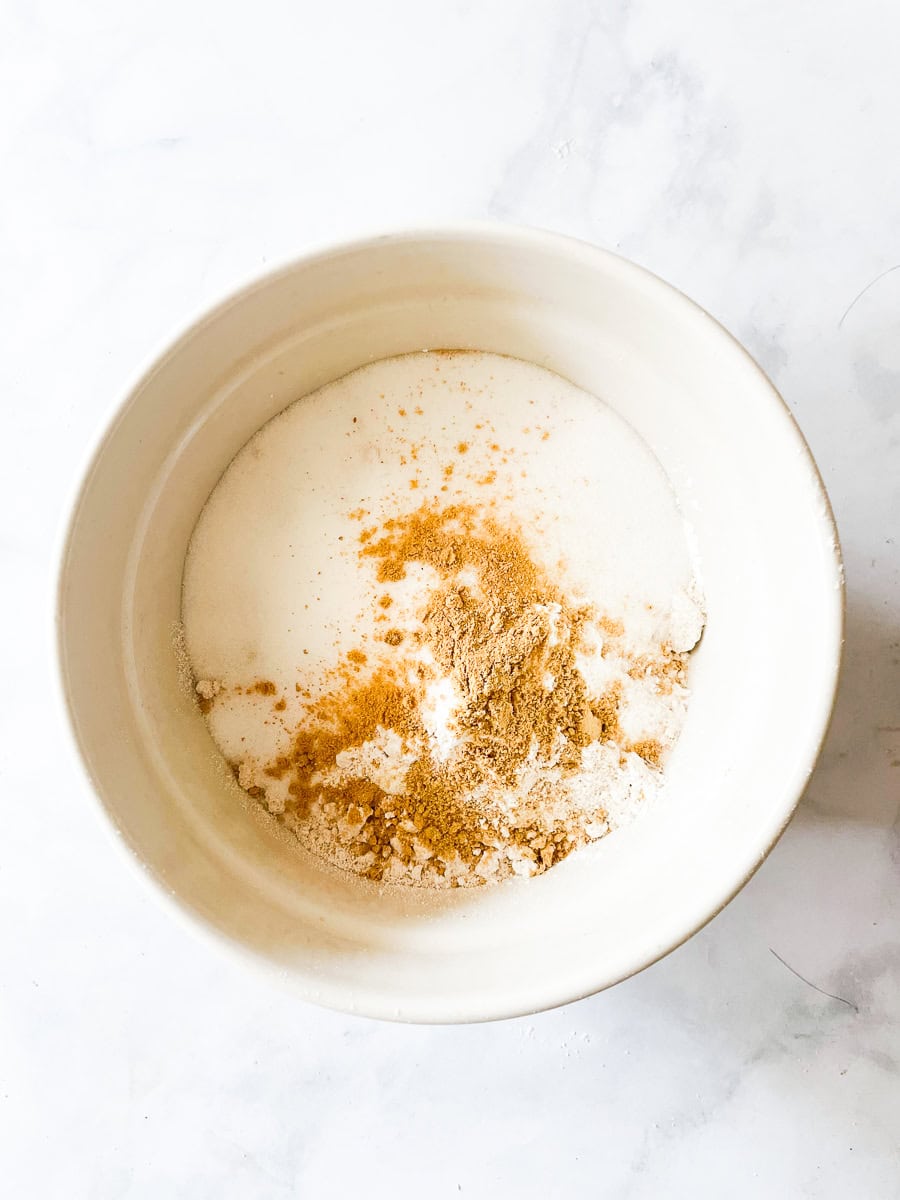
1. Make dry mix. In a large mixing bowl, whisk together the flour, sugar, salt, and baking powder plus any spices if using.
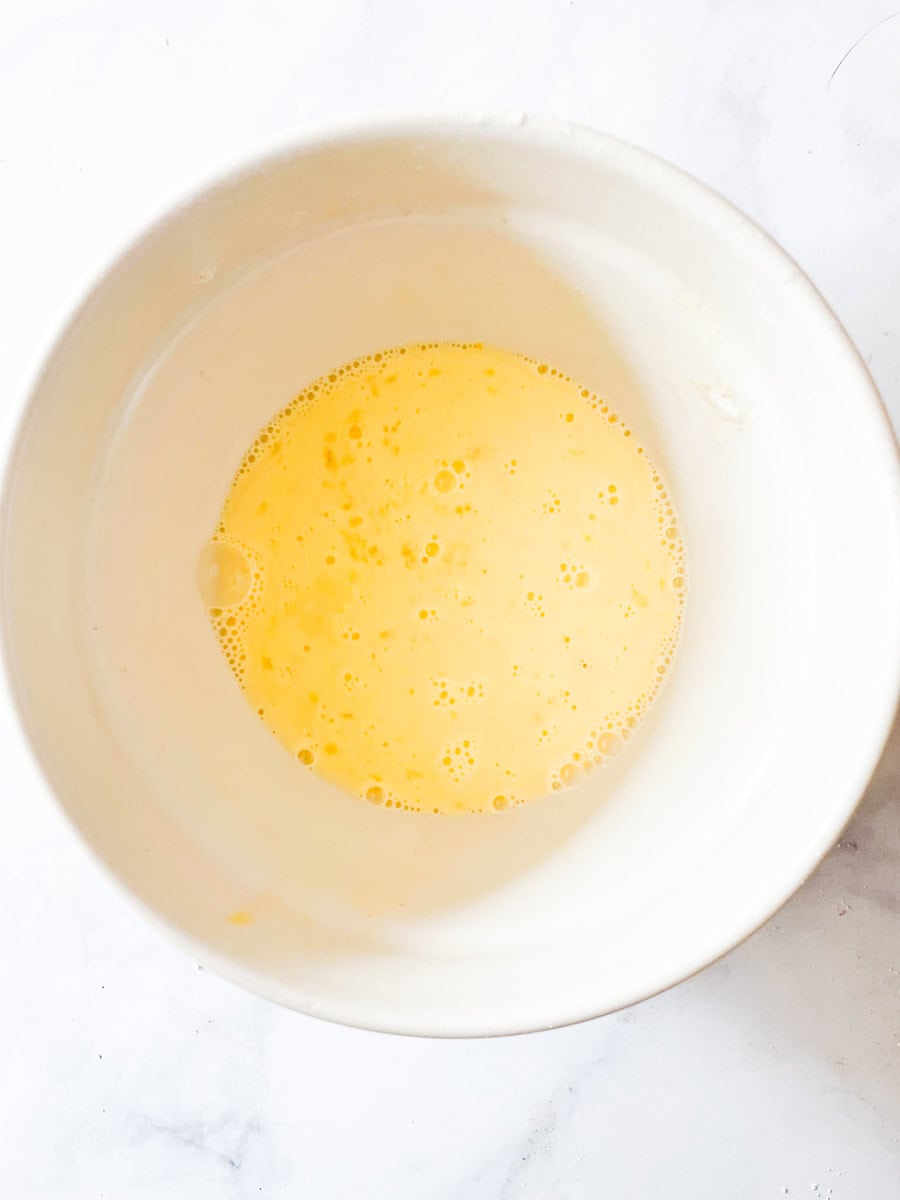
2. Make wet mix. In a small bowl bowl, whisk together the eggs and cream.
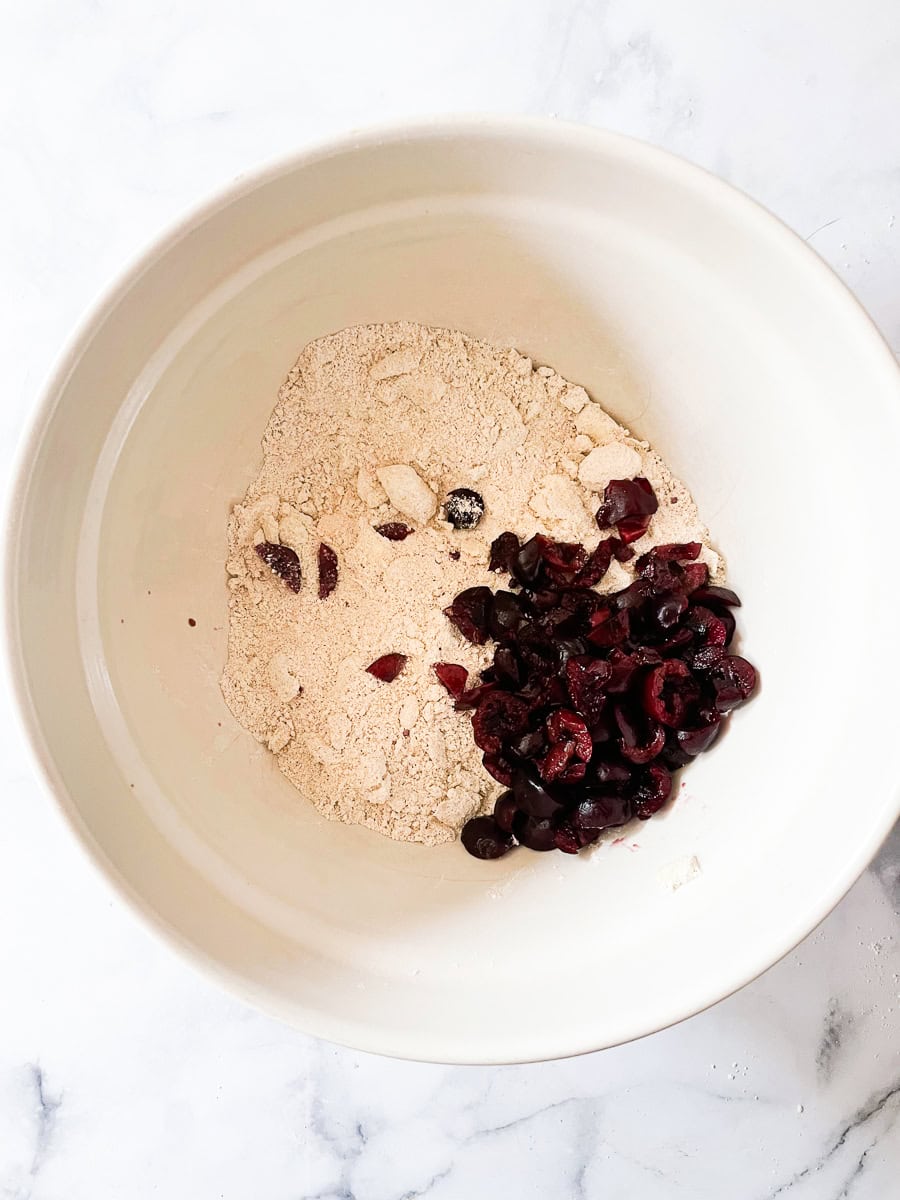
3. Add cherries and butter: Mix in the cherries then work in the butte.
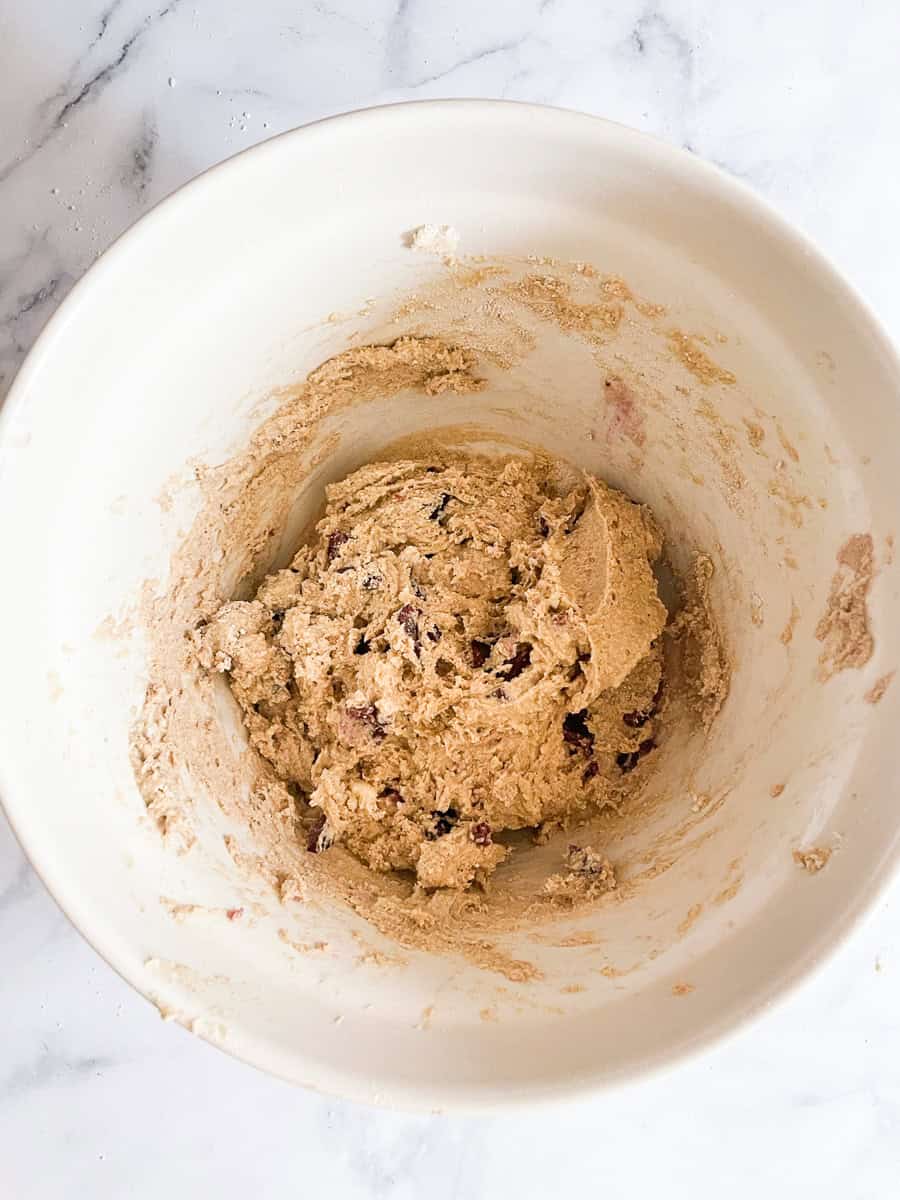
4. Combine: Add the liquid ingredients to the dry ingredients and stir together to form a dough.
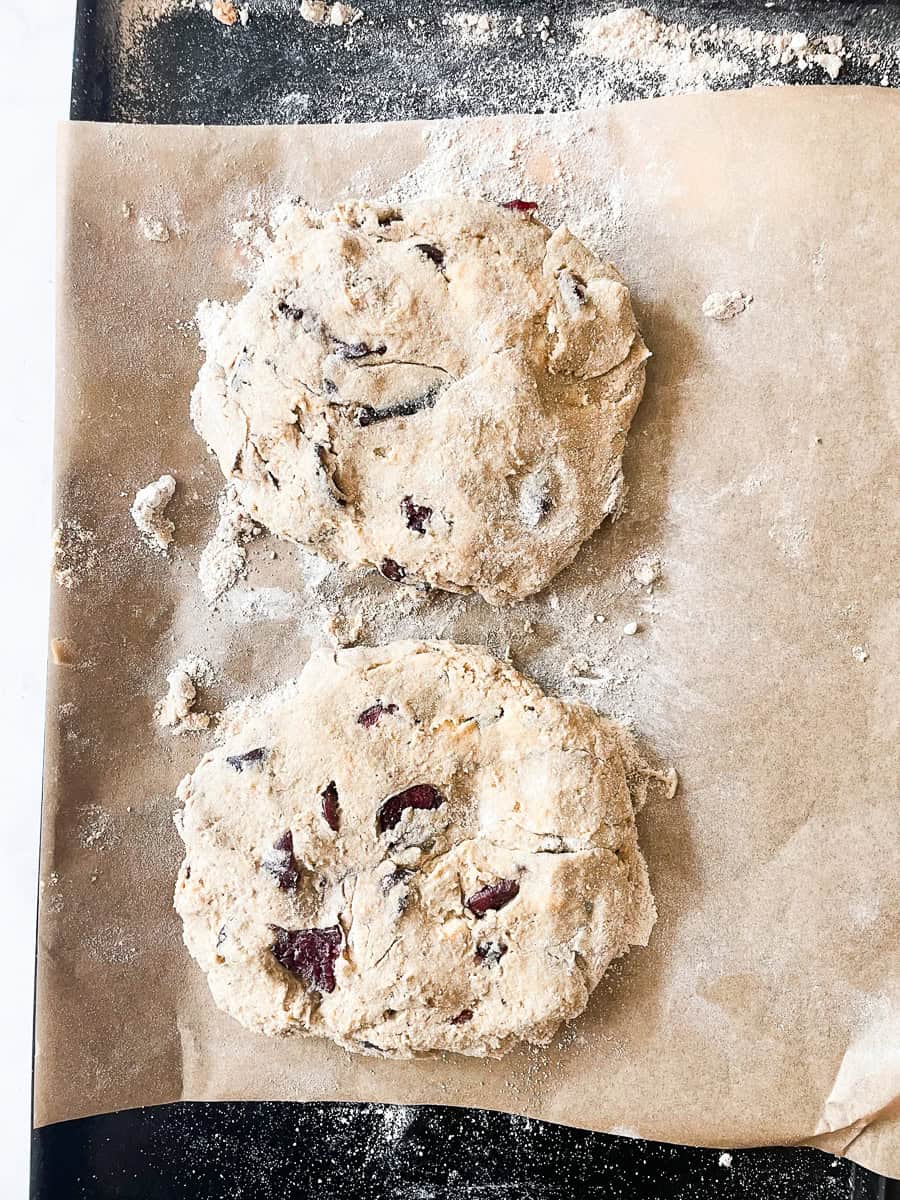
5. Divide the dough. Separate the dough into 2 pieces.
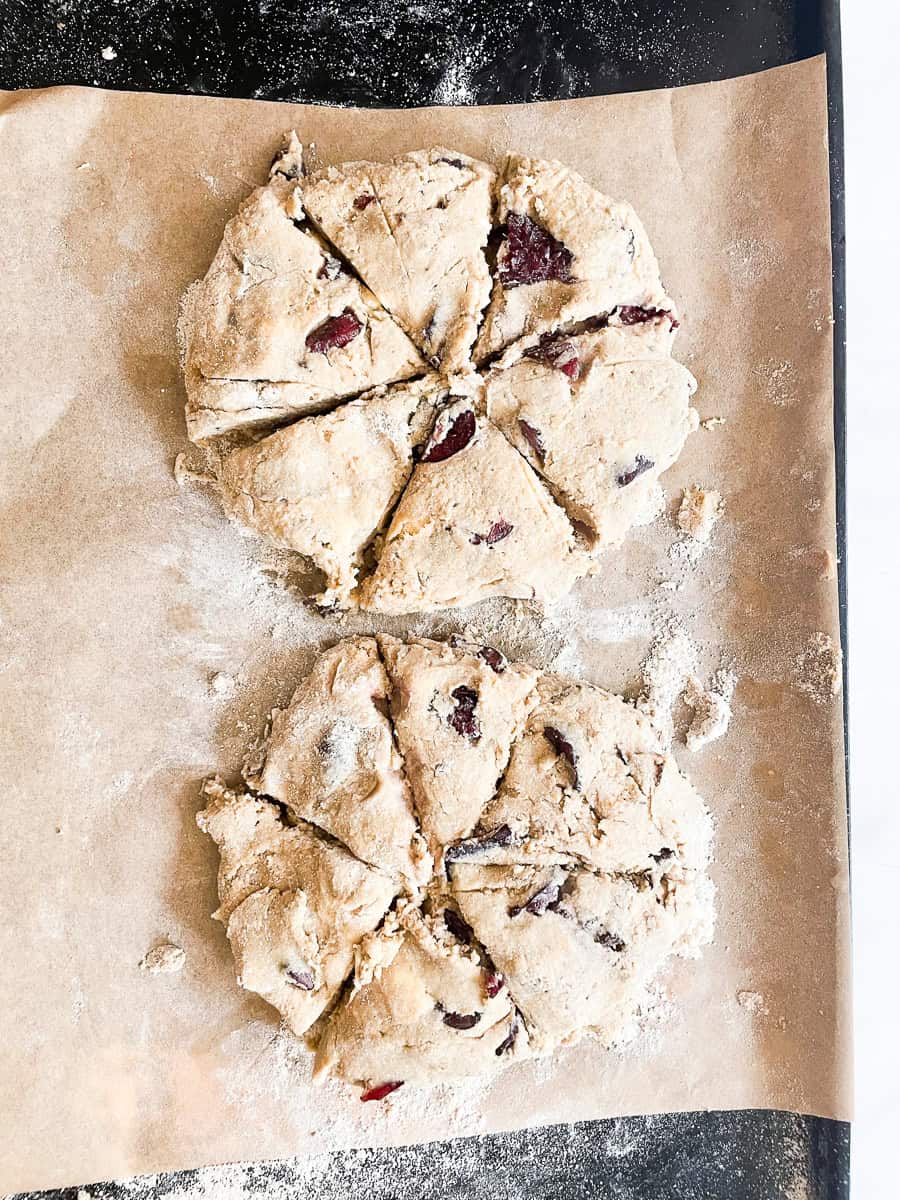
6. Cut. Slice the scones into 12 pieces.
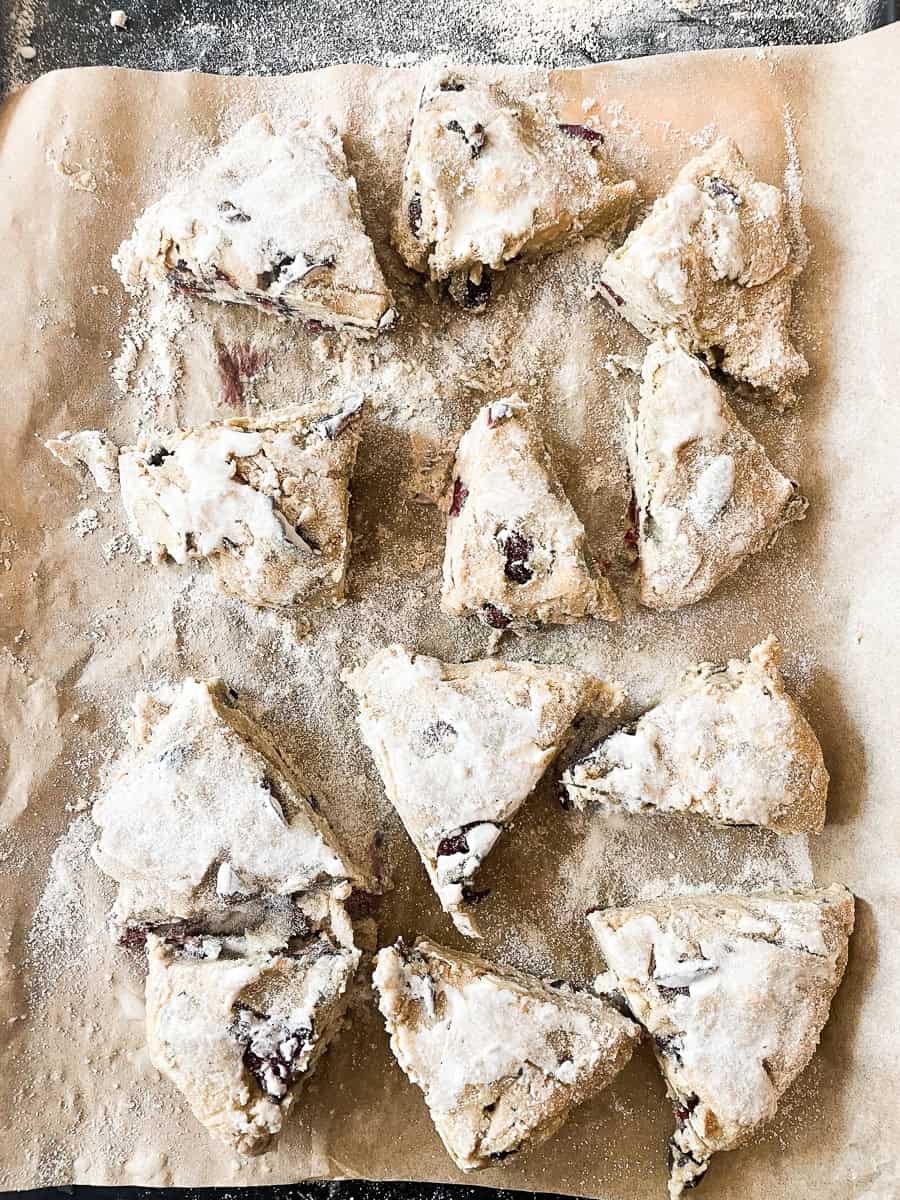
7. Add cream. Brush each circle with cream, and sprinkle with sugar if you like.
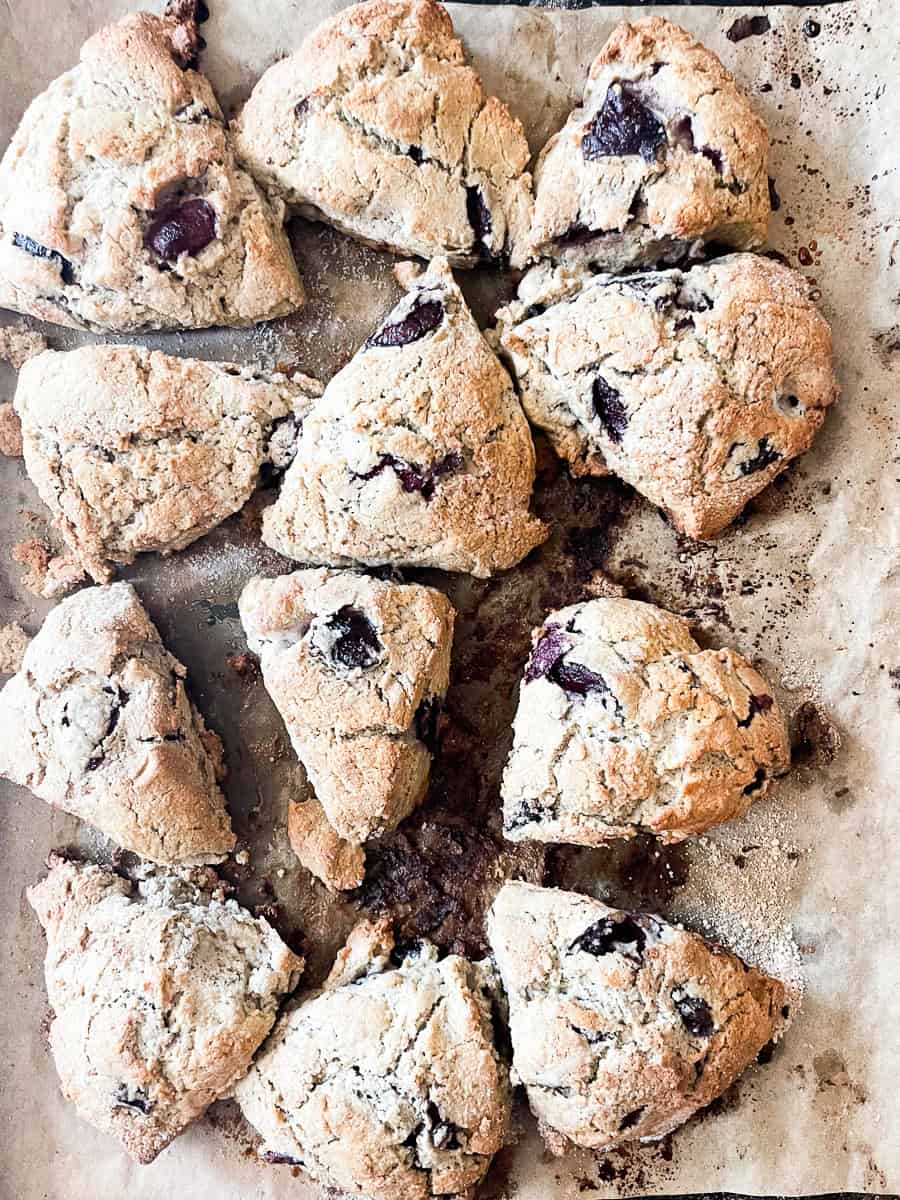
8. Bake. Bake the scones in the upper part of your oven for 20-25 minutes, or until they're a light golden brown.
Baking Tip
Rest and chill the dough. For the best texture and highest rise, place the pan of scones in the freezer for 30 minutes. Like with all gluten free baking recipes, resting the batter is important so that the flour can hydrate. Placing the scones in the freezer before baking them also chills the fat, helping the scones to be flakier once baked.
Gluten Free Scones Tips
These simple tips are applicable to any kind of scone you bake, with a few extra specific just to gluten free scones. I hope they help you when you make these gluten free cherry scones easily!
- How to tell they're done: When you separate the scones they should look baked all the way through with no wet edges.
- Make them refined sugar-free: Use coconut sugar or maple sugar for the granulated sugar.
- Add brown sugar: Or, use light or dark brown sugar in place of the granulated sugar for a richer taste.
- Make them sweeter: One more note about sugar - these are lightly sweet scones. If you like your scones less sweet, use less sugar. Or, if you like them sweeter, feel free to add a bit more.
- Make them dairy-free: Swap very cold coconut oil or your favorite non-dairy butter for the butter. Switch the whole milk for non-dairy milk.
- Freeze: To make scones ahead of time and save them until you wish to bake them, place the scones after they've rested in the freezer in a in a zip-top plastic bag, then store them in the freezer for up to 1 month. You can bake them directly from the freezer, but may need a couple of extra minutes of baking time.
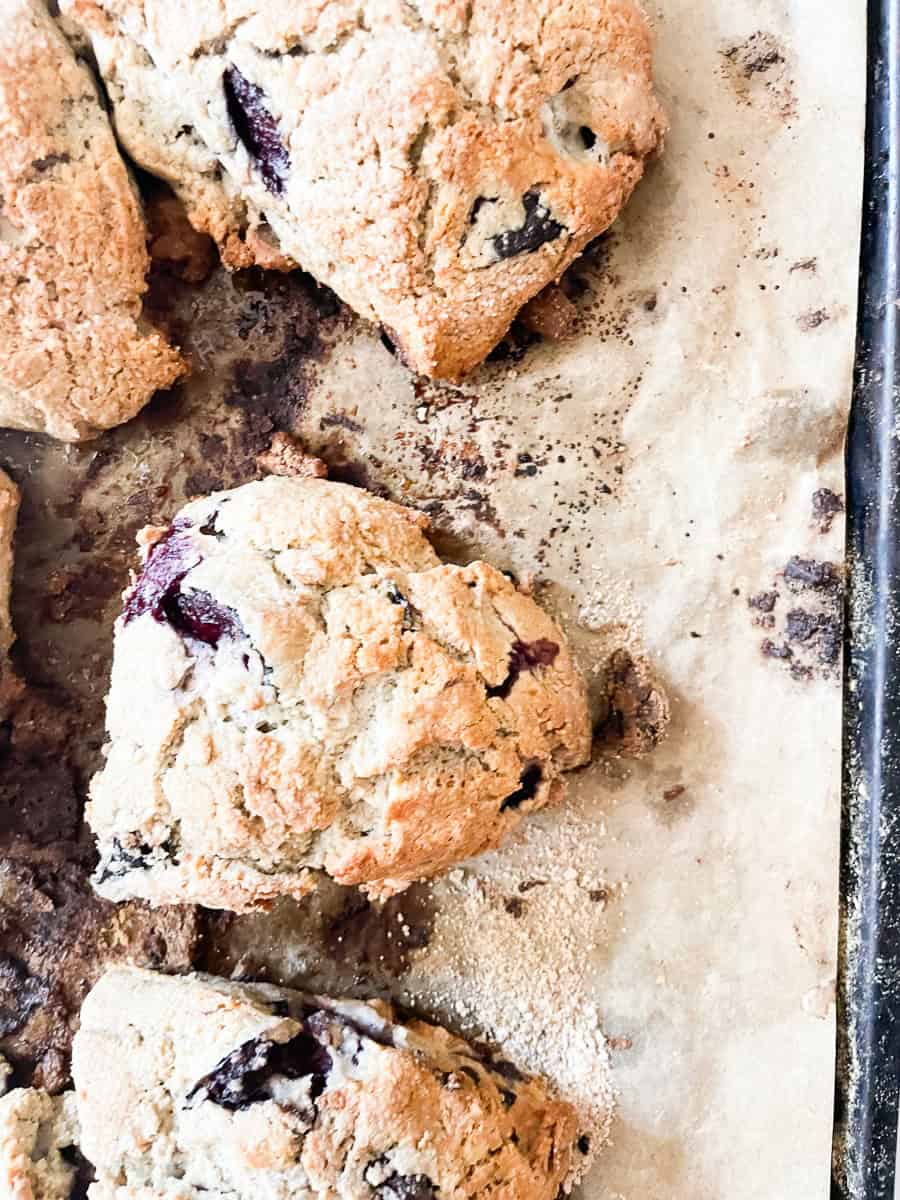
Proper Storage
Scones keep well, and they're great to freeze after baking to save for another time. Here's how to do it:
- Counter - Wrap cooled scones in plastic or place them in an airtight container and store on the counter at room temperature for up to several days.
- Freezer - Place the baked scones in a freezer-safe, sealable bag and store them in the freezer for up to 3 months. You can reheat them from frozen, which will take longer, or thaw them in the fridge before reheating.
- To Reheat - Place the scones on a baking sheet, tent lightly with foil, and warm in a preheated 350°F oven for about 10 minutes.
More Gluten Free Scone Recipes
If you tried these Gluten Free Cherry Scones or any other recipe on my website, please let me know how it went in the comments below! And I always appreciate a star rating if you loved it ❤️

Gluten Free Cherry Scones
Ingredients
- 2 ¾ cups oat flour (330 grams)
- ⅓ cup granulated sugar
- ½ teaspoon fine sea salt
- 1 tablespoon baking powder
- 8 tablespoons unsalted butter, cold
- 2 large eggs
- ½-⅔ cup heavy cream, or whole milk
- 1 cup fresh cherries, pitted and halved
Instructions
- In a large mixing bowl, whisk together the flour, sugar, salt, and baking powder, ginger, and pinch of cardamom if using.
- Work in the butter just until the mixture is very crumbly. Stir in the cherries.
- In a small bowl bowl, whisk together the eggs and milk. Add the liquid ingredients to the dry ingredients. Stir together to combine and a dough forms.
- Line a baking sheet with parchment and sprinkle it with oat flour.
- Scrape the dough onto the floured parchment or pan, and divide it in half. Round each half into a 5" circle (if you haven't incorporated any add-ins); or a 6" circle (if you've added fruit, nuts, etc.). The circles should be about ¾" thick. Slice each circle into 6 wedges.
- Brush each circle with cream, and sprinkle with sugar if you like.
- Carefully pull the wedges away from the center to separate them just a bit; there should be about ½" space between them at their outer edges.
- Place the pan of scones in the freezer for 30 minutes and preheat the oven to 425°F.
- Bake the scones in the upper part of your oven for 20-25 minutes, or until they're a light golden brown. When you pull one away from the others, it should look baked all the way through.
- Remove the scones from the oven, and cool briefly on the pan. Serve warm.
Notes
- How to tell they're done: When you separate the scones they should look baked all the way through with no wet edges.
- Make them refined sugar-free: Use coconut sugar or maple sugar for the granulated sugar.
- Add brown sugar: Or, use light or dark brown sugar in place of the granulated sugar for a richer taste.
- Make them sweeter: One more note about sugar - these are lightly sweet scones. If you like your scones less sweet, use less sugar. Or, if you like them sweeter, feel free to add a bit more.
- Make them dairy-free: Swap very cold coconut oil or your favorite non-dairy butter for the butter. Switch the whole milk for non-dairy milk.
- Freeze: To make scones ahead of time and save them until you wish to bake them, place the scones after they've rested in the freezer in a in a zip-top plastic bag, then store them in the freezer for up to 1 month. You can bake them directly from the freezer, but may need a couple of extra minutes of baking time.






Michelle says
Hi! Thought I'd give these scones a try. Since going GF, I've had a hard time finding a really good GF scone.
I'm just making these now, and I'm finding the dough to be super wet after following the ingredient list to a T.
No way can I roll it out. Not sure what to do with it? Any ideas?