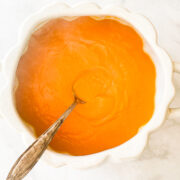
Vibrantly orange persimmon jam makes the most of this beautiful fall fruit! With a floral sweetness and gorgeous color, this jam is easy to make and perfect on toast, muffins, and more.
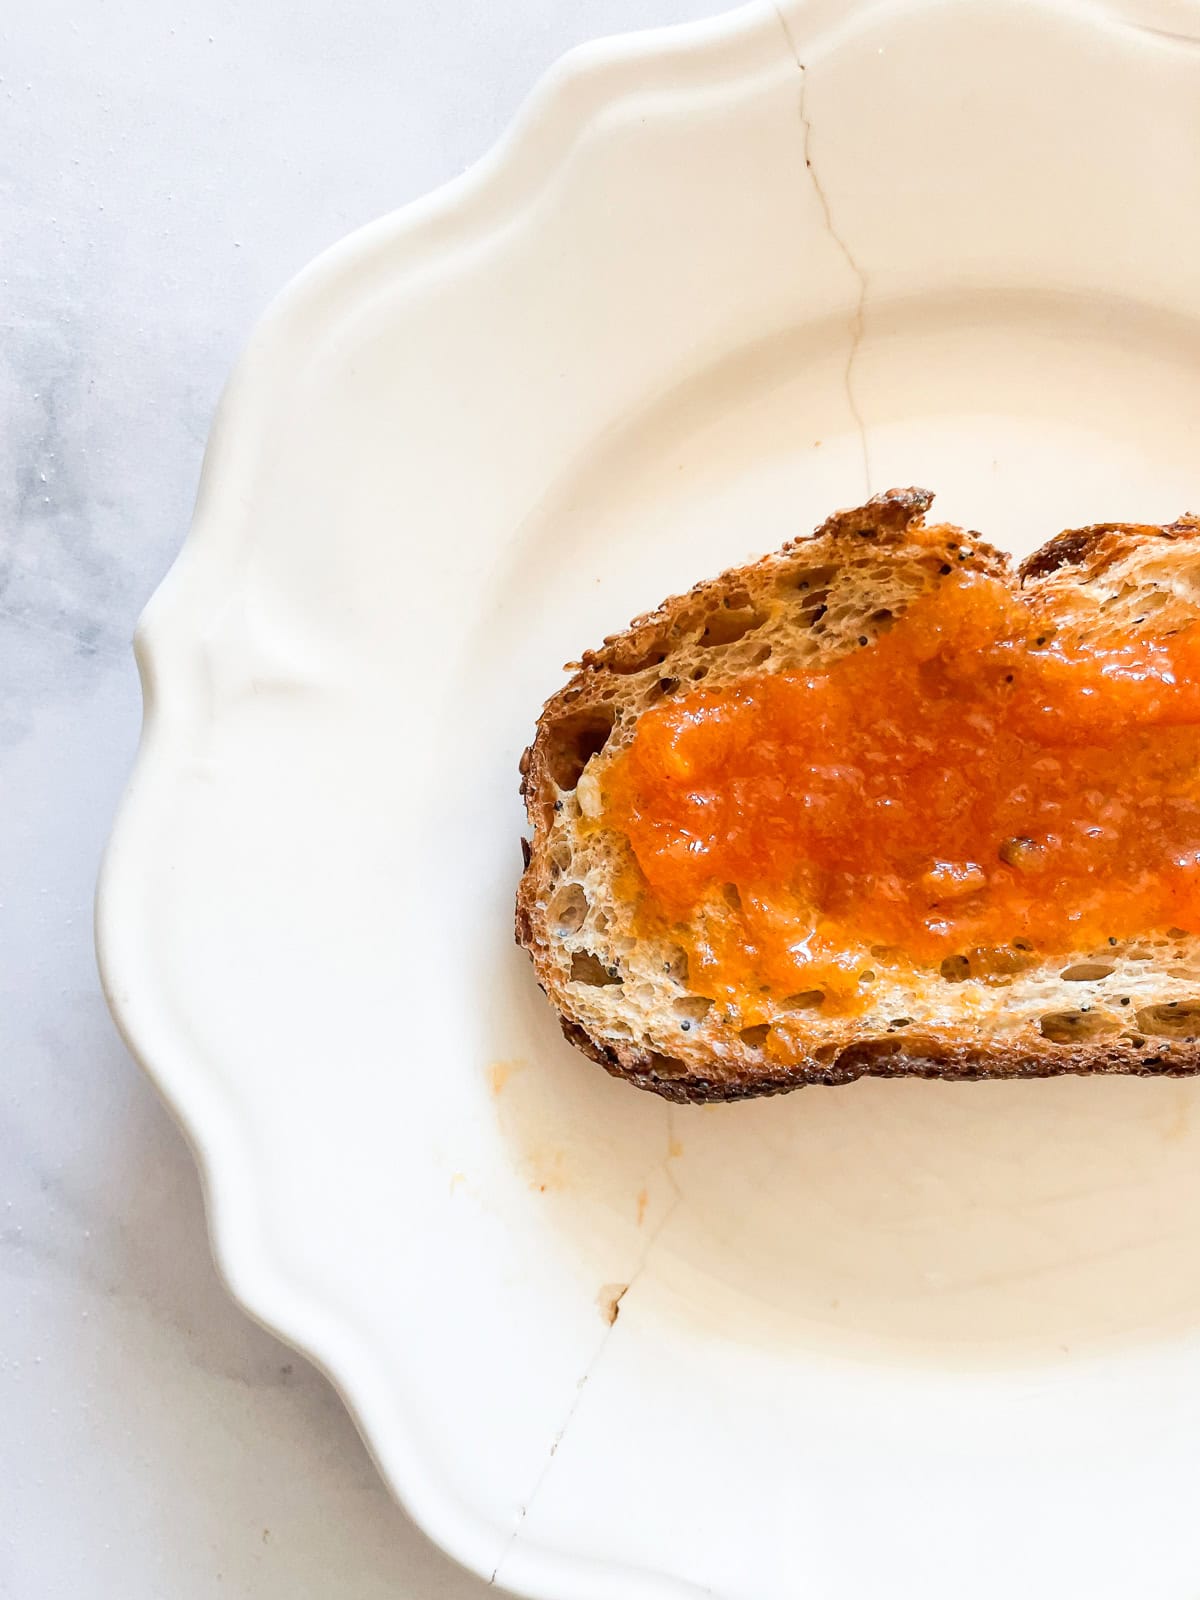
When you've made enough gluten free persimmon muffins, gluten free persimmon cake, and loaves of gluten free persimmon bread it's time to make persimmon jam! Turn your seasonal bounty into little jars of glowing sunshine that will warm you all through the cold winter months. Learn how to easily make jam at home in this post.
Jump to:
Why I Love Homemade Jam!
I have been making my own jam for years and it's one of my life's little pleasures. Blackberry jam is a particular favorite (remember when I canned all the jam for my wedding?) and we love a nice strawberry honey jam, too. Turning seasonal produce into a bounty that can be enjoyed all throughout the year - well, that makes me feel truly rich! Add persimmon jam to the lineup of jams that are a bit special. This is not your everyday jar of jam, and I love it for that.
- DIY is my favorite. I love making homemade jam and over the years I've become quite handy at turning the garden's bounty into something delicious that we can enjoy all year long.
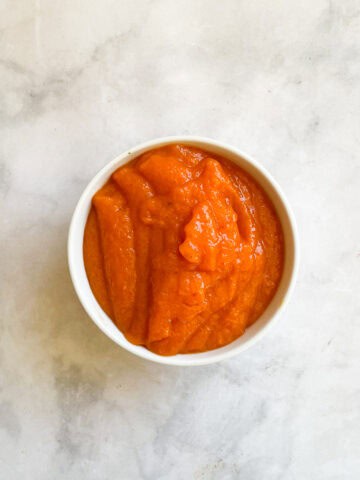
- Makes the most of seasonal fruit. If you have a persimmon tree or access to one (like me), turning them into jam is an easy way to use it up. You can also make even easier persimmon puree and freeze it for later!
- Easier than you'd think! Jam-making can seem intimidating but if you follow my simple method you'll be well on your way. And if canning seems like too much, you can easily make delicious fridge jam!
Ingredients Needed
Just four simple ingredients plus water go into making this gorgeously-hued jam! I've included a few notes below about quantities and what kind of persimmons are best to use. Find the full ingredient amounts and instructions in the recipe card at the end of this post.
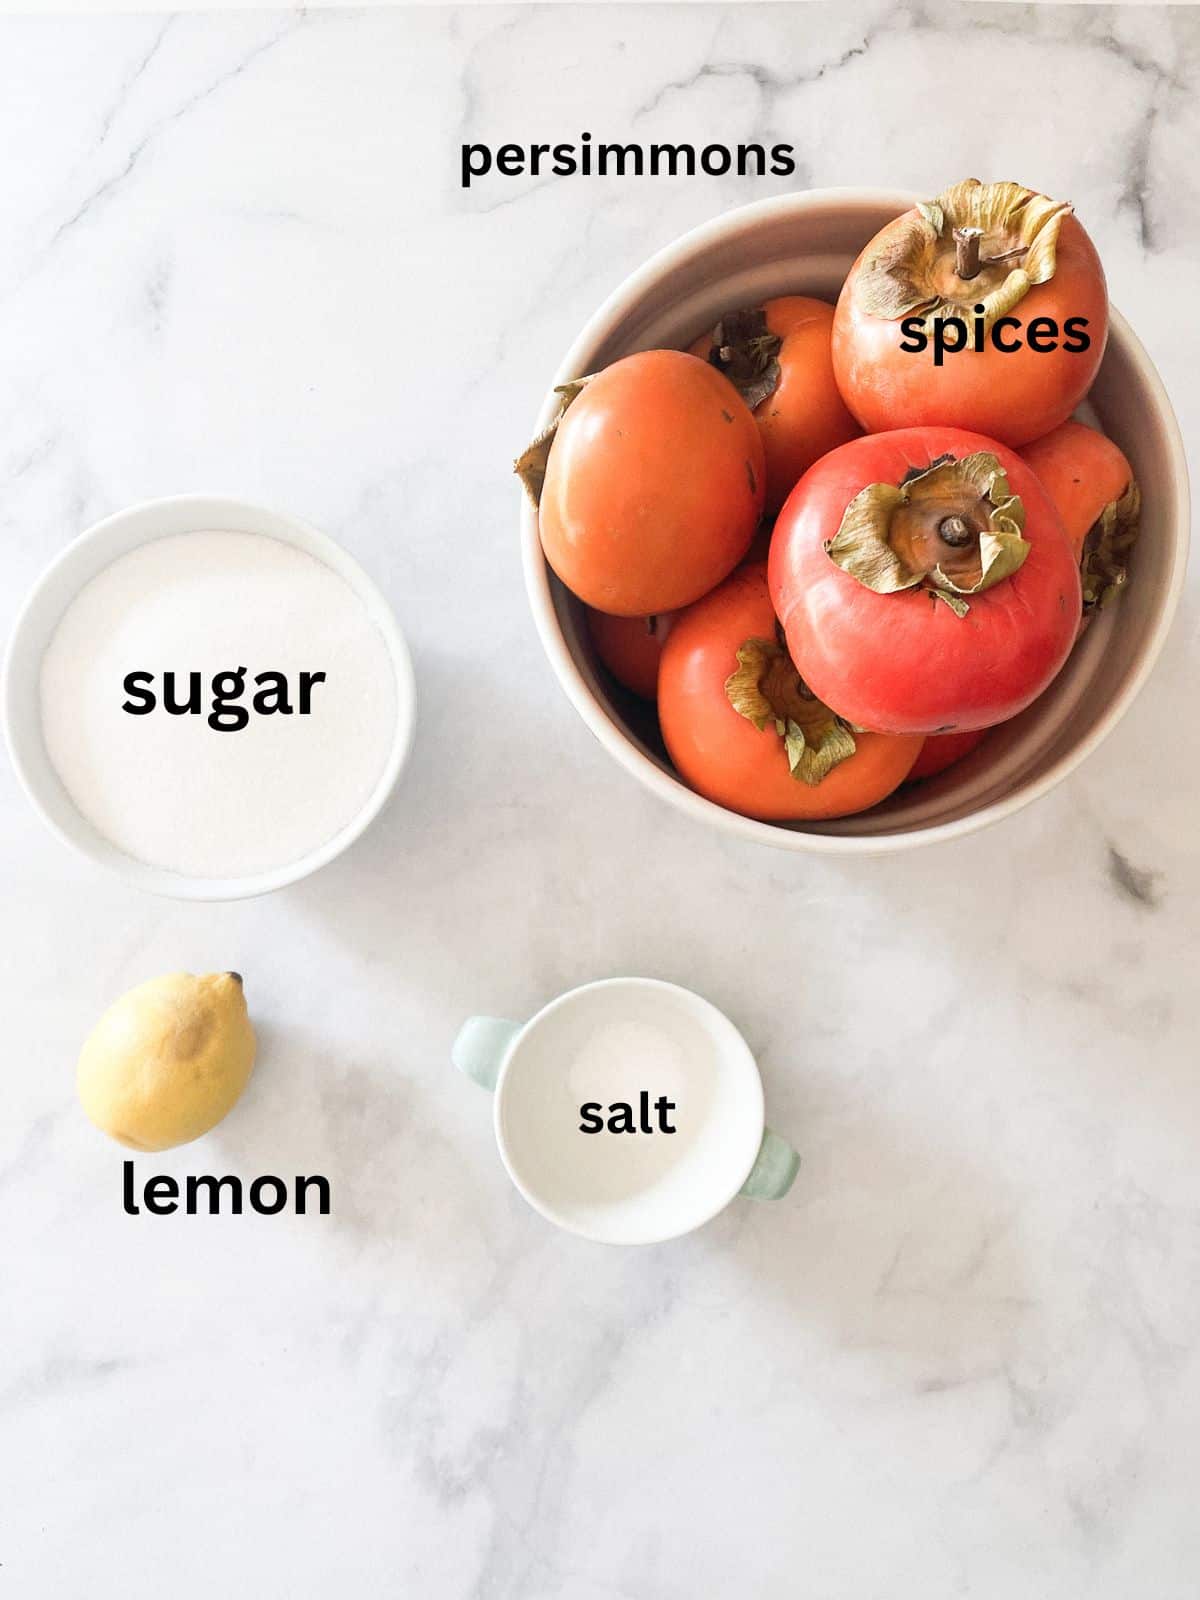
- Persimmons - I used Fuyu persimmons to make this jam and I recommend that you do, too. Fuyus are firmer than the other variety of persimmons commonly found in America called Hachiya. Persimmons are typically available in the United States from October-January depending on where you live. I like Fuyus because they are firmer and can hold up better to the cooking process than the softer Hachiyas.
- Water
- Sugar - While the persimmons may be sweet on their own, sugar serves to help thicken and also preserve the jam. You may alter the amount of sugar slightly in this recipe but I advise trying at least one batch with the amount called for.
- Lemon - Lemon juice serves to lower the ph balance in fruit jam so that it can "set" better without needing additional pectin, so don't leave it out.
- Salt - I always like to include a bit of salt in my jam recipes to slightly offset the natural sweetness of the fruit! I used fine sea salt here and table salt also works.
Should I Can My Jam?
This is such a personal decision! If I have the time, I love to process my jam in sterilized jars using a water bath (via the Ball jar site). This way it will last longer and doesn't need to be stored in the fridge. I recommend following the directions on the National Center for Home Food Preservation website run by the University of Georgia to properly and safely preserve any fruit, vegetables, jam, etc.
But, you can also make fridge jam! Place the jam in sterilized, clean, airtight jars and store them in the fridge for up to 2 weeks.
What Are Persimmons?
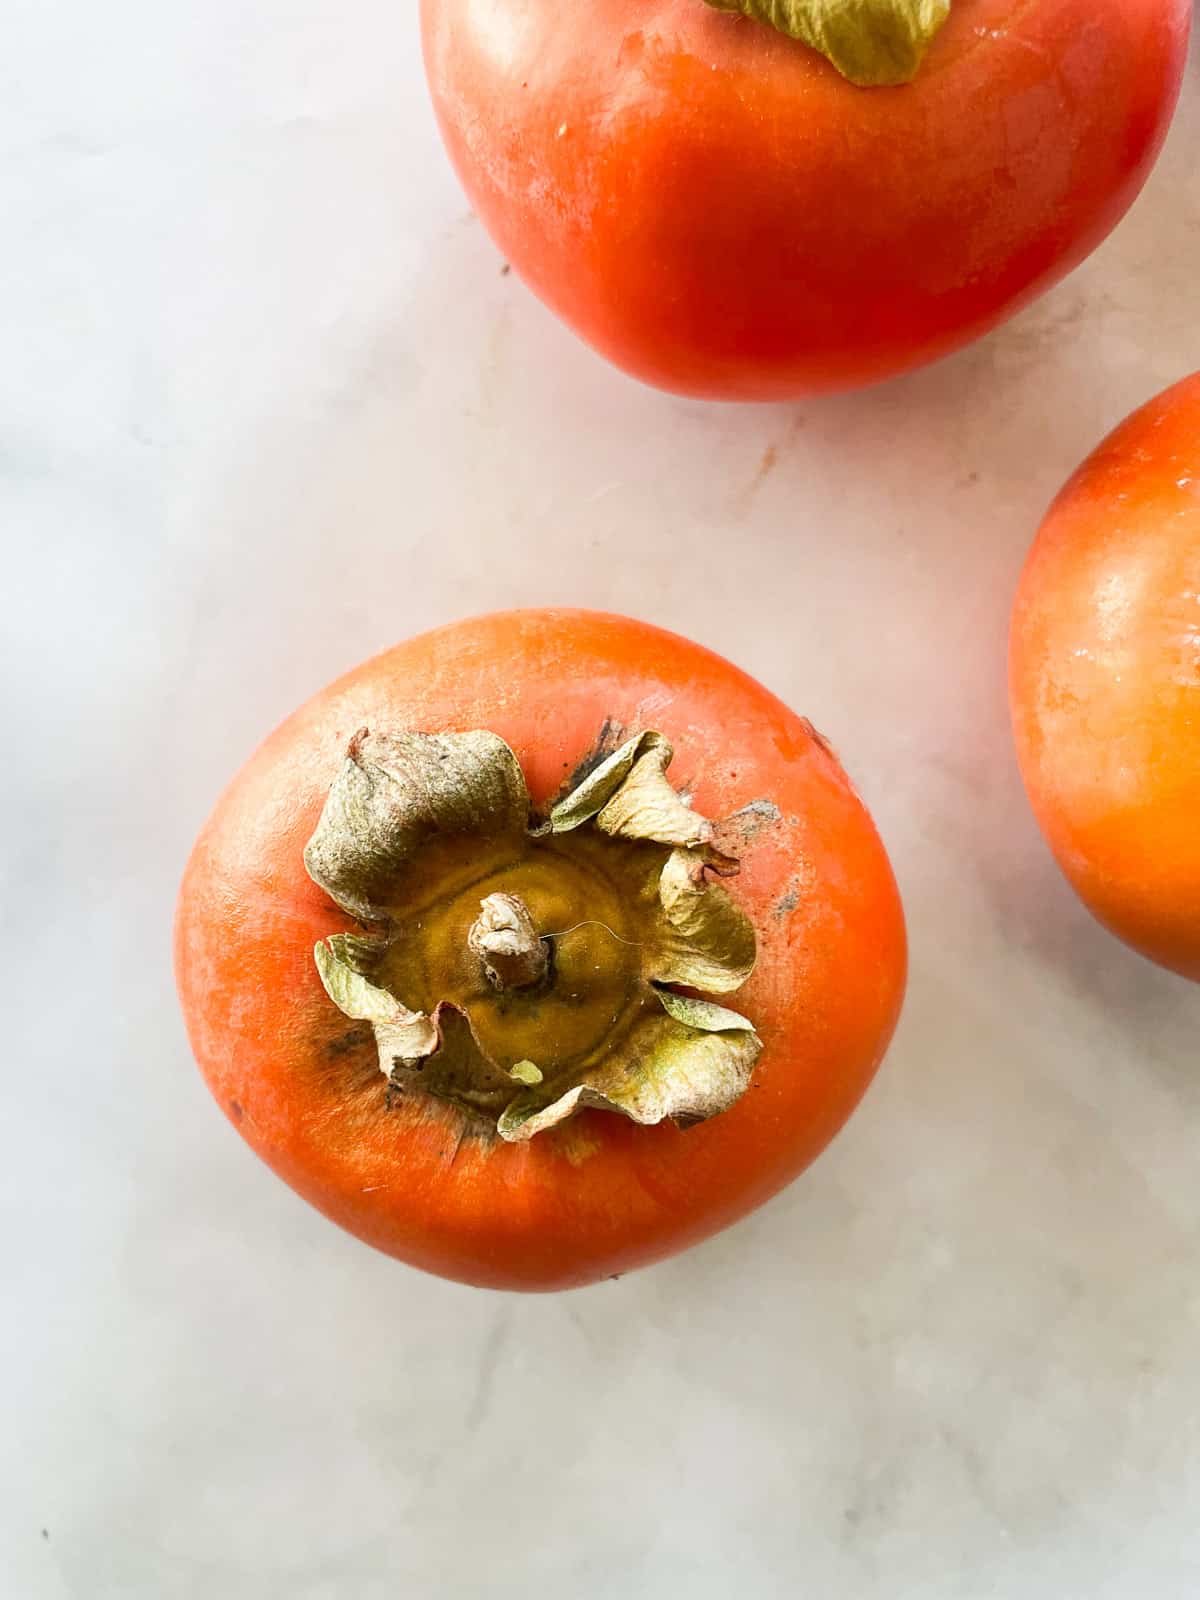
Persimmons are an orange fall fruit that originated in China but now is grown around the world, particularly in North America. We see many persimmon trees here in California, and for me they are a first visible sign of fall.
Persimmons are sold in grocery stores, and you'll typically either Fuyu or Hachiya varieties in the States. Fuyus are firmer and can be used in salads as well as baking while Hachiyas are softer, good for baking, but need to be fully ripe and soft otherwise they are bitter and inedible. Persimmons have a slight apricot-honey flavor that comes through nicely in a jam.
How to Make Persimmon Jam
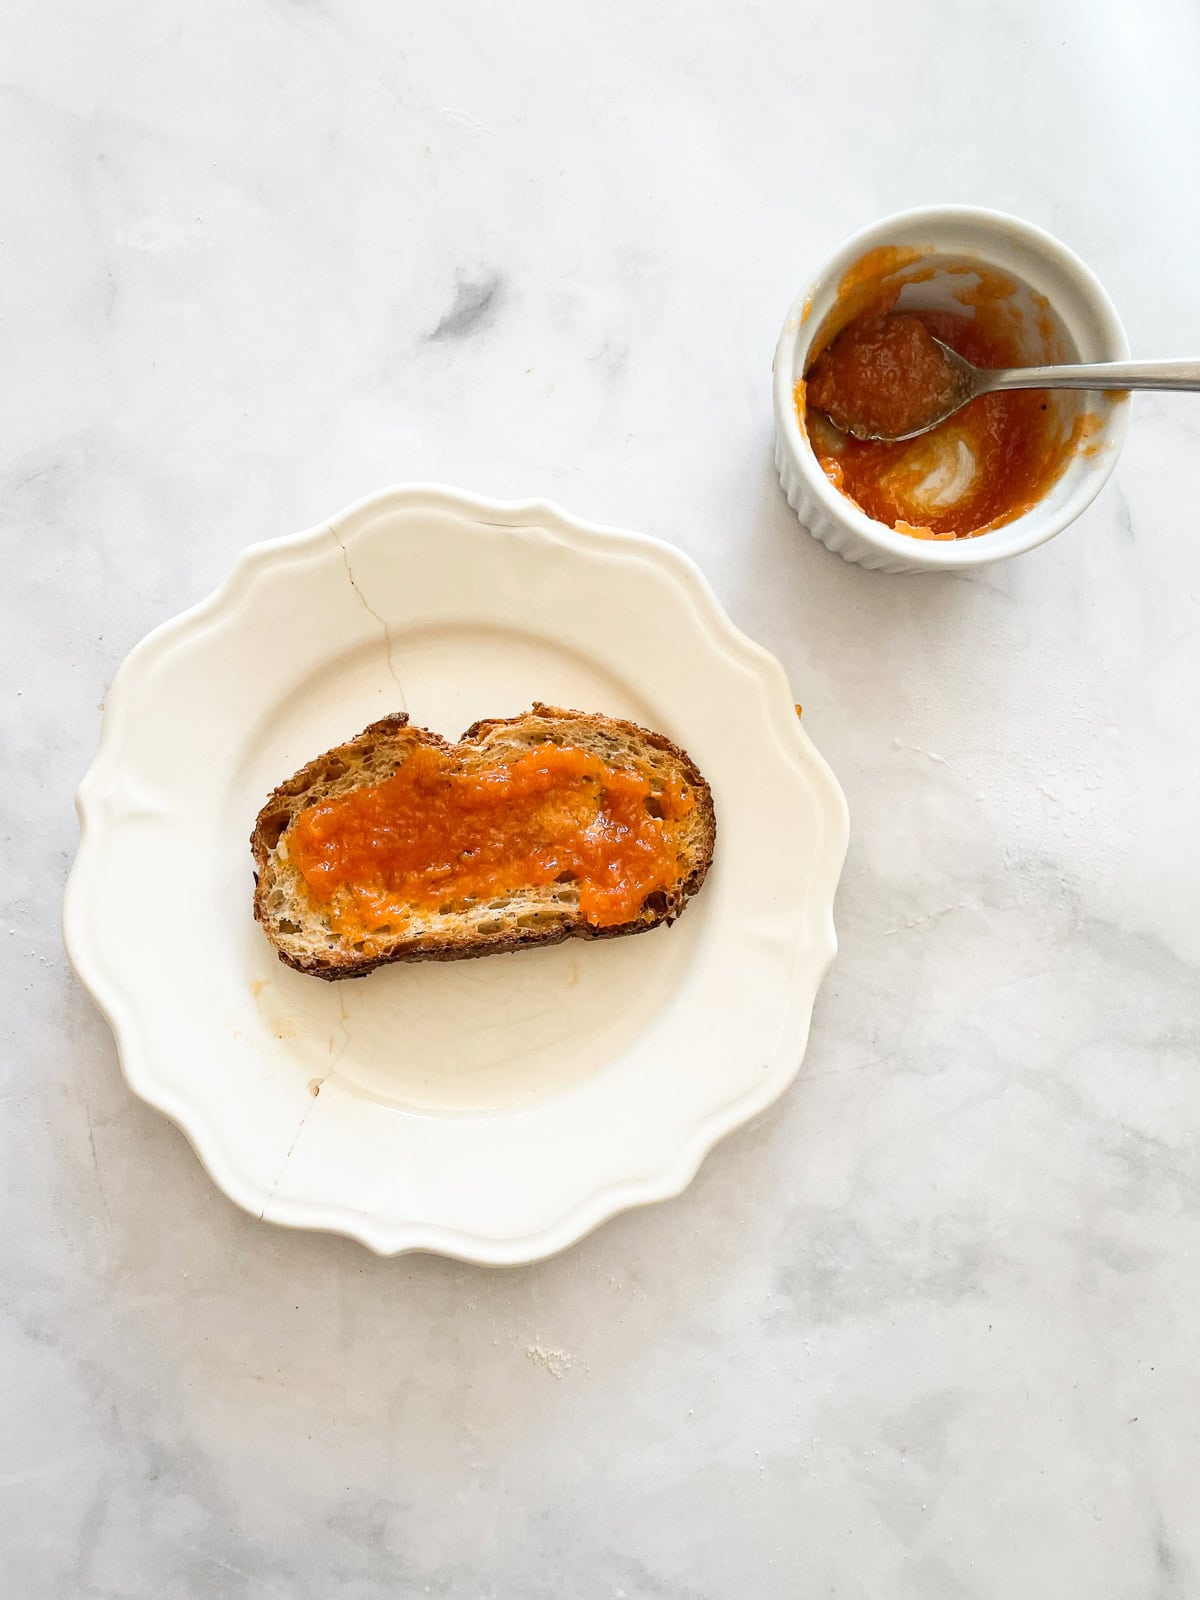
Here's a step-by-step look at the process for making this jam:
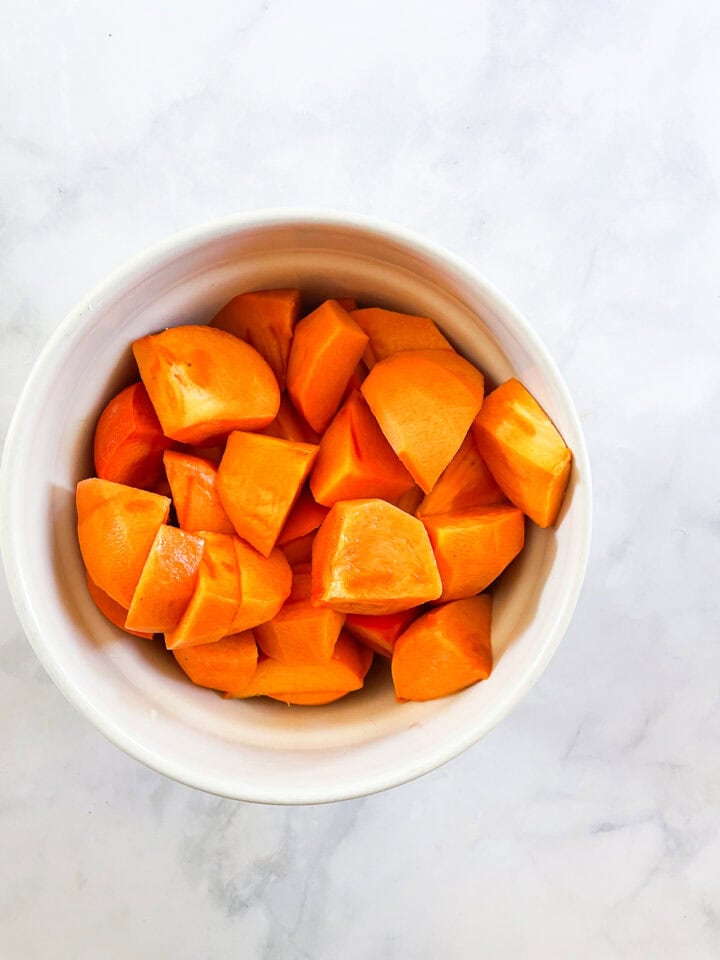
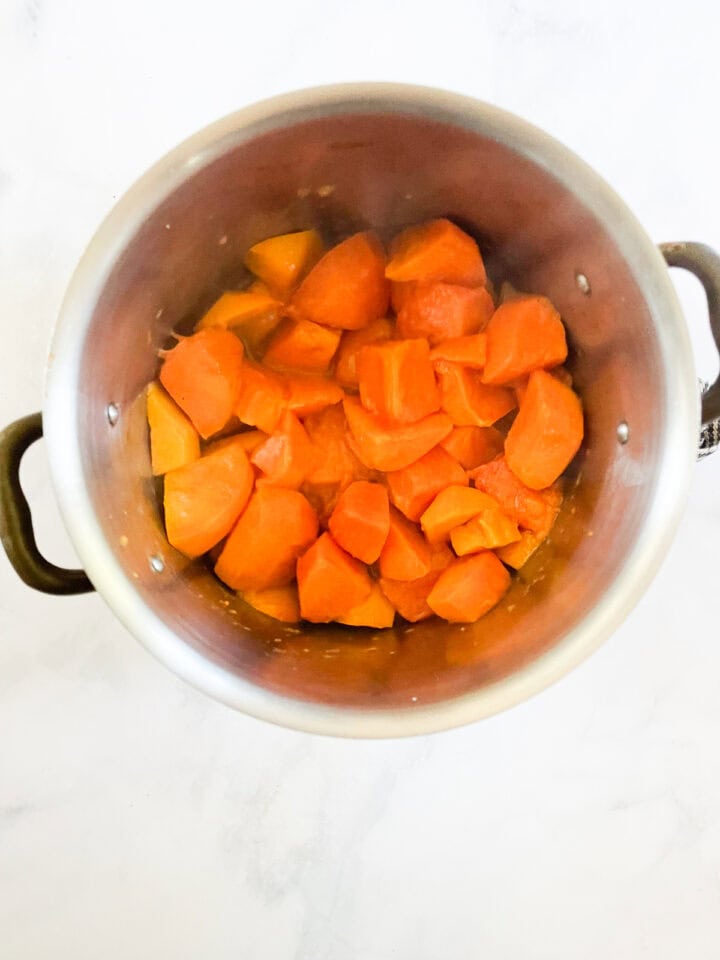
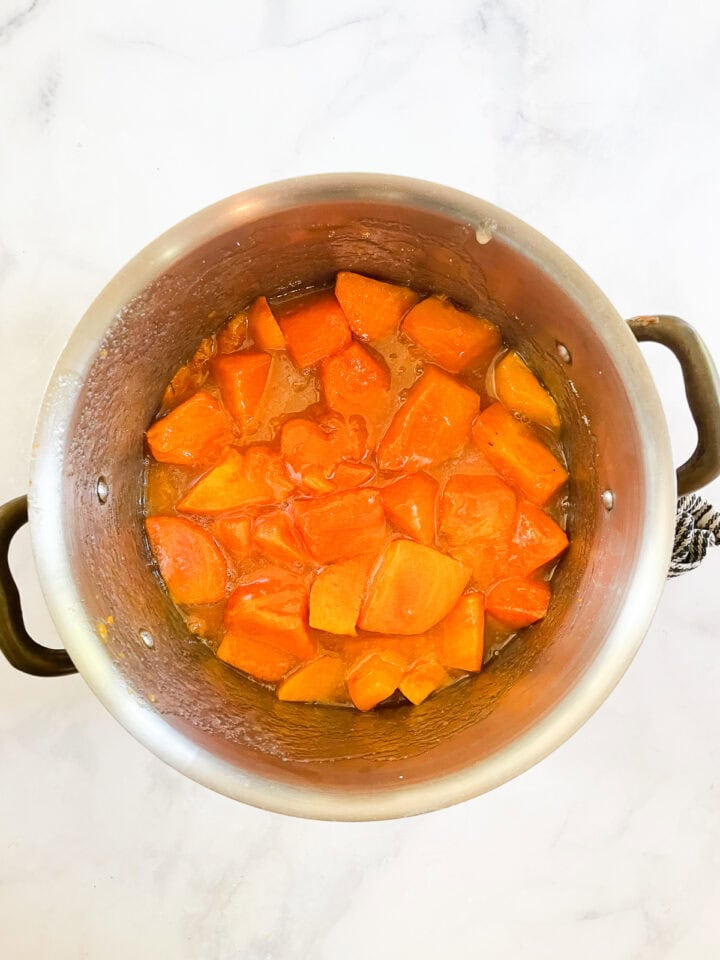
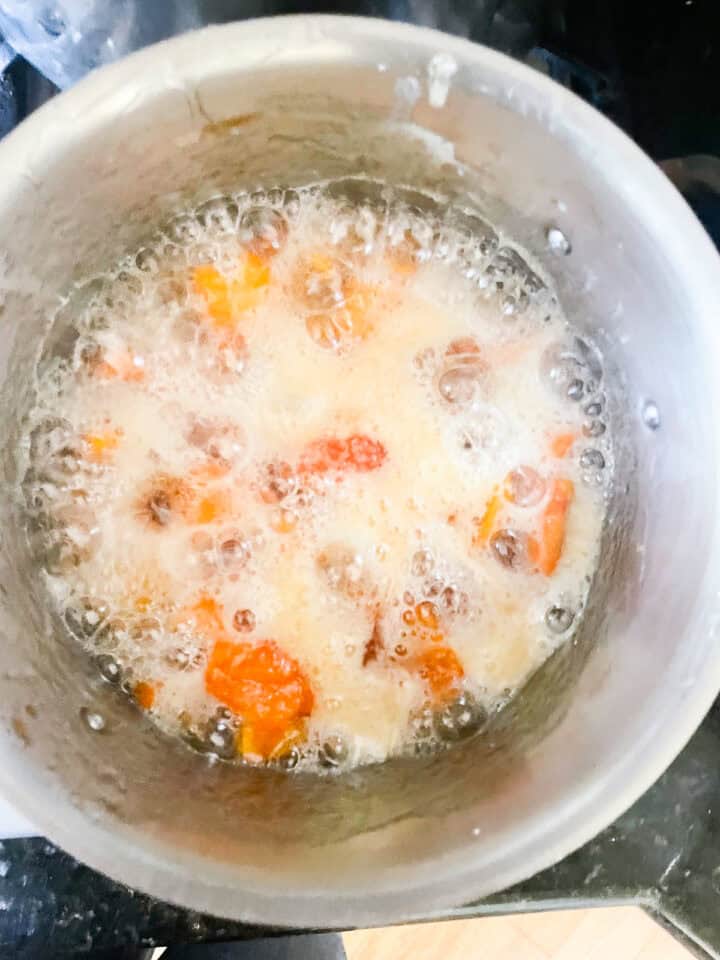
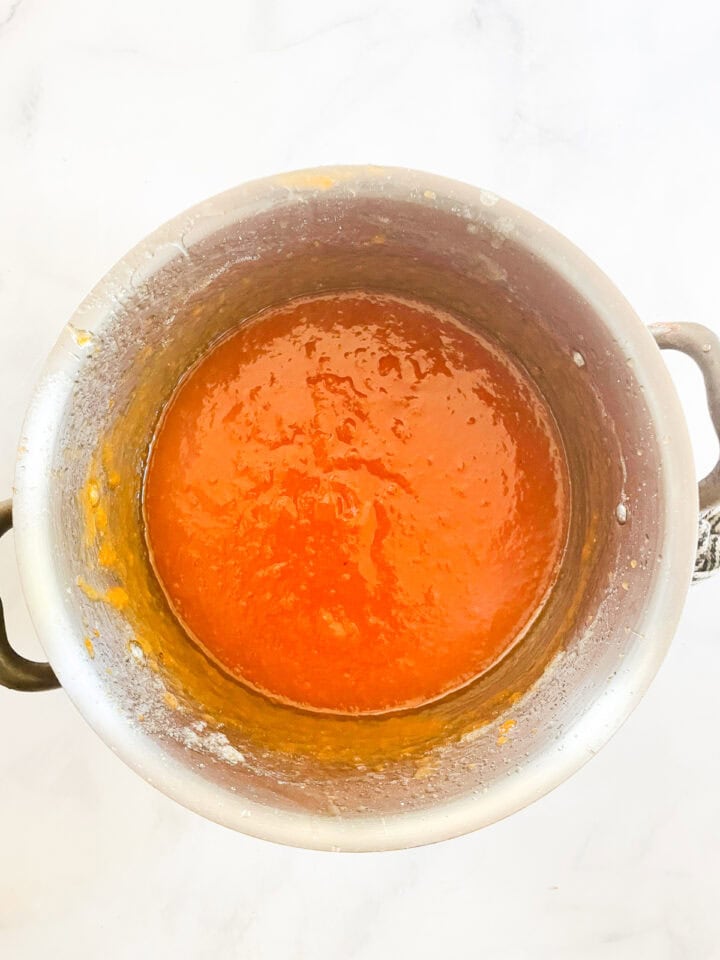
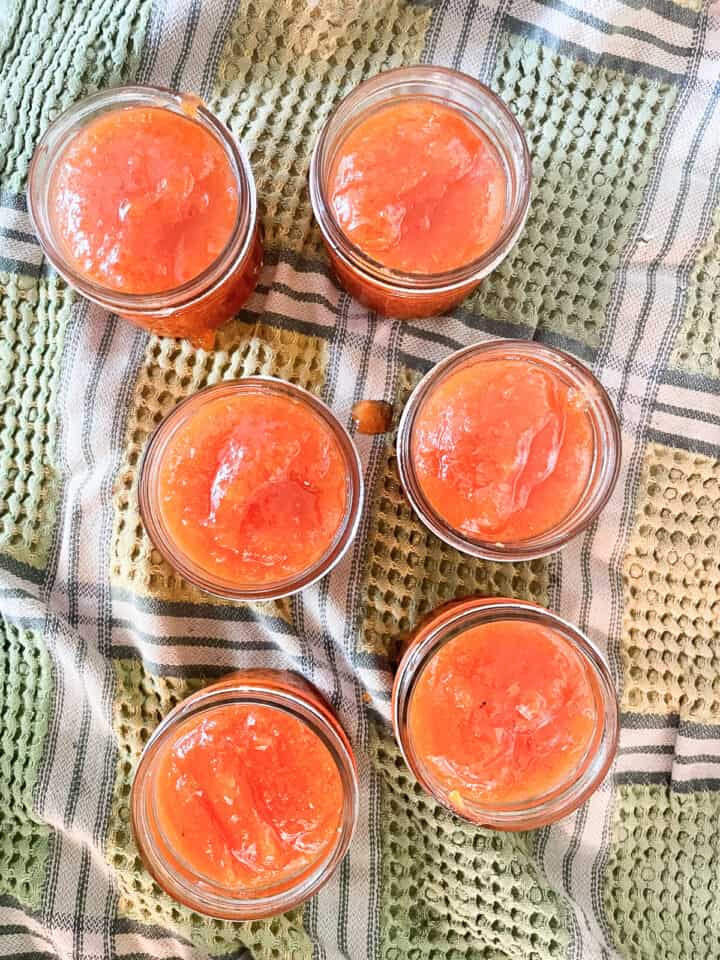
- Prep: Place a plate in the freezer and wash and peel the persimmons.
- Cut em up: Remove any blemishes and roughly chop the persimmons.
- Cook: Add the persimmons and water to a pot and cook for about 10 minutes.
- Add the remaining ingredients: Stir in the sugar, salt, and lemon juice to the saucepan then boil, reduce the heat, and cook for about 15 minutes more.
- Puree: Using a stick blender carefully puree the persimmon mixture if you want a smooth jam.
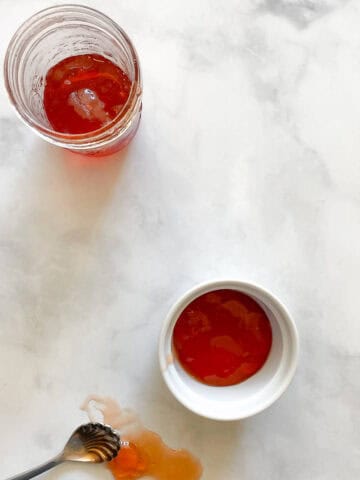
- Test: Spoon a little of the mixture onto the cold plate and check to see if it wrinkles. If it does, the jam is ready!
- Store: Place the jam in prepared jars and can or store in the fridge.
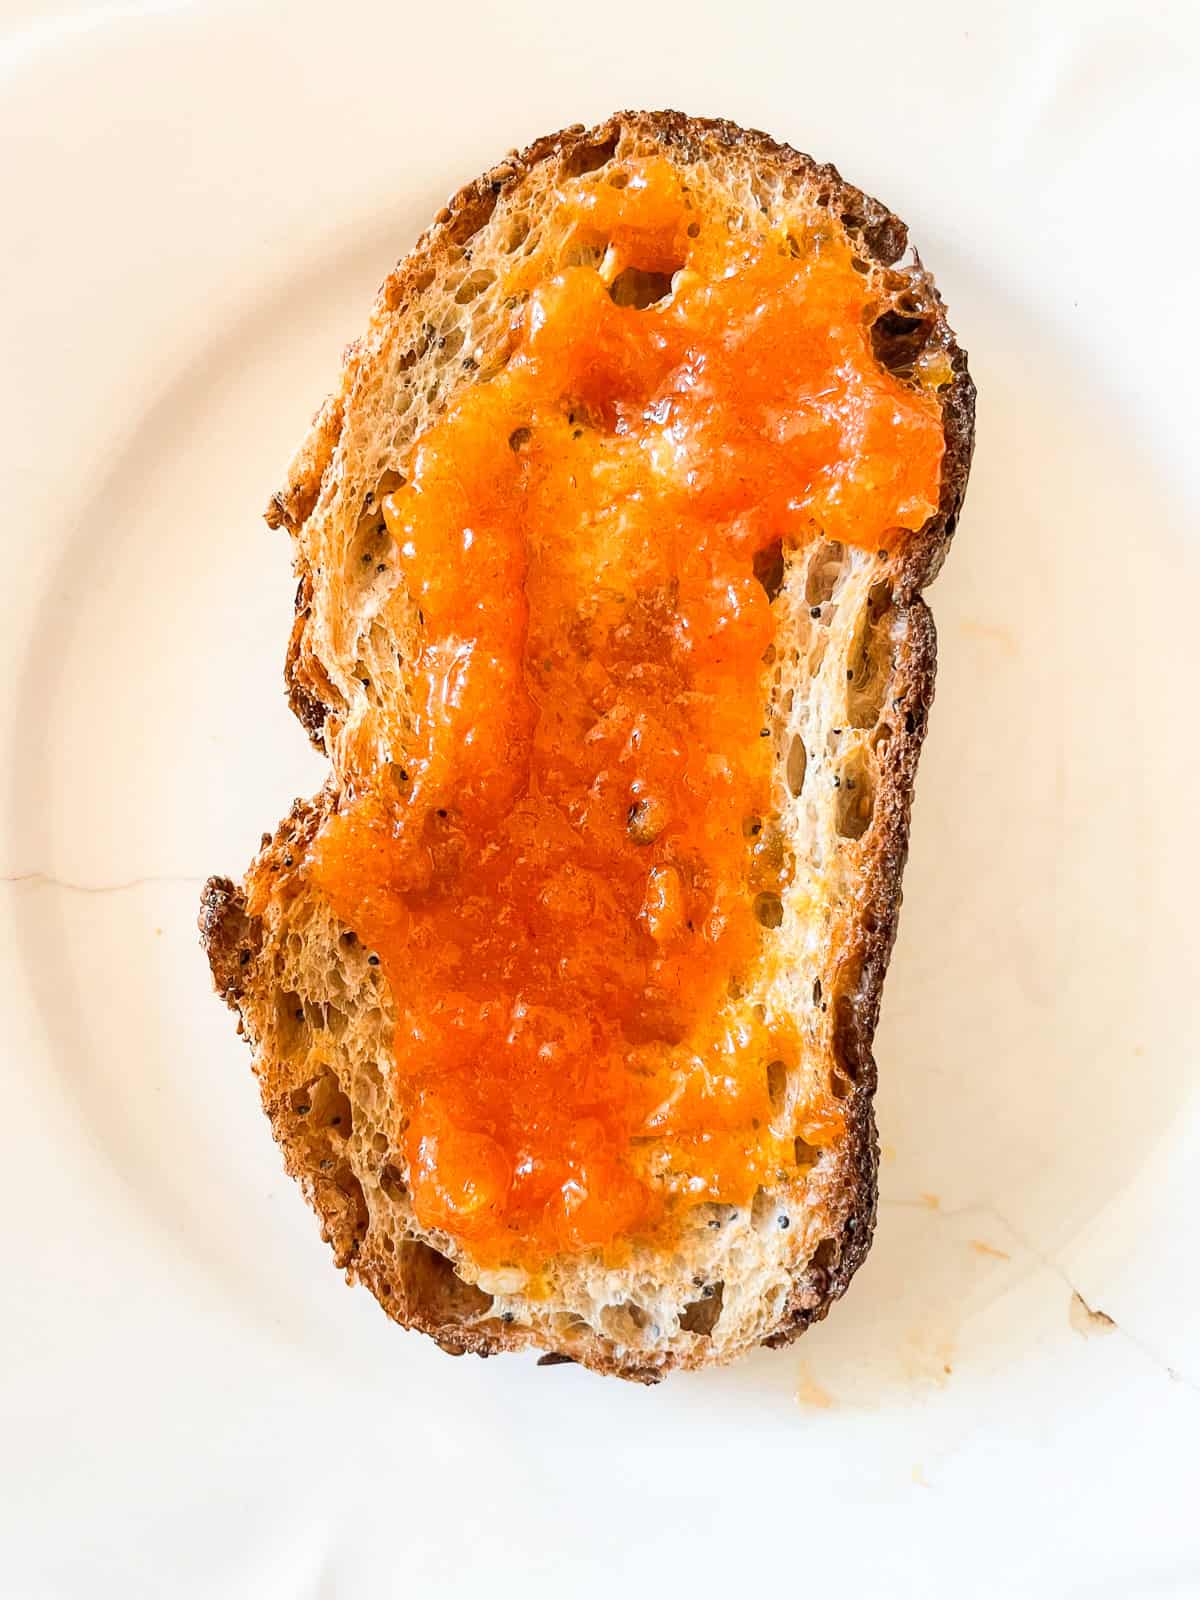
Homemade Jam Tips
- Adjust the sugar. I don't love a super sweet jam, yet sugar does have an important function in creating a gelled jam. A typical ratio of fruit to sugar is 1:1 but I do try to adjust it depending on the sweetness of the fruit and how sweet I can stand it! You will find your own method of jam development as you gain experience. For the first time trying a new recipe, I always recommend making it as written before experimenting.
- Stir constantly. Near the end of the cooking process when the jam is thick, watch it and keep stirring so that it doesn't stick to the pan and burn.
- Use a cold plate. The best way to know if the jam has set properly is to place a spoonful on a cold plate and watch for the "wrinkle" when you draw a spoon through it. Get it in the habit of popping a plate into the freezer when you start prepping your jam so that it has enough time to chill.
- Try a candy thermometer. Alternatively, a candy thermometer can be used to check the doneness of the jam. The ideal temperature of jam should be between 217° and 222° F (220° F may be the sweet spot!).
- Puree or not to puree. This is up to you. I prefer a very smooth jam so I puree it using my immersion blender. For more texture, leave it as it or smush it up a bit with a spoon.
- Add vanilla. For a slight flavor difference, try a little vanilla or vanilla bean paste added to the jam after you puree it.
Storage
- Canning method - Properly canned jam can be stored in a cool, dark place (the pantry!) for up to 1 year.
- Fridge method - Store the jars of jam in the fridge for up to 2 weeks.
- Freezer - You can also freeze the jam although the texture may change slightly when defrosted. Transfer the cooled jam to airtight freezer-safe containers or bags and store them in the fridge for up to 3 months. Thaw the jam in the fridge before eating.
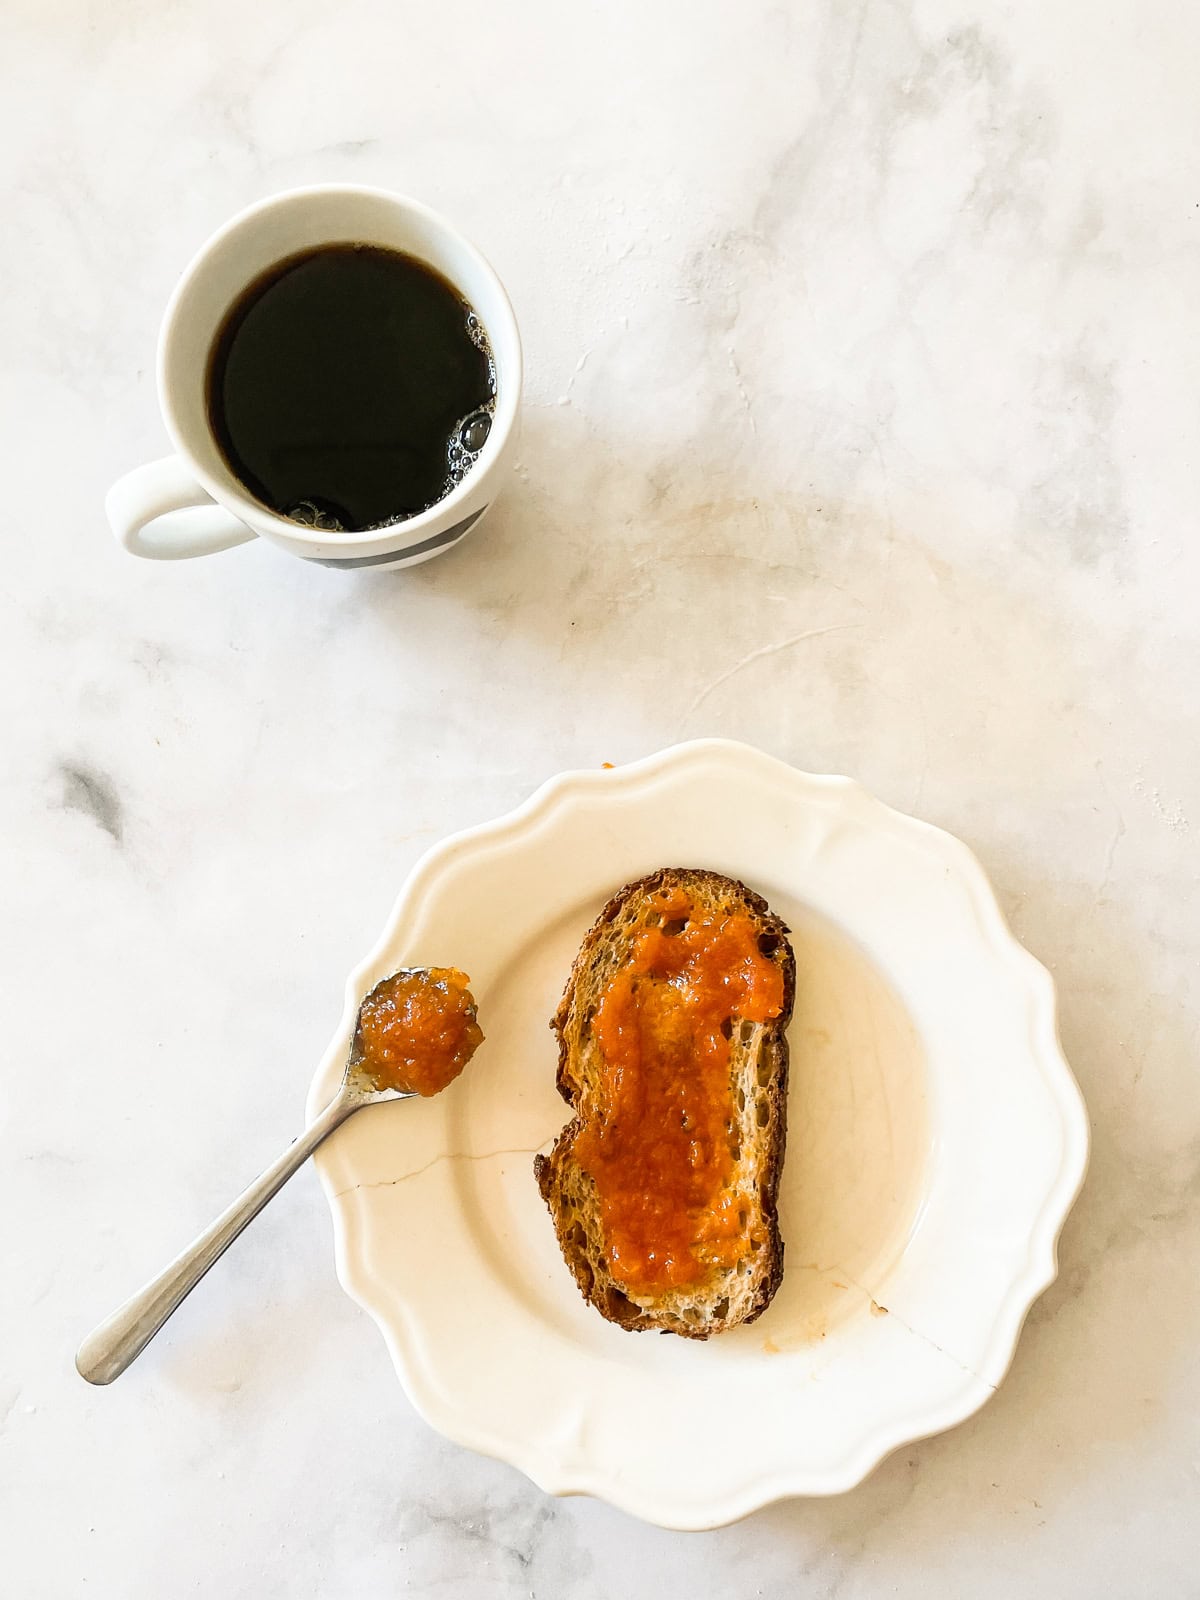
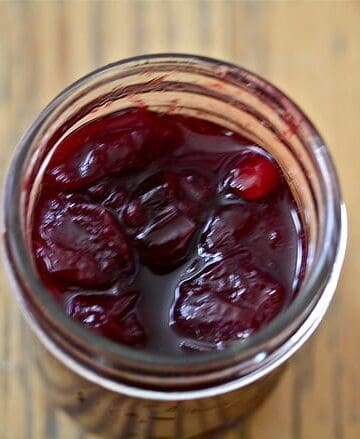
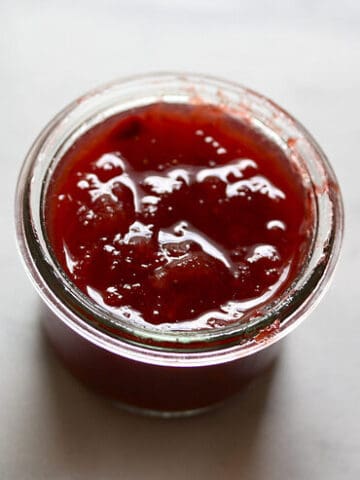
More Easy Jam Recipes
If you try this persimmon jam recipe, please let me know! And if you have any questions, always feel free to reach out in the comments or by email. I hope you love it! ❤️
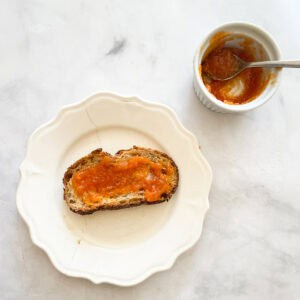
Persimmon Jam
Ingredients
- 2 pounds Fuyu persimmons
- ⅓ cup water
- 3 cups granulated sugar
- 1 lemon juiced
- ¼ teaspoon fine sea salt
Instructions
- Place a plate in the freezer.
- Wash the persimmons, then remove the stem and peel them.
- Quarter each persimmon and remove any seeds and blemishes if you see them. Then roughly chop the persimmons.
- Place the persimmons and water in a large saucepan and cook it over medium heat, stirring frequently, for about 10 minutes.
- Add the sugar, salt, and lemon juice to the saucepan, stirring until the sugar dissolves. Then increase the heat and cook until the mixture reaches a rolling boil.
- Reduce the heat slightly, and cook for about 15 minutes, stirring frequently and skimming off any foam that forms if you wish. Remove the pot from the heat and if the fruit is still fairly intact, use a spoon to mash it up into more of a puree. Or, carefully puree the mixture using a stick blender inserted into the pot until it is very smooth (I use this method).
- Now spoon a little of the fruit mixture onto the plate you placed in the freezer. Let it stand for 30 seconds, then run a spoon through the jam.. If it wrinkles, the jam is set. If it is still pretty liquidy, return the pot to the heat and cook for a few more mimutes, then retest.
- Store the jam in clean, sterilized jar s in the fridge for up to 2 weeks, or follow the USDA's canning instructions (linked below) to keep your jam for up to 1 year.





I'd love to hear from you! Please leave me a note.