A reliable gluten free pie crust recipe needs to be in your back pocket - and this easy all-butter gluten free pie crust is definitely a worthy go-to. One whole grain naturally gluten free flour plus a little starchy flour for lightness produces a versatile pie crust that works in all sorts of pies and pastries from sweet to savory.
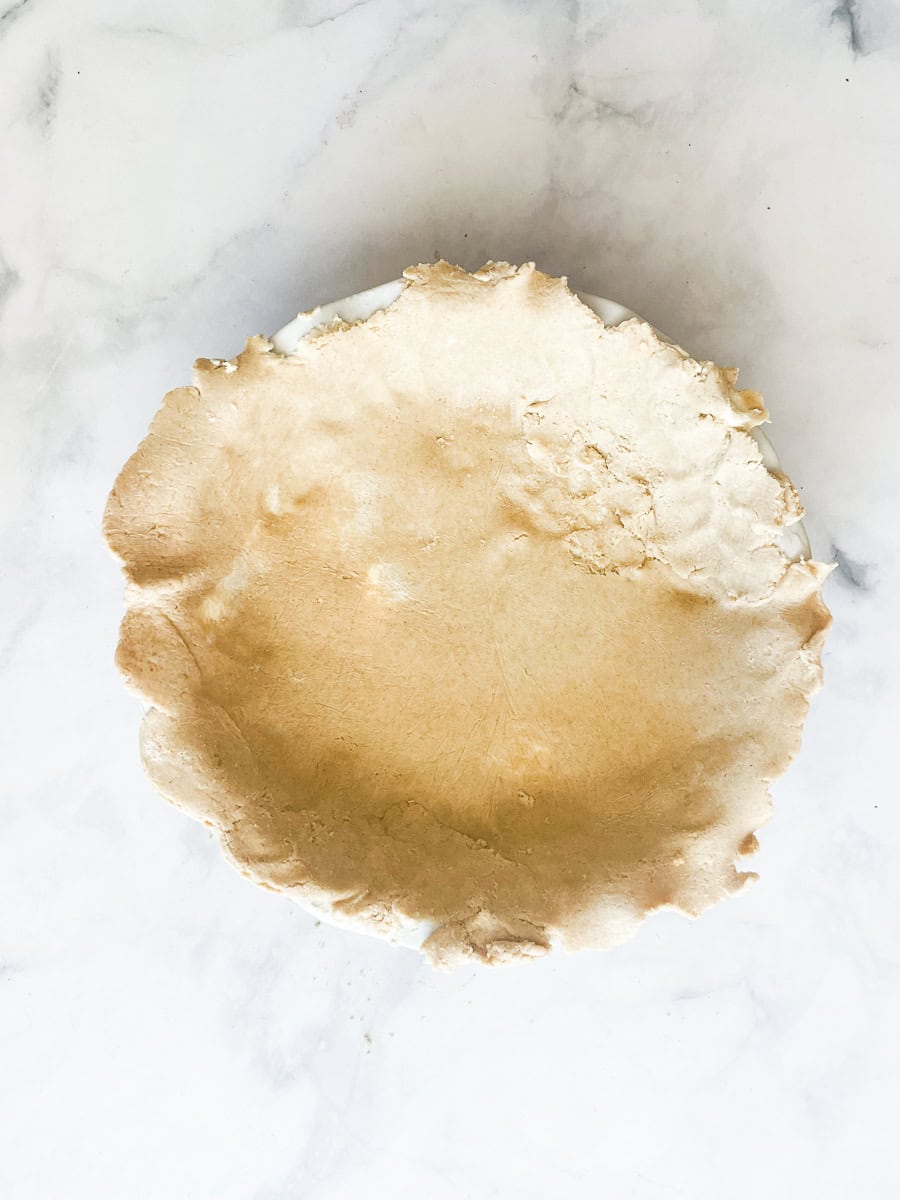
Best Gluten Free Pie Crust Recipe
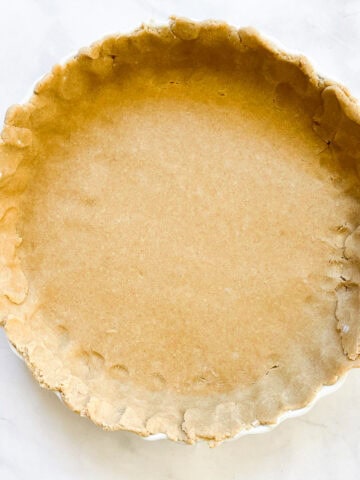
My recipe for gluten free pie crust is one you'll turn to again and again. It's made up of just 6 ingredients and with a little practice you'll soon be on your way to gluten free pie perfection. You can use this recipe in place of a wheat flour pie crust in any recipe you like, from a fall-forward pumpkin pie, all sorts of tarts and galettes, fruit pies, a batch of hand pies, quiches, and more.
This recipe makes enough for a 2-crust, 9-inch pie. Just need one crust? You can halve the ingredient amounts, or use one half now and freeze the other one for whenever you need it. Transfer the pie crust to the fridge to defrost before you roll it out to use in a recipe.
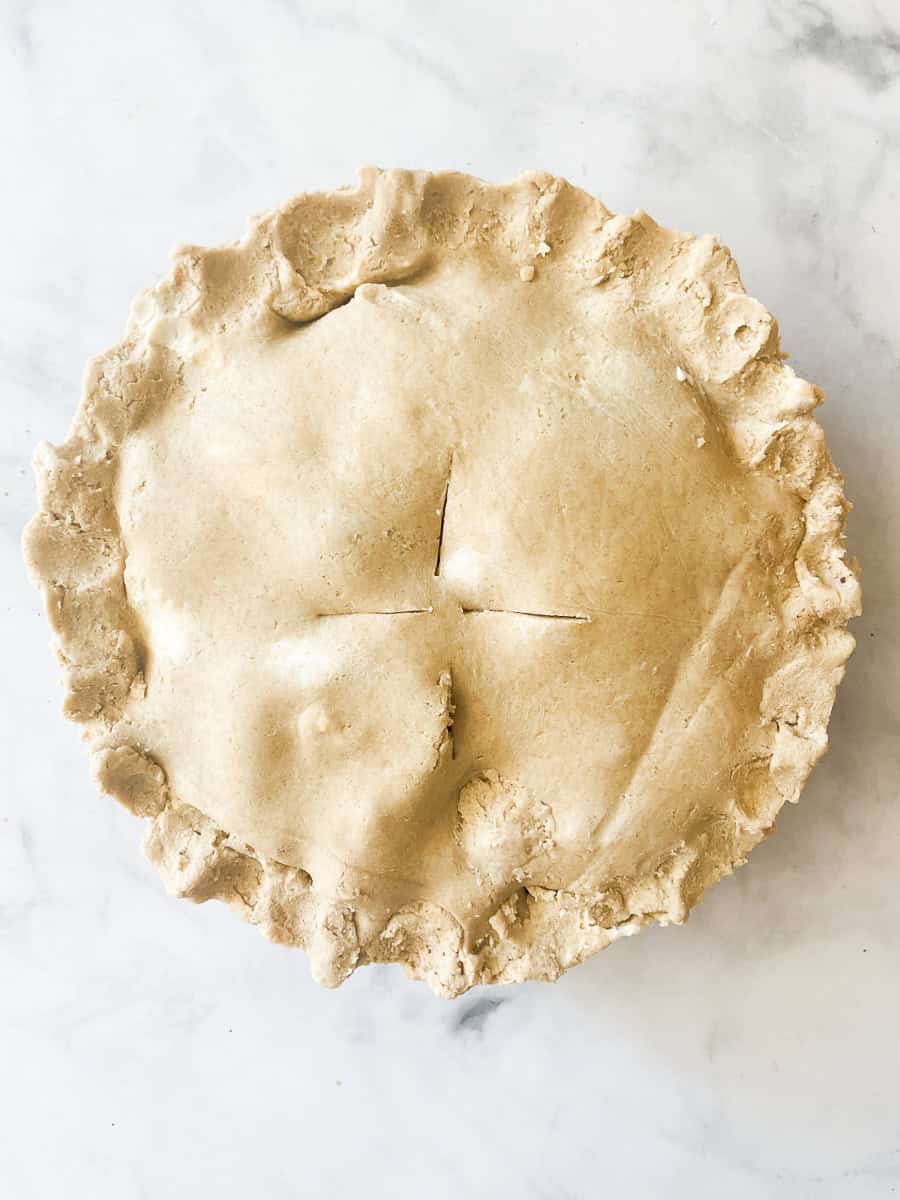
Homemade Gluten Free Pie Crust: Doable and Delicious!
Don't be intimidated by making a gluten free pie crust - with the right combination of flours, you'll get a pie crust that's nearly indistinguishable from its wheat flour counterpart. Yes, it may be slightly more delicate to roll out, but if you keep the dough cold in the fridge until you're ready to make the pie this will go a long way in keeping it sturdy yet malleable.
For the best, flakiest results, use cold butter and ice water. This means that you should remove the butter from the fridge just before you work it into the flour mixture. Also, make up your ice water before you start making the dough so that the water is nice and cold when you add it in.
The dough should be thoroughly chilled in the fridge before you roll it out, at least 30 minutes and preferably up to 2 hours. Don't roll out the dough too thinly so that it has a sturdy structure when you fit it into the pie dish. And, keep the second dough ball cold in the fridge until you are ready to roll it out.
Also, butter your pie dish! This will help the slices easily remove when you cut and serve the pie (when I forget to do this little step I sorely regret it because it truly does make a difference). For the top crust, for the best and easiest cuts, keep the dough cold until you roll it out and cut the pieces for the lattice. If you find that the lattice is too soft, you can form it back into a ball and roll it out again, or place it back in the fridge for a few minutes to chill.
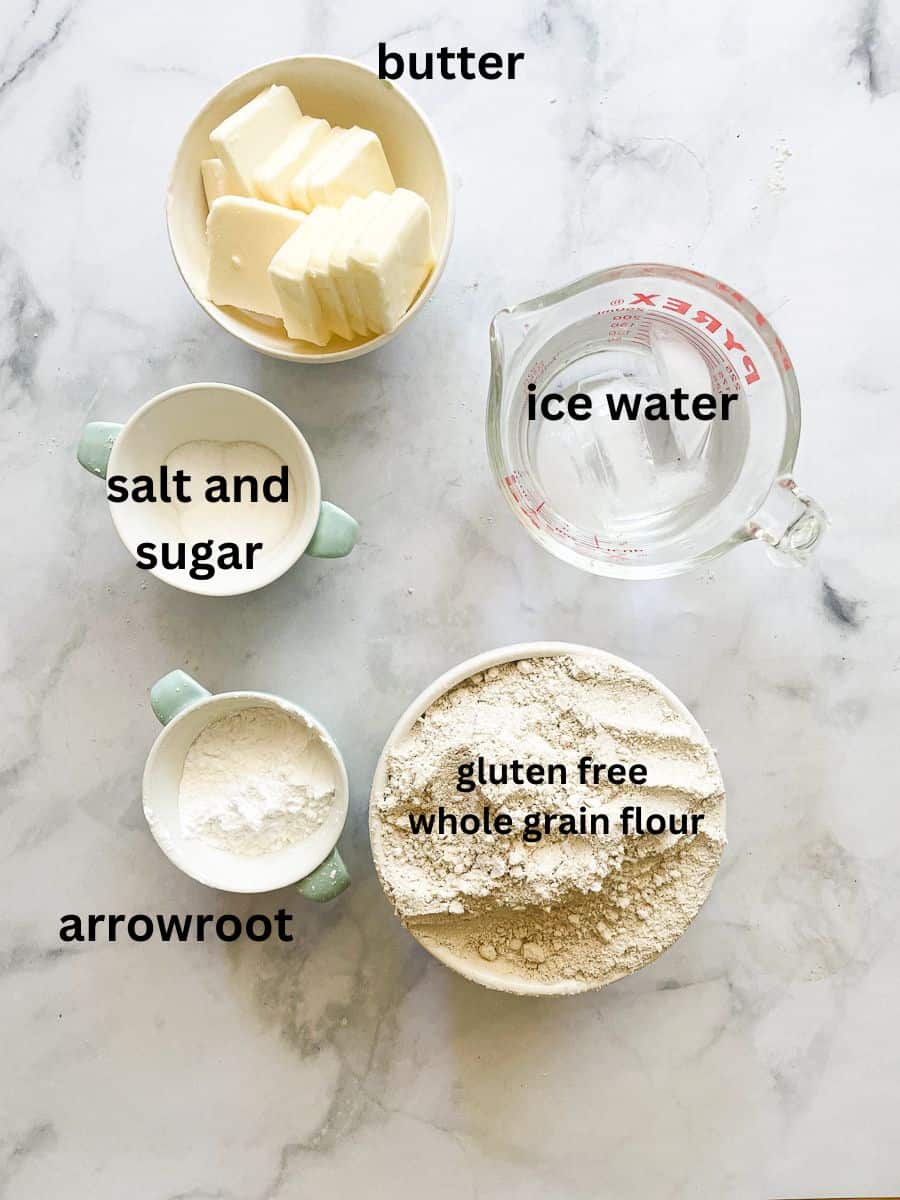
Ingredients Needed
I've outlined the ingredients you'll need below. Note that you can use a gluten free flour of choice in this pie crust recipe. The full ingredient amounts and detailed instructions are in the recipe card at the end of this post.
- Whole grain gluten free flour - I mostly use oat flour in my pie crusts because it's an affordable and reliable choice that always holds up well. But, you can use any other gluten free flour of choice here as long as you measure out 320 grams to use in the crust. Some other great choices include sorghum, teff, buckwheat, or brown rice flour. You could also use white rice flour although I prefer the heartiness of the whole grain flours.
- Arrowroot - Arrowroot is a starchy gluten free flour that balances the whole grain gluten free flour and adds a bit of lightness. You could substitute tapioca flour or cornstarch if needed.
- Granulated sugar - I love adding a little sugar to my pie crusts, even when I'm making a savory pie or tart. For a less sweet pie crust, lower or omit the amount of sugar called for.
- Salt - I always use fine sea salt in my recipe.
- Butter - Use unsalted butter and make that it is very cold before you add it to the flour mix. This means that you should leave the butter in the fridge until you are about to use it.
- Ice water - Make up your ice water first so that it is nice and cold before you add it to the crust.
How to Make Gluten Free Pie Crust
Here's a glance at how to make this beautifully simple gluten free pie crust!
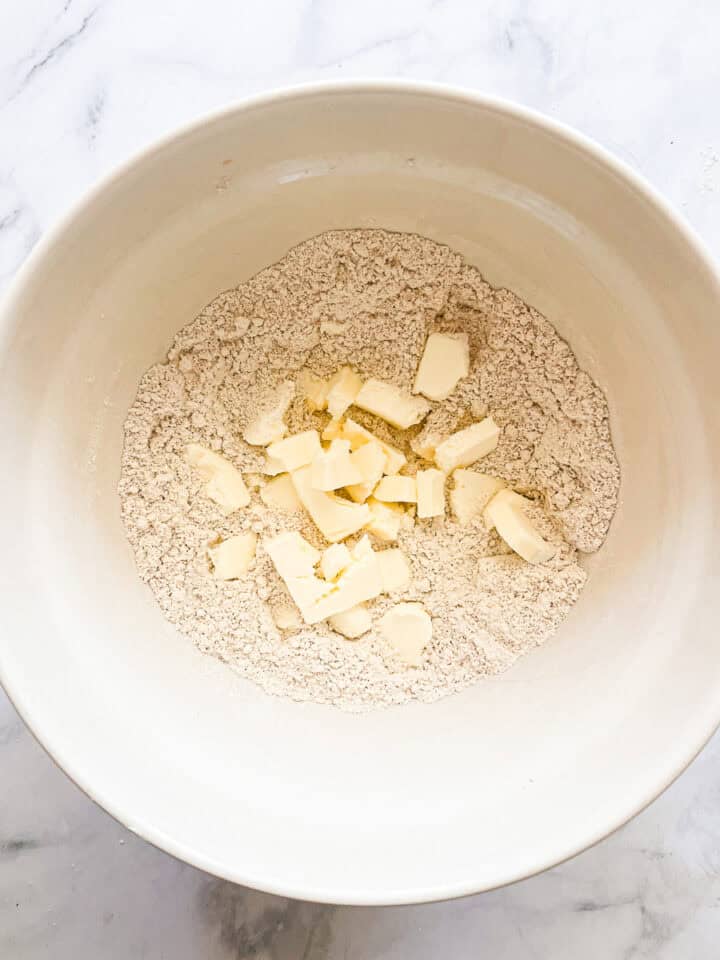
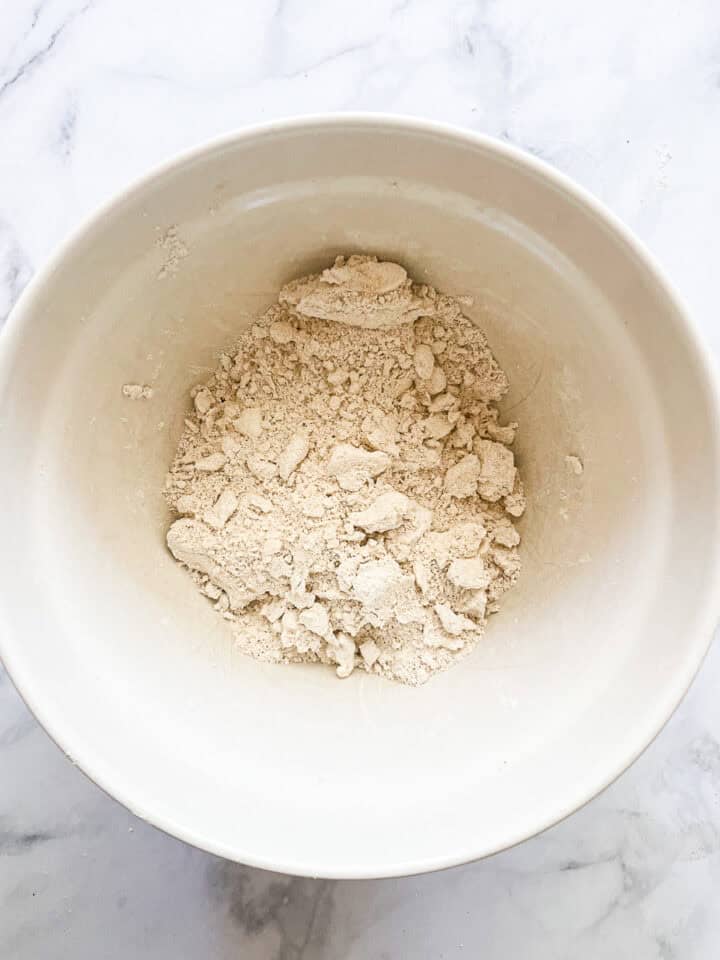
- Combine dry ingredients: In a large bowl, whisk together the flour, arrowroot, sugar and salt.
- Add butter: Cut in the butter until the flour is crumbly.
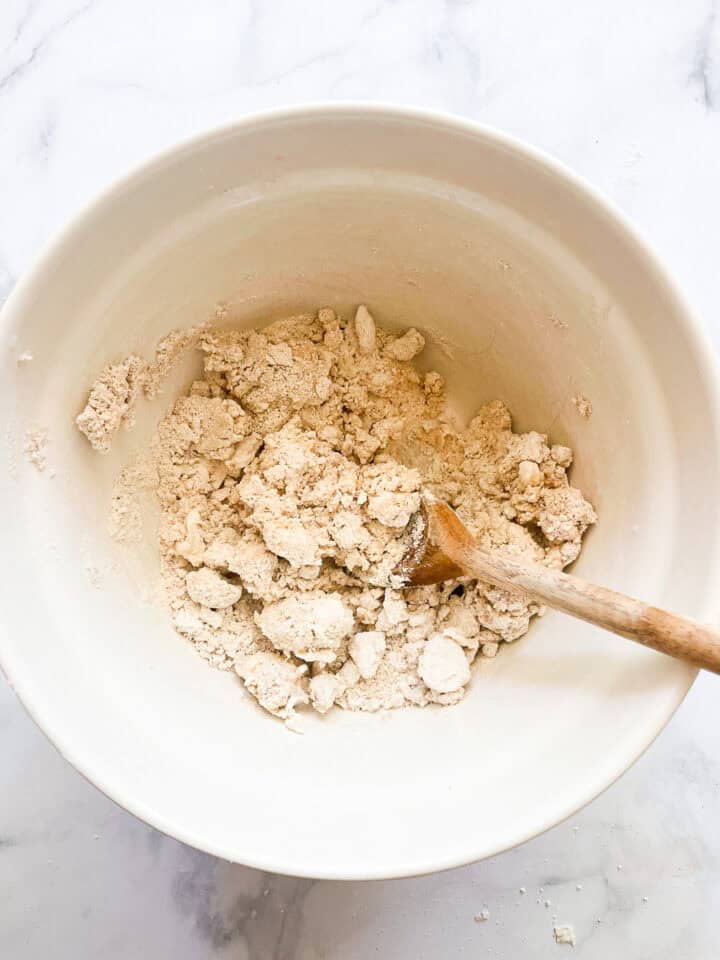
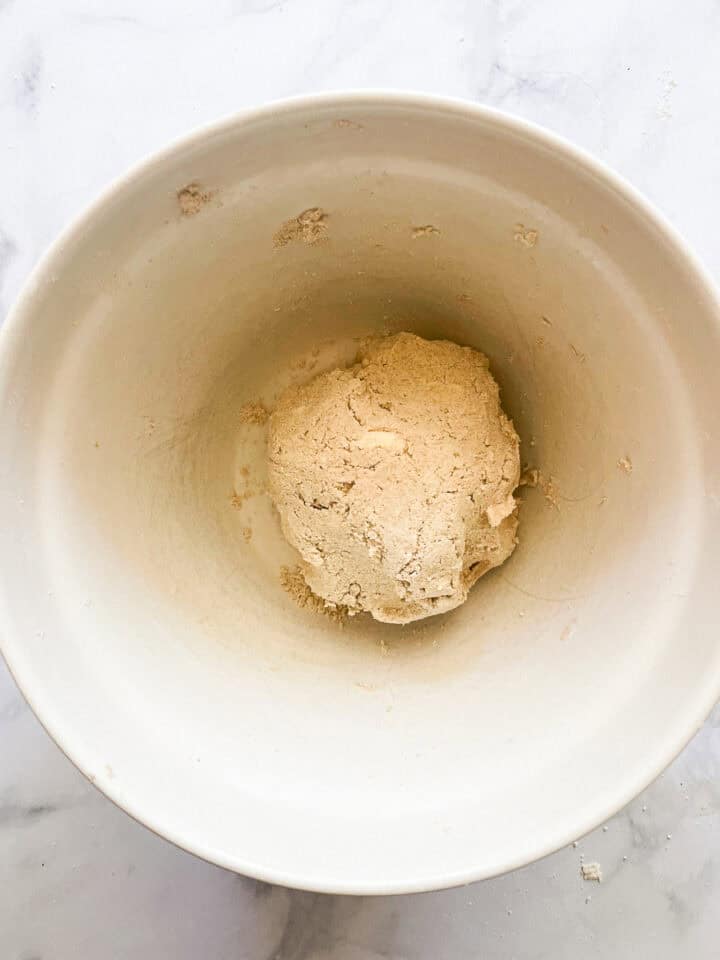
- Add the ice water: Stir in the water a little bit at a time.
- Bring together: Knead the dough until it forms a smooth ball.
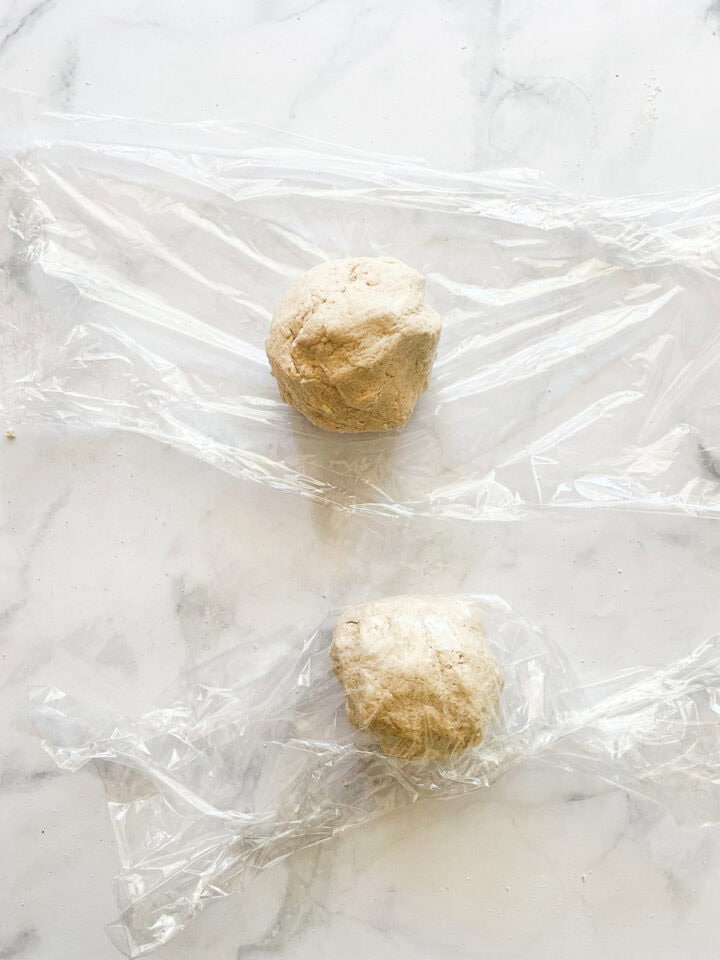
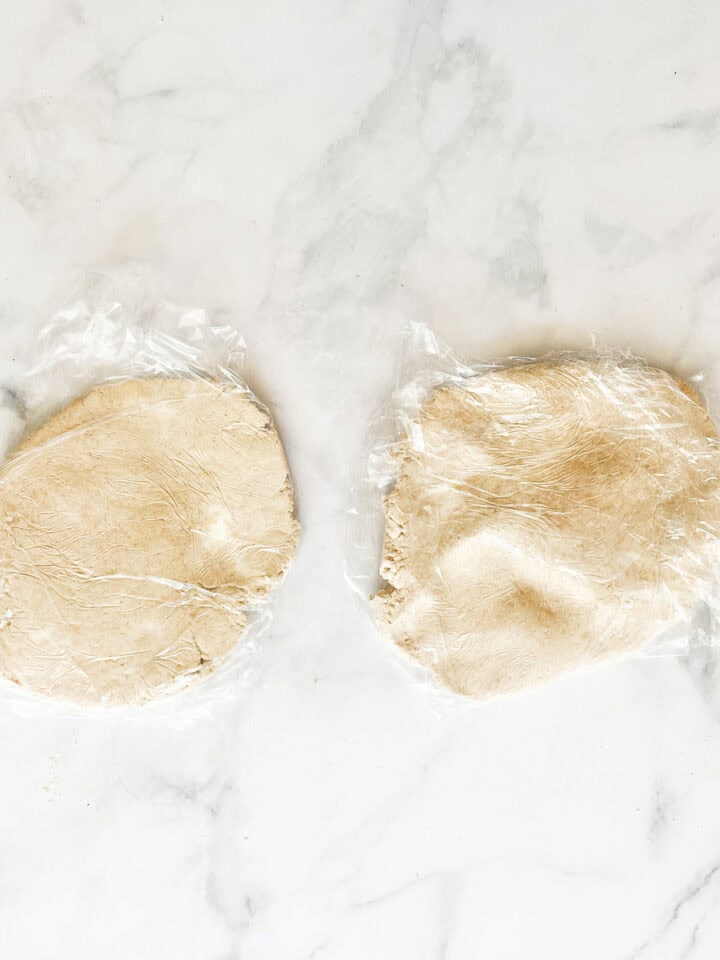
- Separate dough: Divide the ball in half.
- Chill: Press each half into a disk, wrap in plastic wrap, and rest in the fridge.
Gluten Free Pie Crust Tips
This pie crust recipe is very similar to a traditional pie crust or pastry recipe, though of course it's made with gluten free flour so by default it may be a bit different to work with. But with practice, I have no doubt you will master it. Here are a few tips to help:
- Keep the butter cold. One secret to ultra-flaky pastry dough is to keep the butter cold. This will create streaks and clumps of butter in the dough - and that's a good thing! When you bake the crust, the butter will melt in the oven, creating gaps in the dough. Steam also releases during the baking process, making those lovely flaky layers.
- Add the ice water slowly. You want just enough ice water to bring the dough together but you don't want to over-hydrate the dough (even though it's a gluten free dough). You'll get the hang of this the more you make pie dough, but a good rule to follow is to continue to slowly add water 1 tablespoon at a time until you don't see any dry bits of flour without the flour becoming saturated. The dough will hold together when you squeeze it together in a ball, and won't have any bits falling off on the sides.
- Rest the dough. As with all gluten free baking recipes, you should rest your pie dough in the fridge. (This applies to regular pie dough as well!) Leave at least 30 minutes for the dough to chill in the fridge, and preferably even more (hours, or even a few days). The colder the dough, the easier it will be to roll it out and the dough won't be sticky.
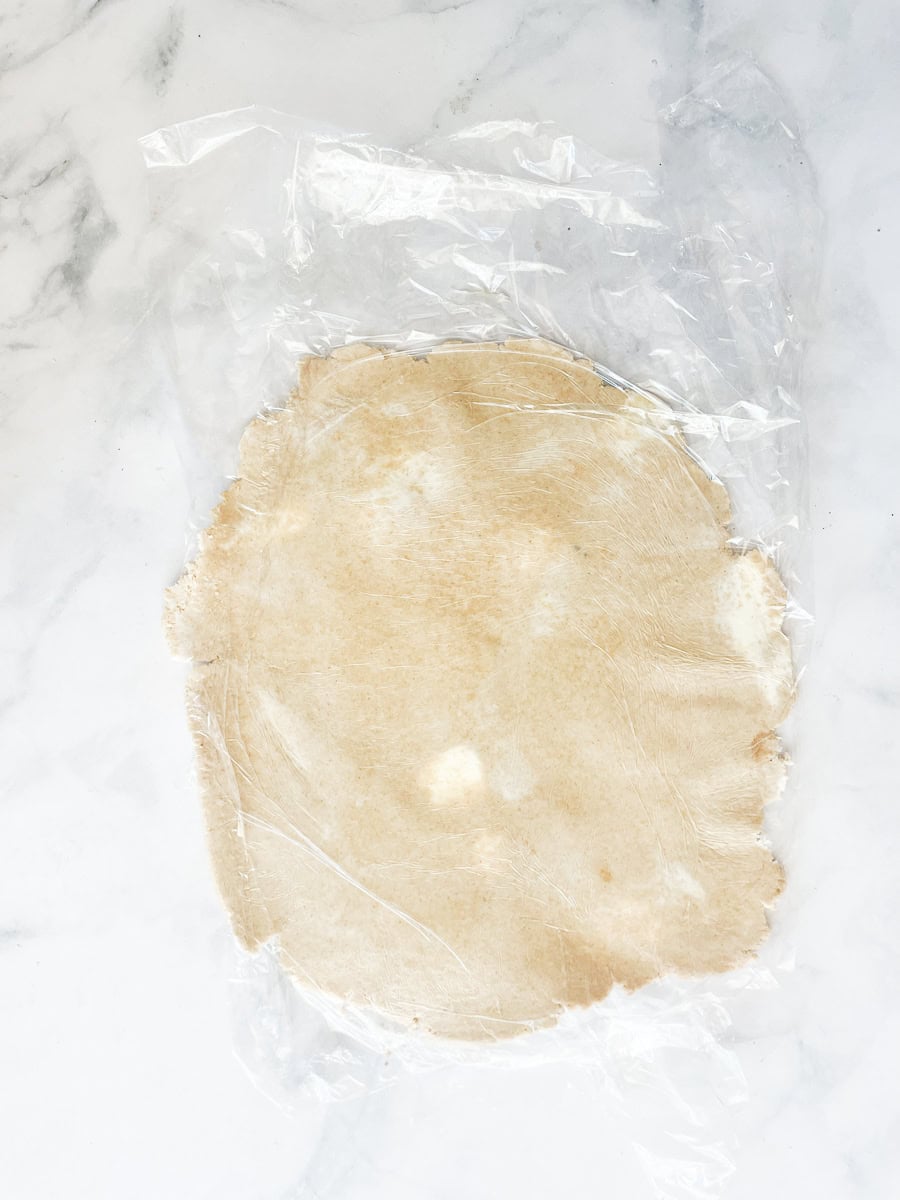
- Use oat flour on the counter. When you are ready to roll out your dough, sprinkle the counter liberally with oat flour. You can also roll the dough out between two pieces of plastic wrap or parchment paper sprinkled with oat flour. This will help keep the crust from sticking.
- Don't roll it out too thin. This is a sturdy dough, but take care not to roll it out overly thin or it may break when you place it in the pie pan.
- Do a vegan version. You can easily make this recipe vegan by using your favorite non-dairy butter for the butter. Or, try coconut oil or olive oil. If you use an oil, place it in the fridge to chill before adding it to the dough.
How to Use Gluten Free Pie Crust
You can use oat flour pie crust in any recipe that calls for pastry! I love to use it in pies, quiche, tarts, and more. Try oat flour pie crust in:
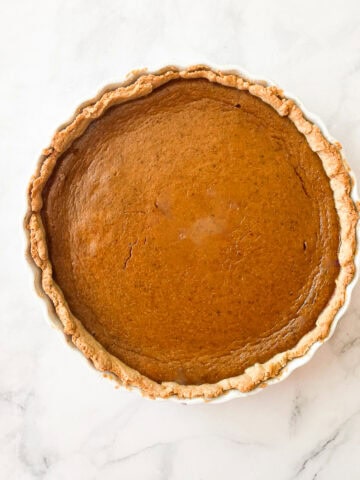
- Pumpkin pie - When you make a pumpkin pie, turn to gluten free pie crust as the base! Try this recipe with my maple pumpkin pie or gluten free pumpkin pie recipes.
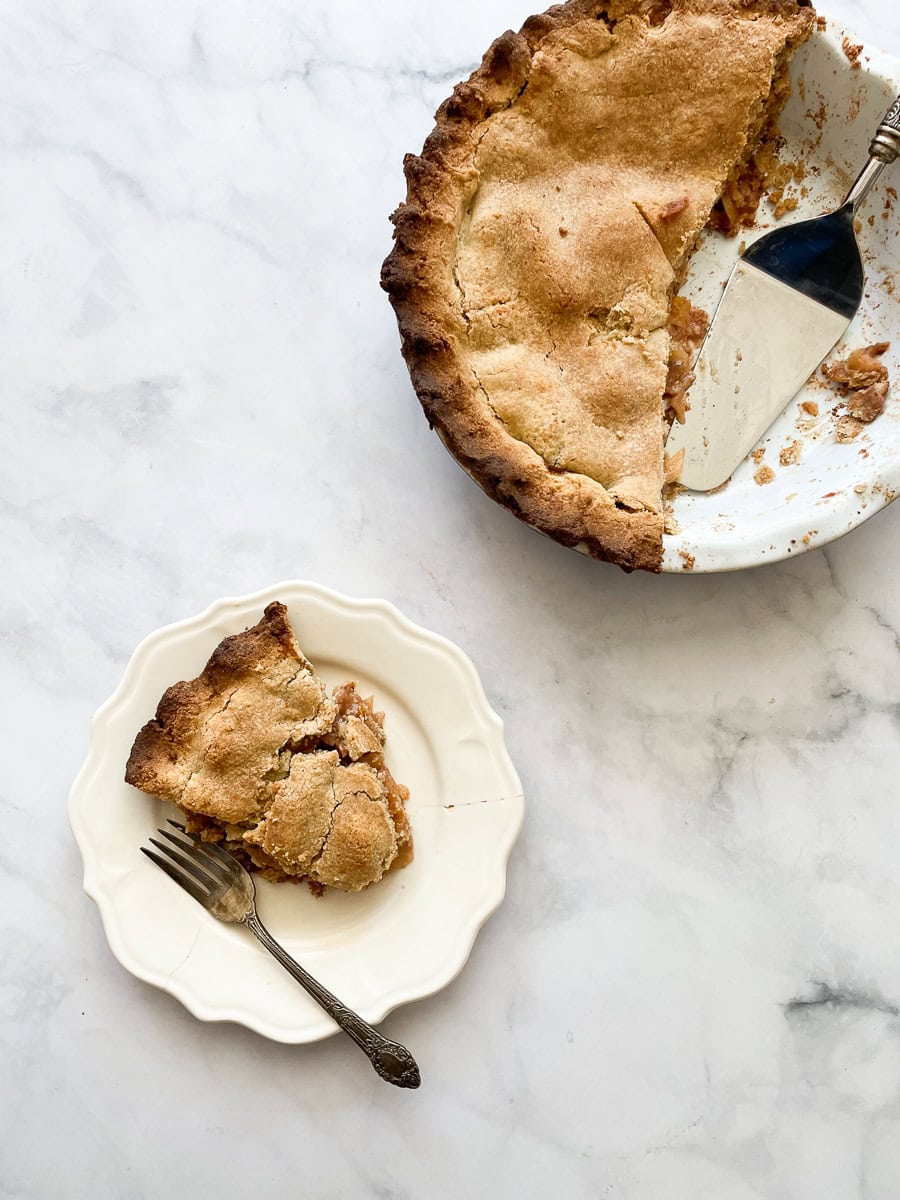
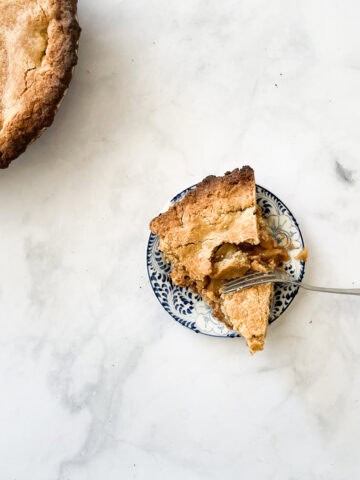
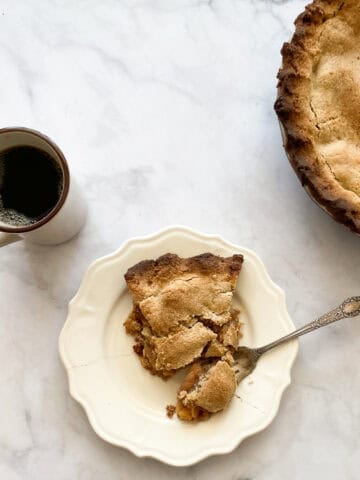
- Apple pie - Oat flour pie crust is perfect in my recipe for gluten free apple pie! I also love using it in gluten free Gravenstein apple pie.
- Quiche - My gluten free asparagus quiche would be lovely on this gluten free pie crust. You can omit the sugar in the crust if you wish.
- Galette - Make an apple galette or a rhubarb galette with an oat flour pie crust!
Proper Storage
You can use your pie crust soon after you make it, or keep it for another time. Here's how to properly store oat flour pie crust:
- Fridge - Keep the dough, well-wrapped in plastic or in a sealable plastic bag, in the fridge for up to three days.
- Freezer - Wrap the dough well in plastic and store the discs in the freezer for up to three months. Defrost the dough in the fridge before using it.
Gluten Free Pie Crust
Ingredients
- 2 ½ cups whole grain gluten free flour, (320 grams) such as oat, sorghum, teff, buckwheat
- 3 tablespoons arrowroot (30 grams)
- 2 tablespoons granulated sugar
- ½ teaspoon fine sea salt
- ¾ cup unsalted butter, very cold
- 1 cup ice water
Instructions
- In a large bowl, whisk together the flour, arrowroot, sugar and salt. Cut in the butter with a fork or your hands until the flour is crumbly and the butter is well integrated.
- Using a fork, stir in the water a little bit at a time (you may not need the entire cup) until the dough holds together. Knead it with your hands until it can form a smooth ball, then divide the ball in half, press each half into a disk, wrap in plastic wrap, and rest in the fridge at least a half hour.





I'd love to hear from you! Please leave me a note.