This gluten free walnut pumpkin scones recipe is a fantastic fall bake that features mellow pumpkin, a trio of classic spices, and a simple, tender dough that bakes up beautifully every time.
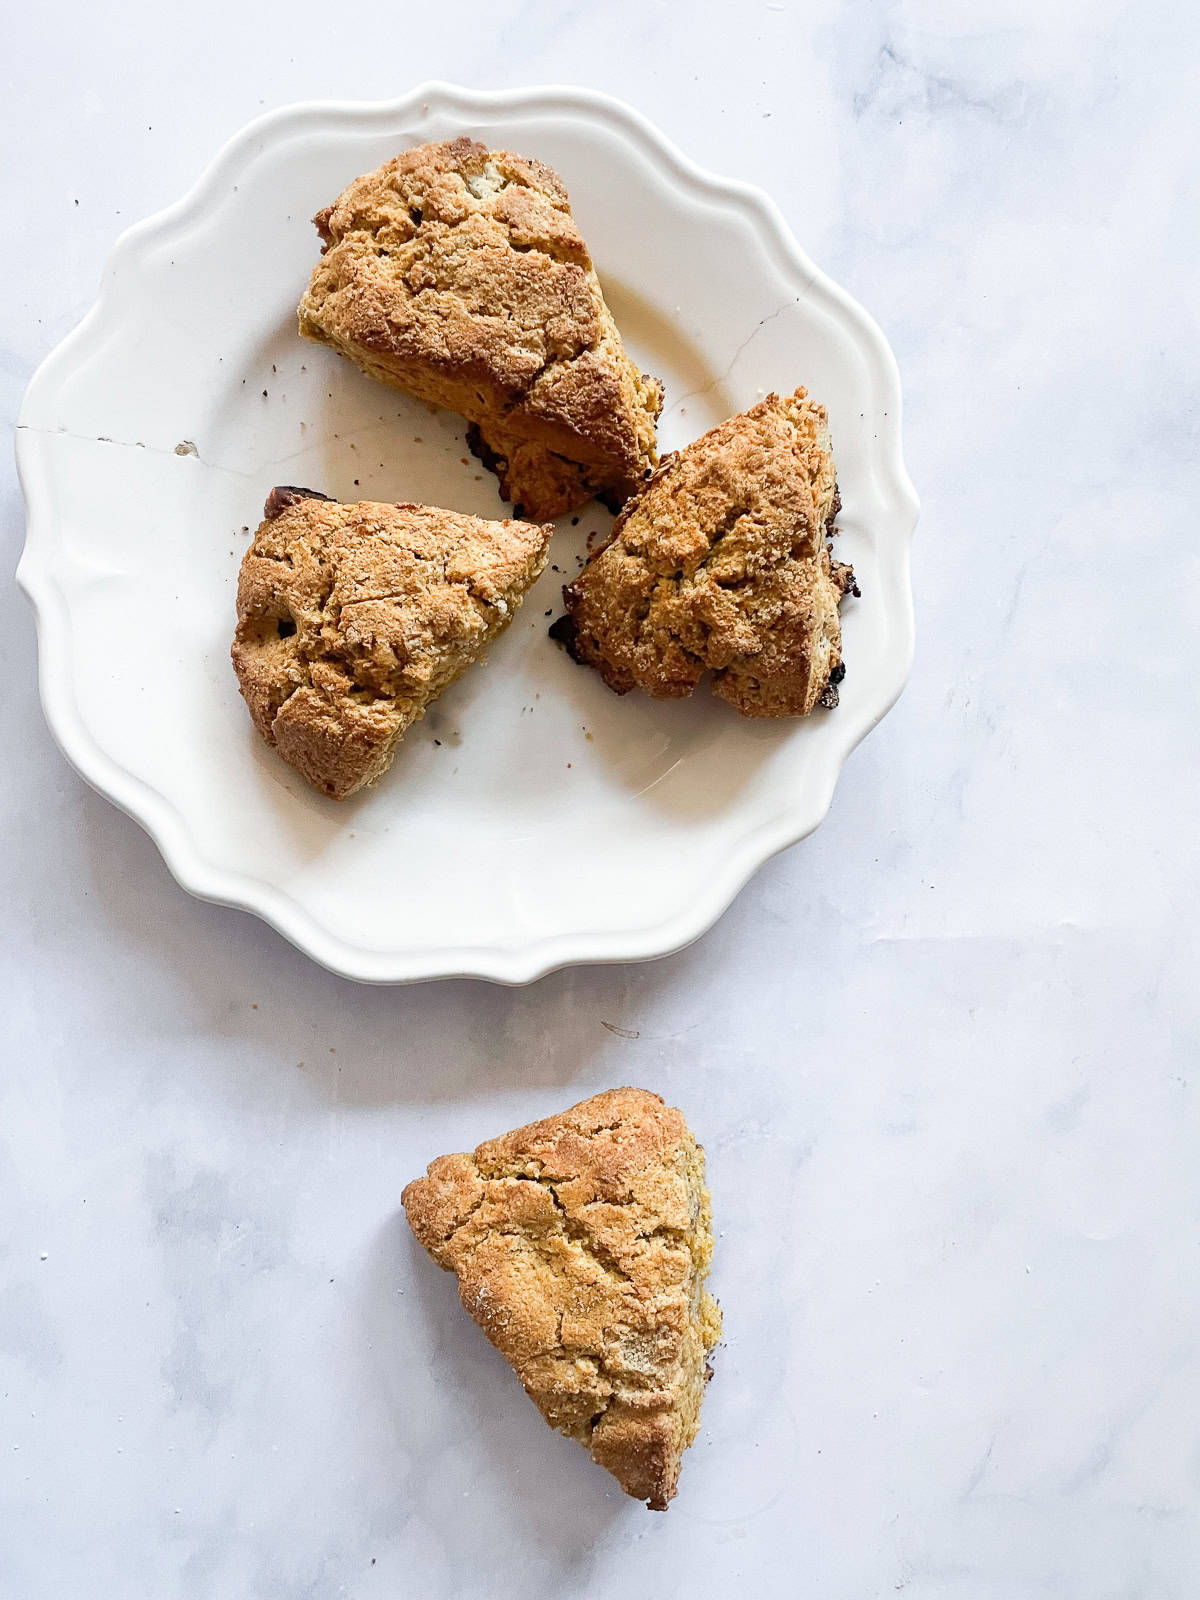
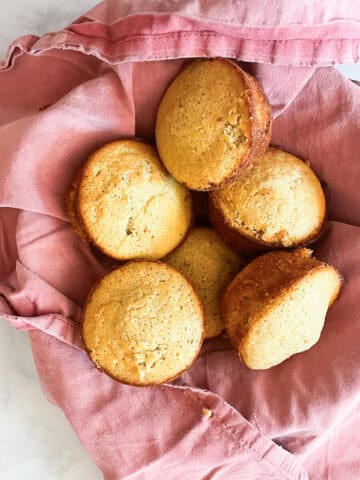
These easy gluten free walnut pumpkin scones recipe results in perfectly tender, lightly moist and fragrant scones that capture the goodness of fall. Cozy spices add pumpkin pie vibes, and a handful of walnuts add the perfect crunchy contrast. Similar to my gluten free pumpkin scones, you'll want to serve these beauties throughout November and beyond. And don't forget to try my gluten free mini pumpkin muffins for more pumpkiny yumminess.
Jump to:
Why You'll Love This Recipe
- Impossible to tell these are gluten free - My favorite combination of gluten free flours creates a tender, fluffy crumb that you absolutely won't be able to tell is gluten free!
- Full of fall flavors - The scents of cozy spice wafting through your kitchen while the scones are in the oven will warm up even the coolest of fall mornings.
- Easy ingredients - As always, there are no fancy or hard-to-find ingredients in this pumpkin scones recipe.
Ingredient Notes
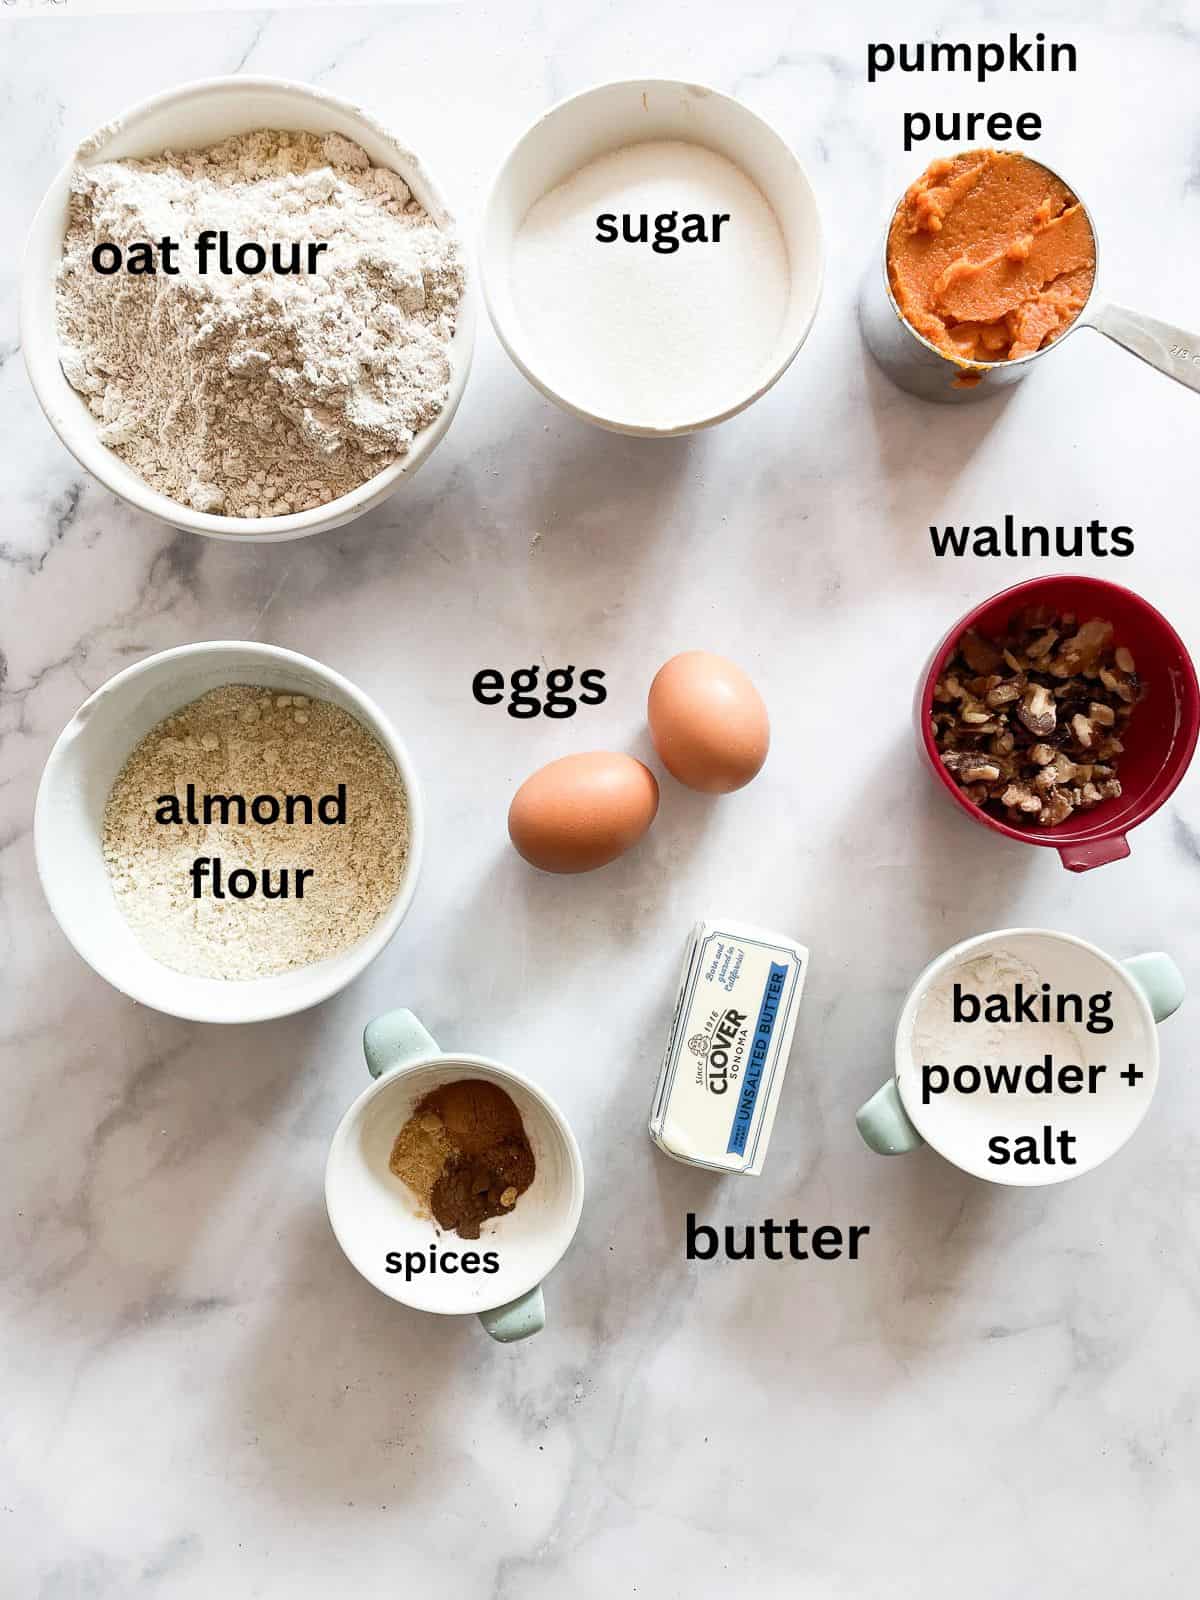
- Oat flour - You can pick up a bag of oat flour or learn how to make oat flour easily at home. Swap brown rice flour or gluten free all purpose flour if needed.
- Almond flour - I use fine ground almond flour rather than almond meal in these scones.
- Granulated sugar - You can reduce the sugar, add a bit more, or use brown sugar depending on your sweet taste.
- Salt - You can use fine sea salt or table salt.
- Baking powder
- Spices - Classic pumpkin pie spices feature here, including cinnamon, nutmeg, and allspice.
- Butter - Keep your butter cold and unsalted!
- Pumpkin puree - Important! Use pure pumpkin puree rather than
- Eggs - I developed this recipe using large eggs, so please use large eggs for the best results!
- Walnuts - I love the nutty crunch from walmnuts. You can omit them if you don't eat nuts.
Check the recipe card at the end of this post for the full ingredient amounts.
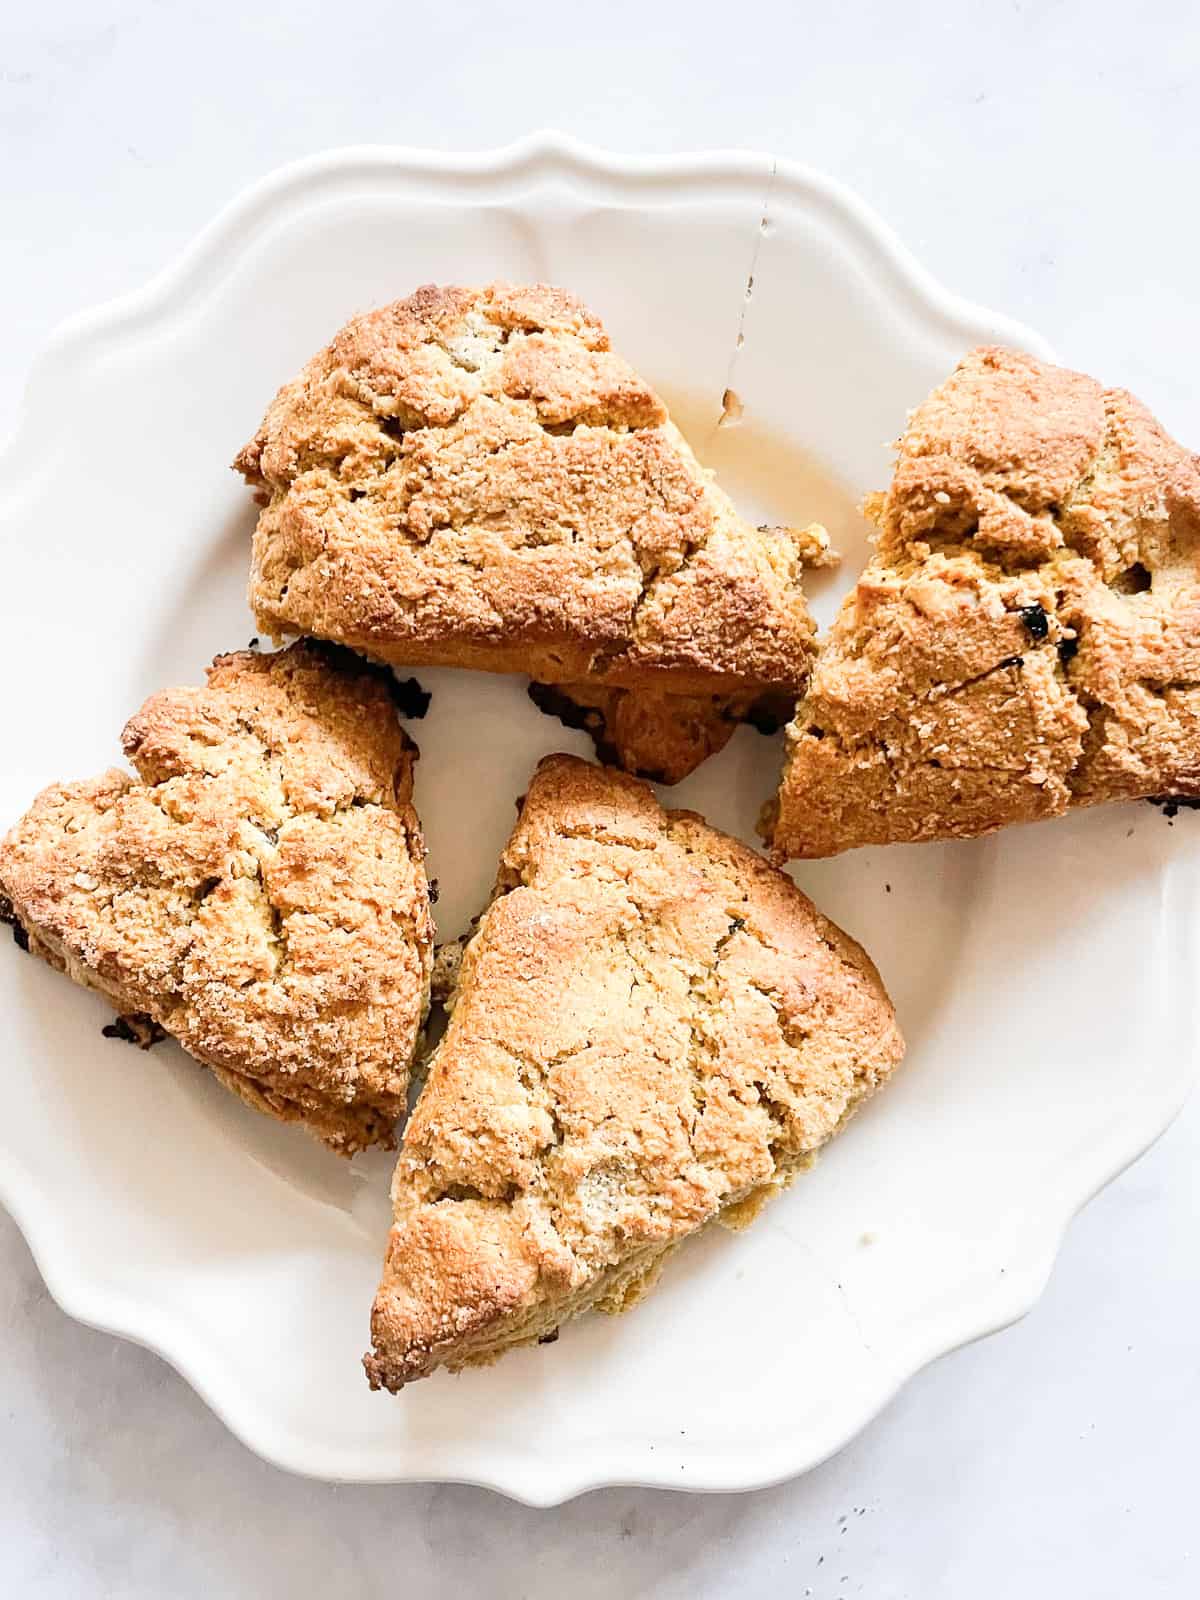
Variations
- Maple pumpkin scones - To add maple flavor, substitute ¼ cup of the sugar for maple syrup, adding it when you make the egg mix. Or, brush maple syrup over the tops of the scones instead of the cinnamon sugar.
- Chocolate - Semisweet or milk chocolate chips would add a nice touch.
- Cinnamon chips - Fold in about ½ cup of cinnamon chips along with the walnuts for a cinnamony touch.
- Go nut-free - Or, go nut-free. Make plain pumpkin scones or try one of the other add-ins above instead of the walnuts.
If you're in the mood for a very similar but apple-y version of these tender scones, try my gluten free apple scones recipe!
Instructions
Here's a look at how you'll make these scones. The detailed instructions are in the recipe card lower down.
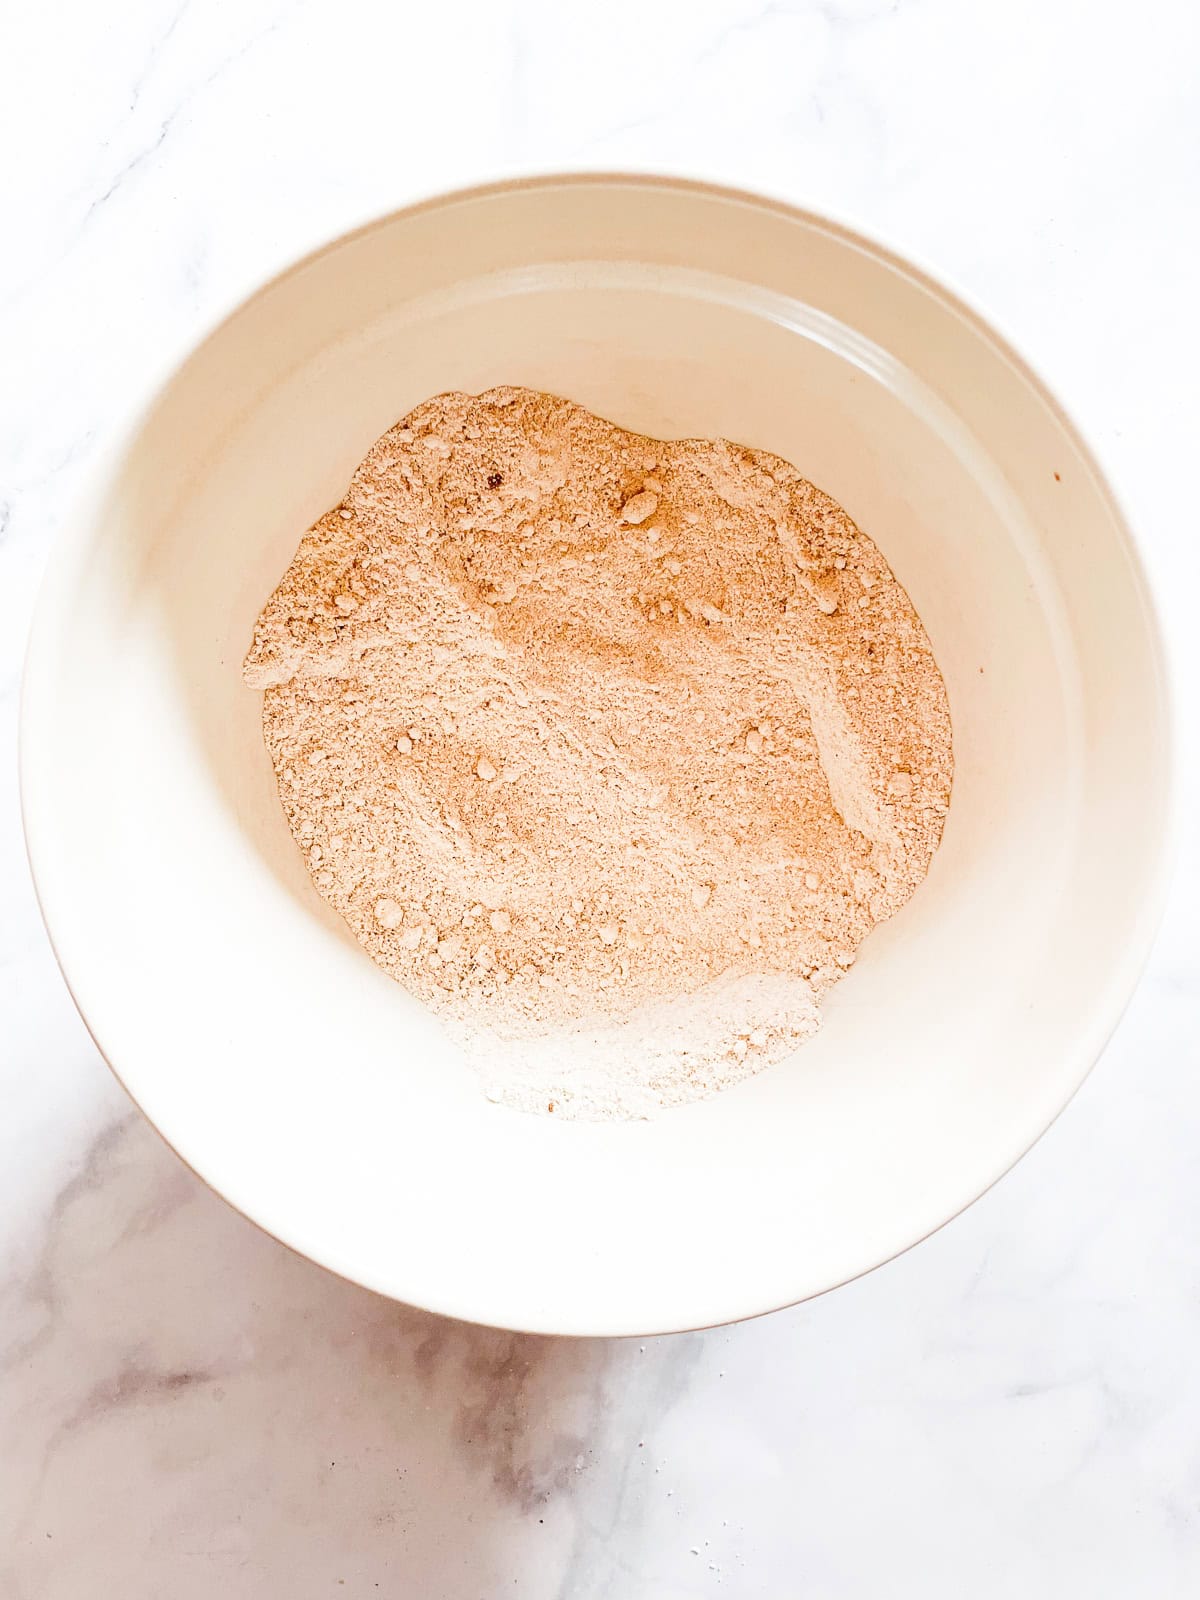
1. Make dry mix: In a large mixing bowl, whisk together the oat flour, almond flour, sugar, salt, baking powder, and spices
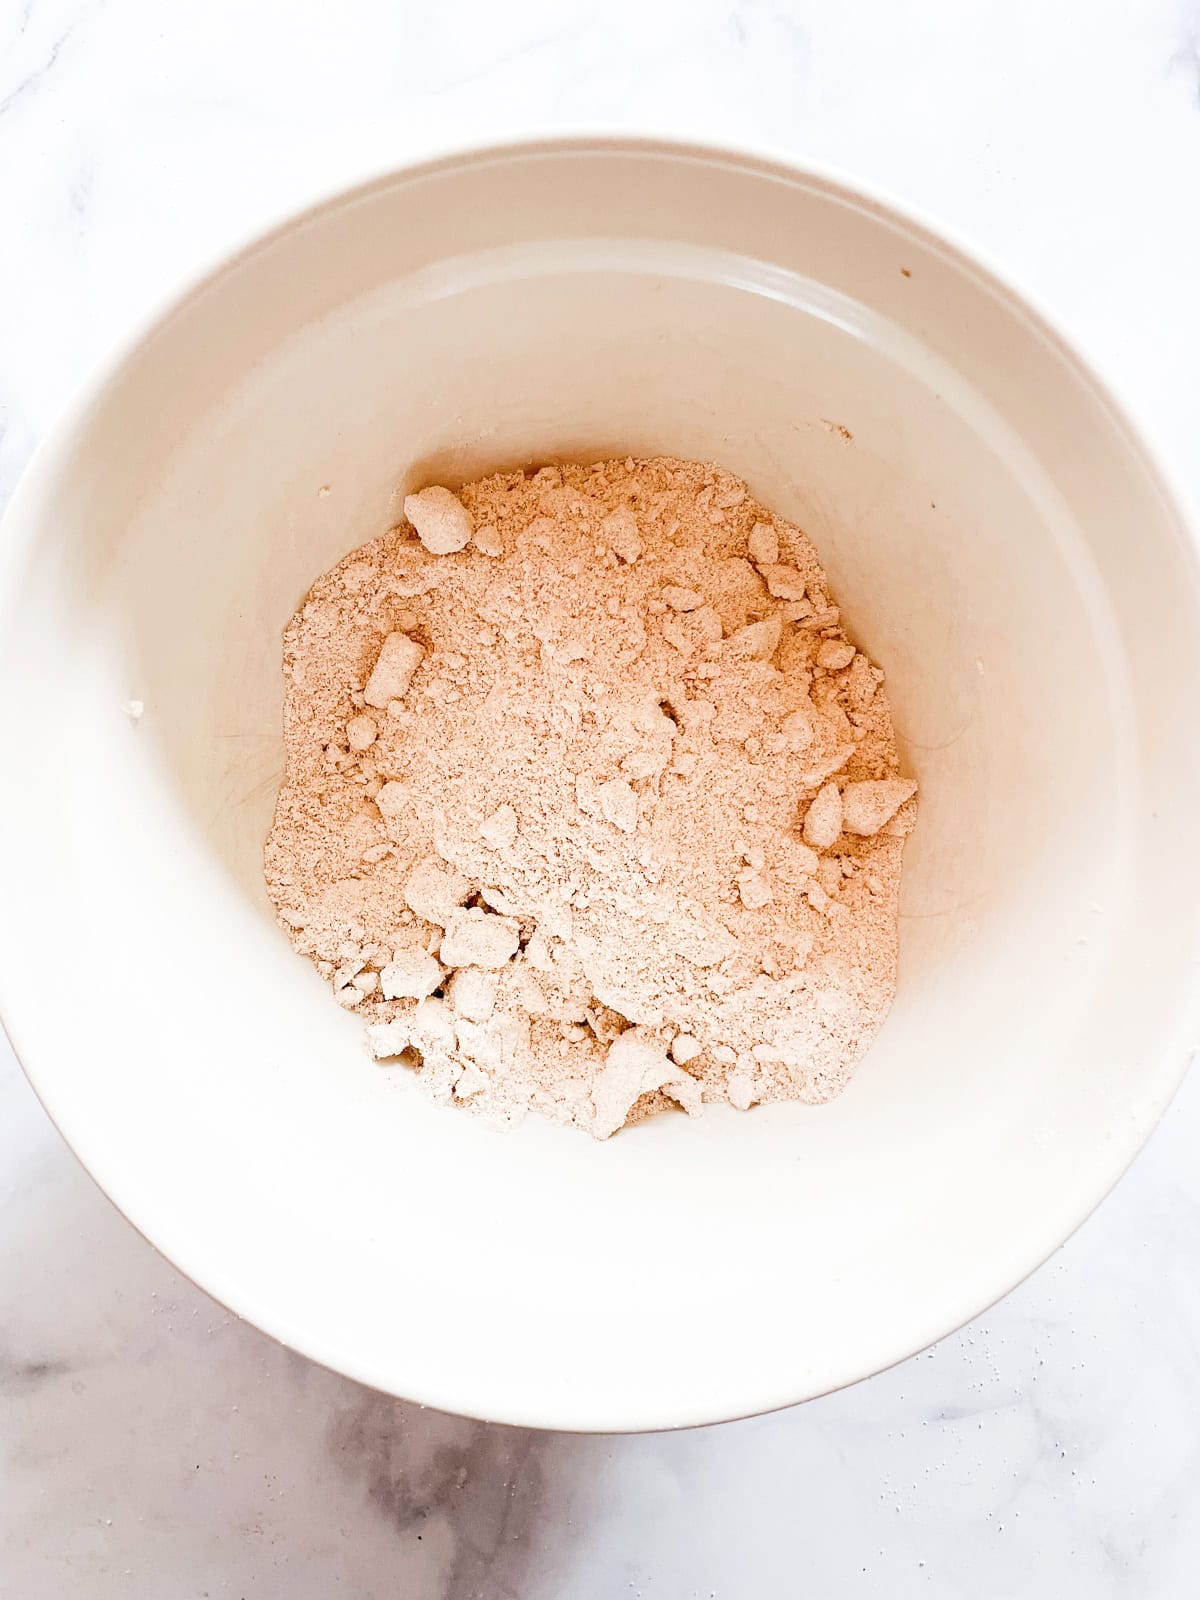
2. Add butter: Work in the butter, then stir in the walnuts.
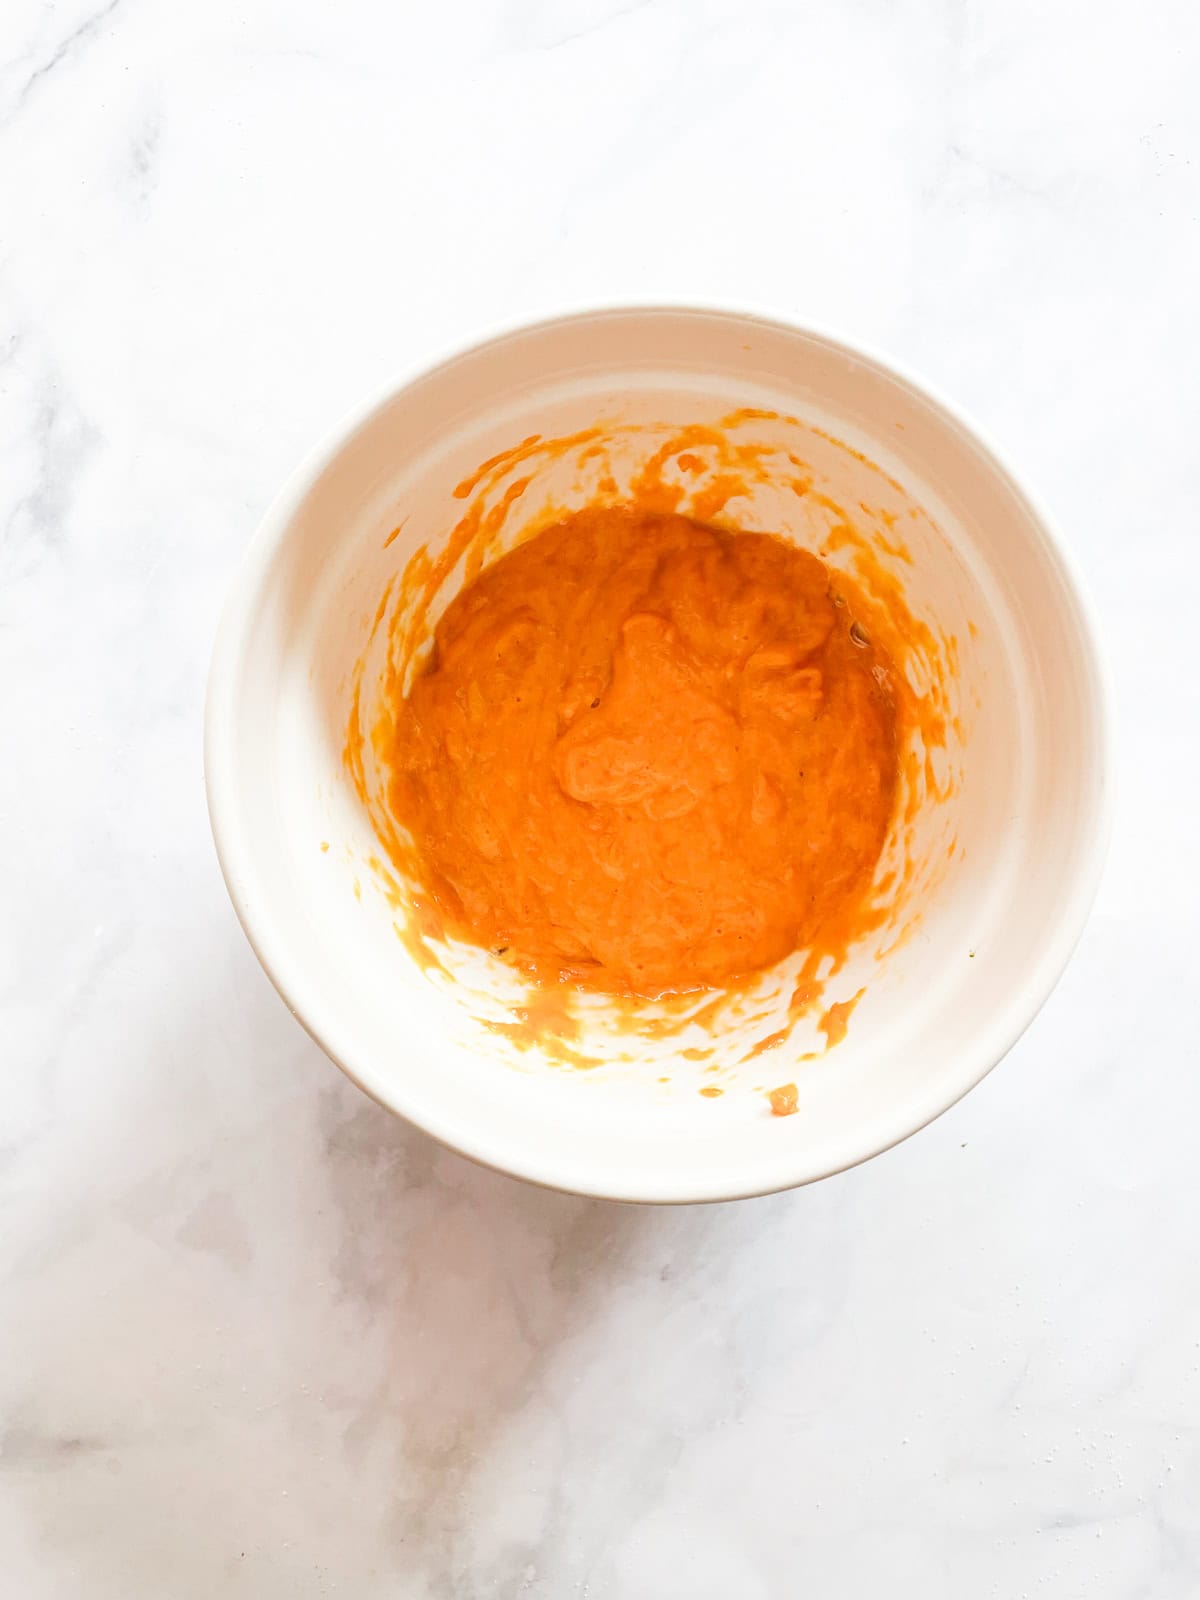
3. Make wet mix: Whisk the egg and pumpkin together.
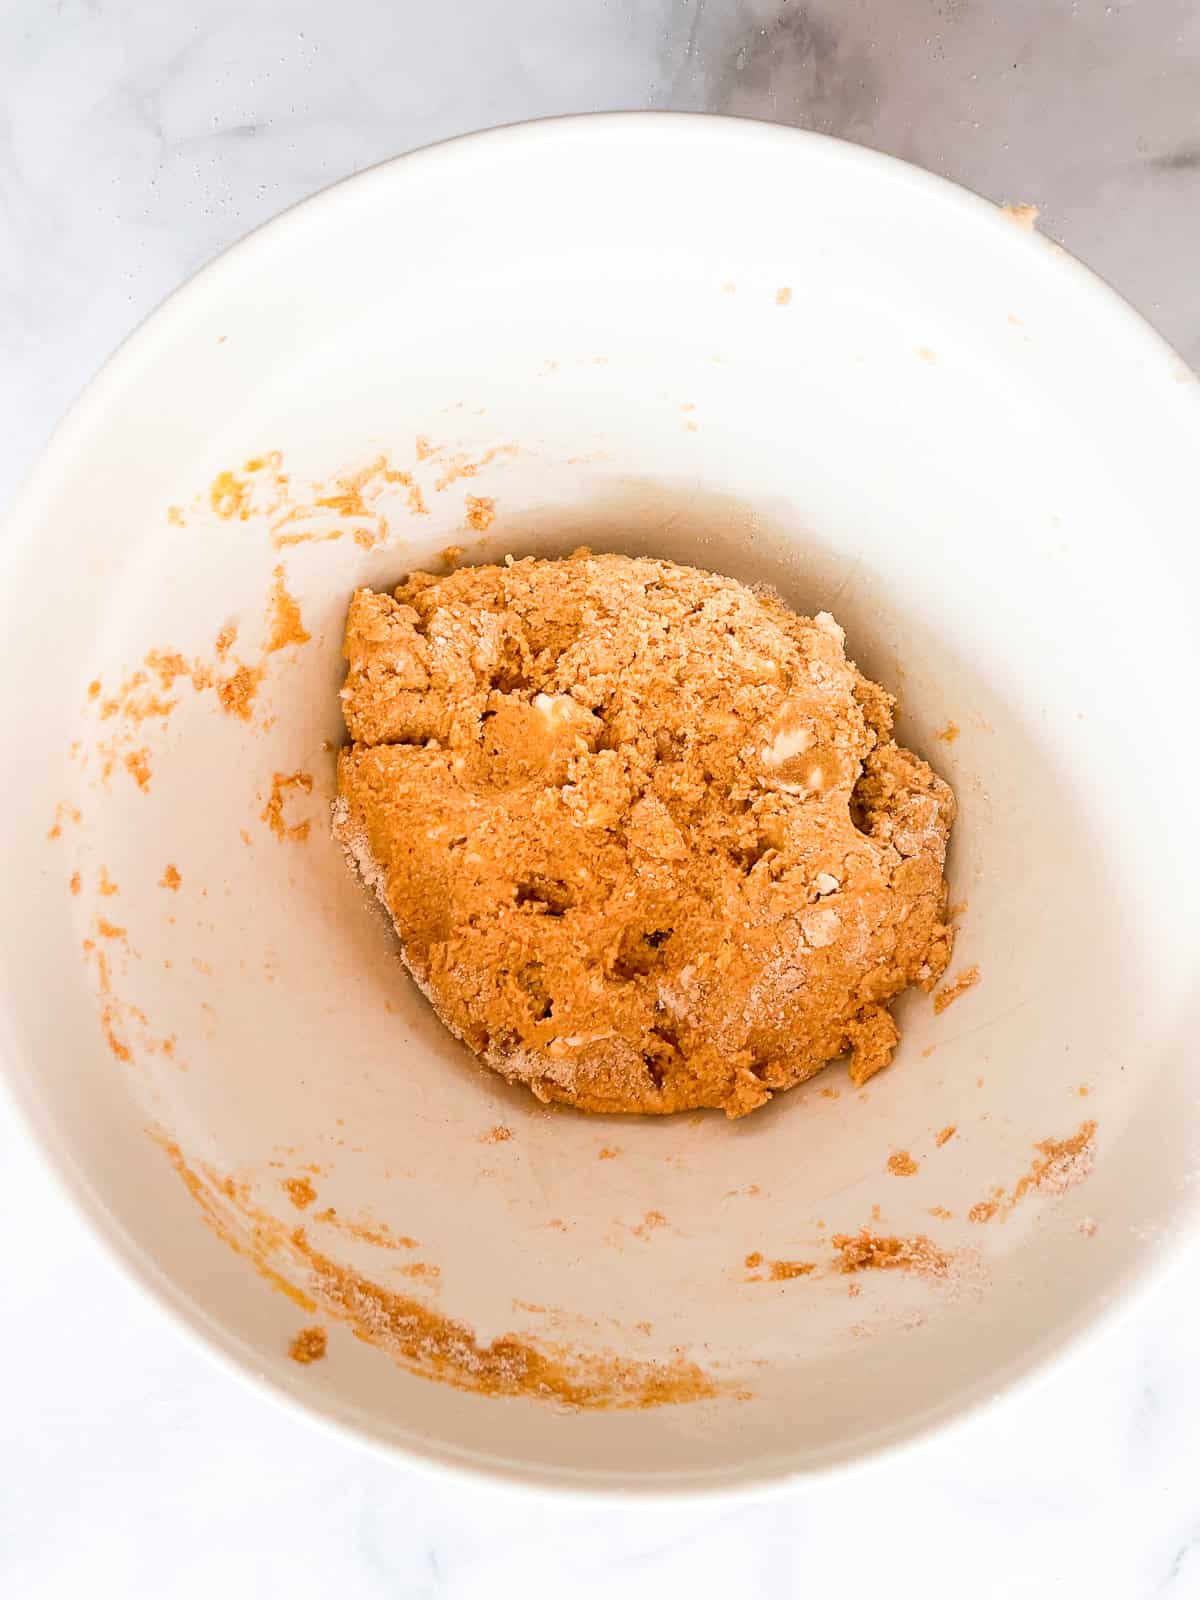
4. Combine: Stir the dough together until combined.
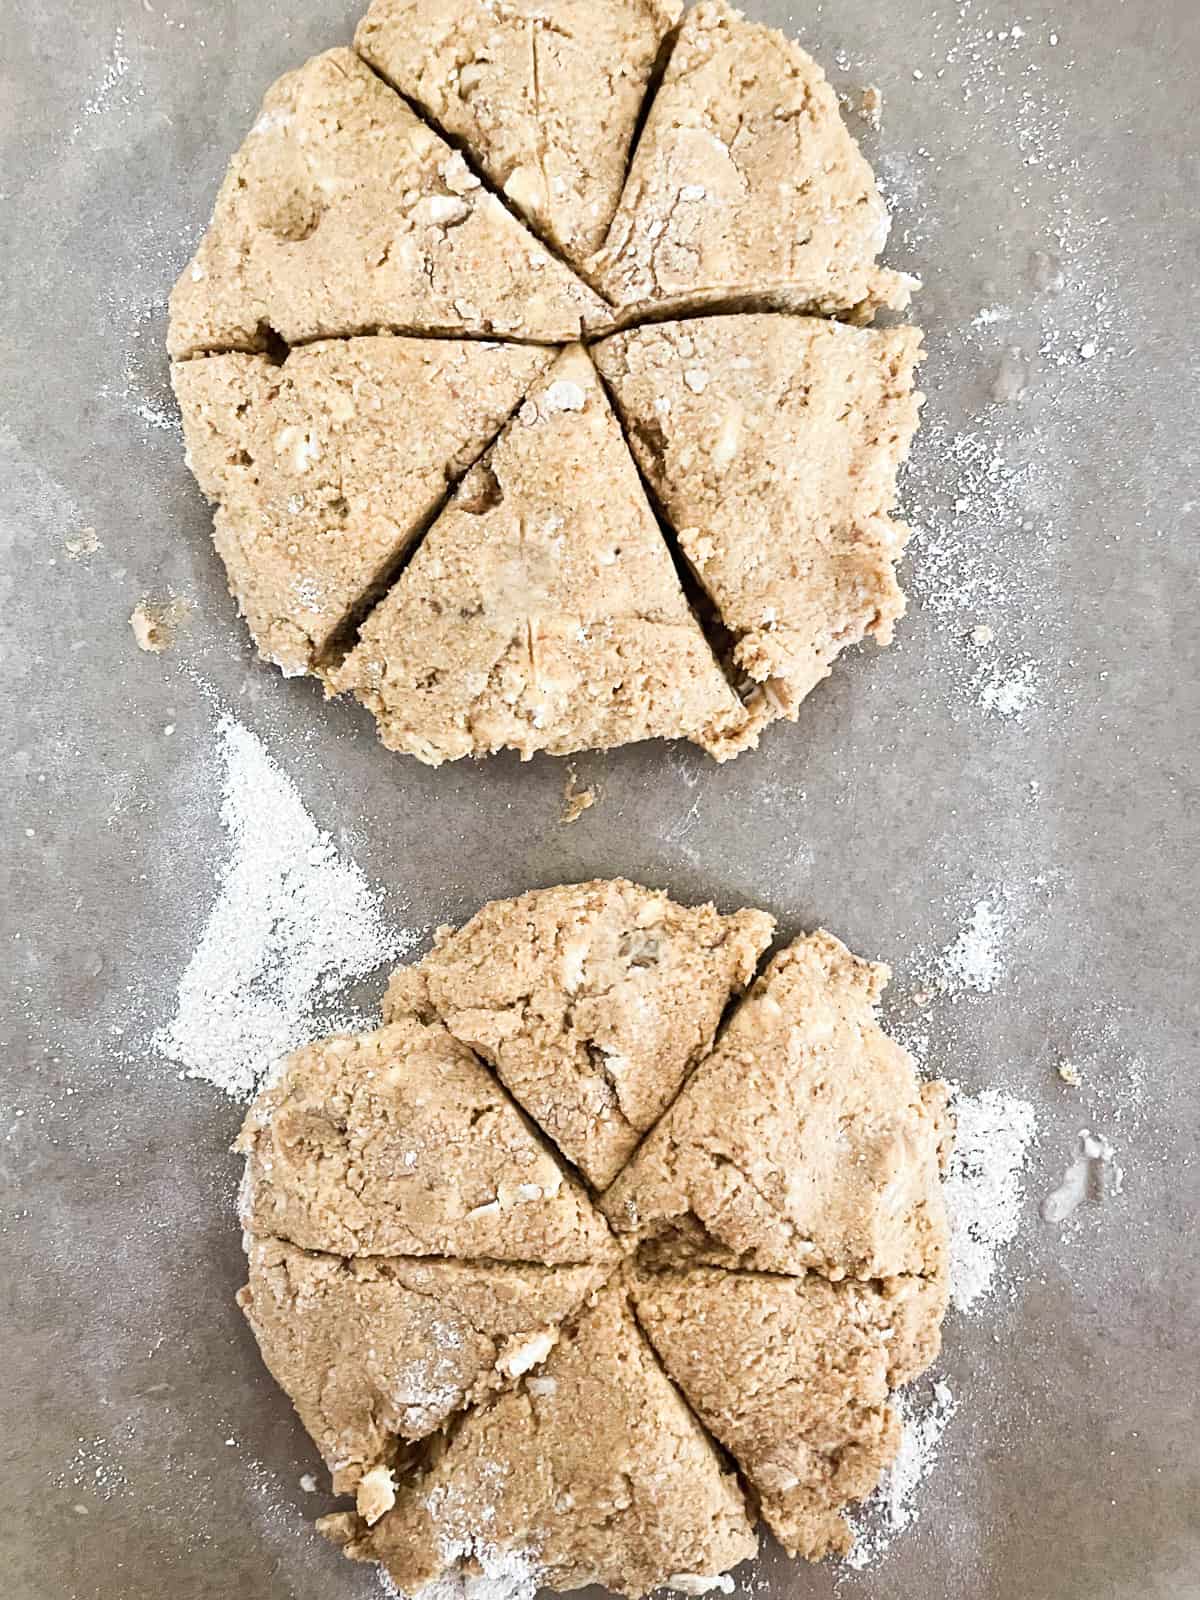
5. Assemble: Form the scones into two rounds, then cut 12 scones. Sprinkle with cinnamon sugar.
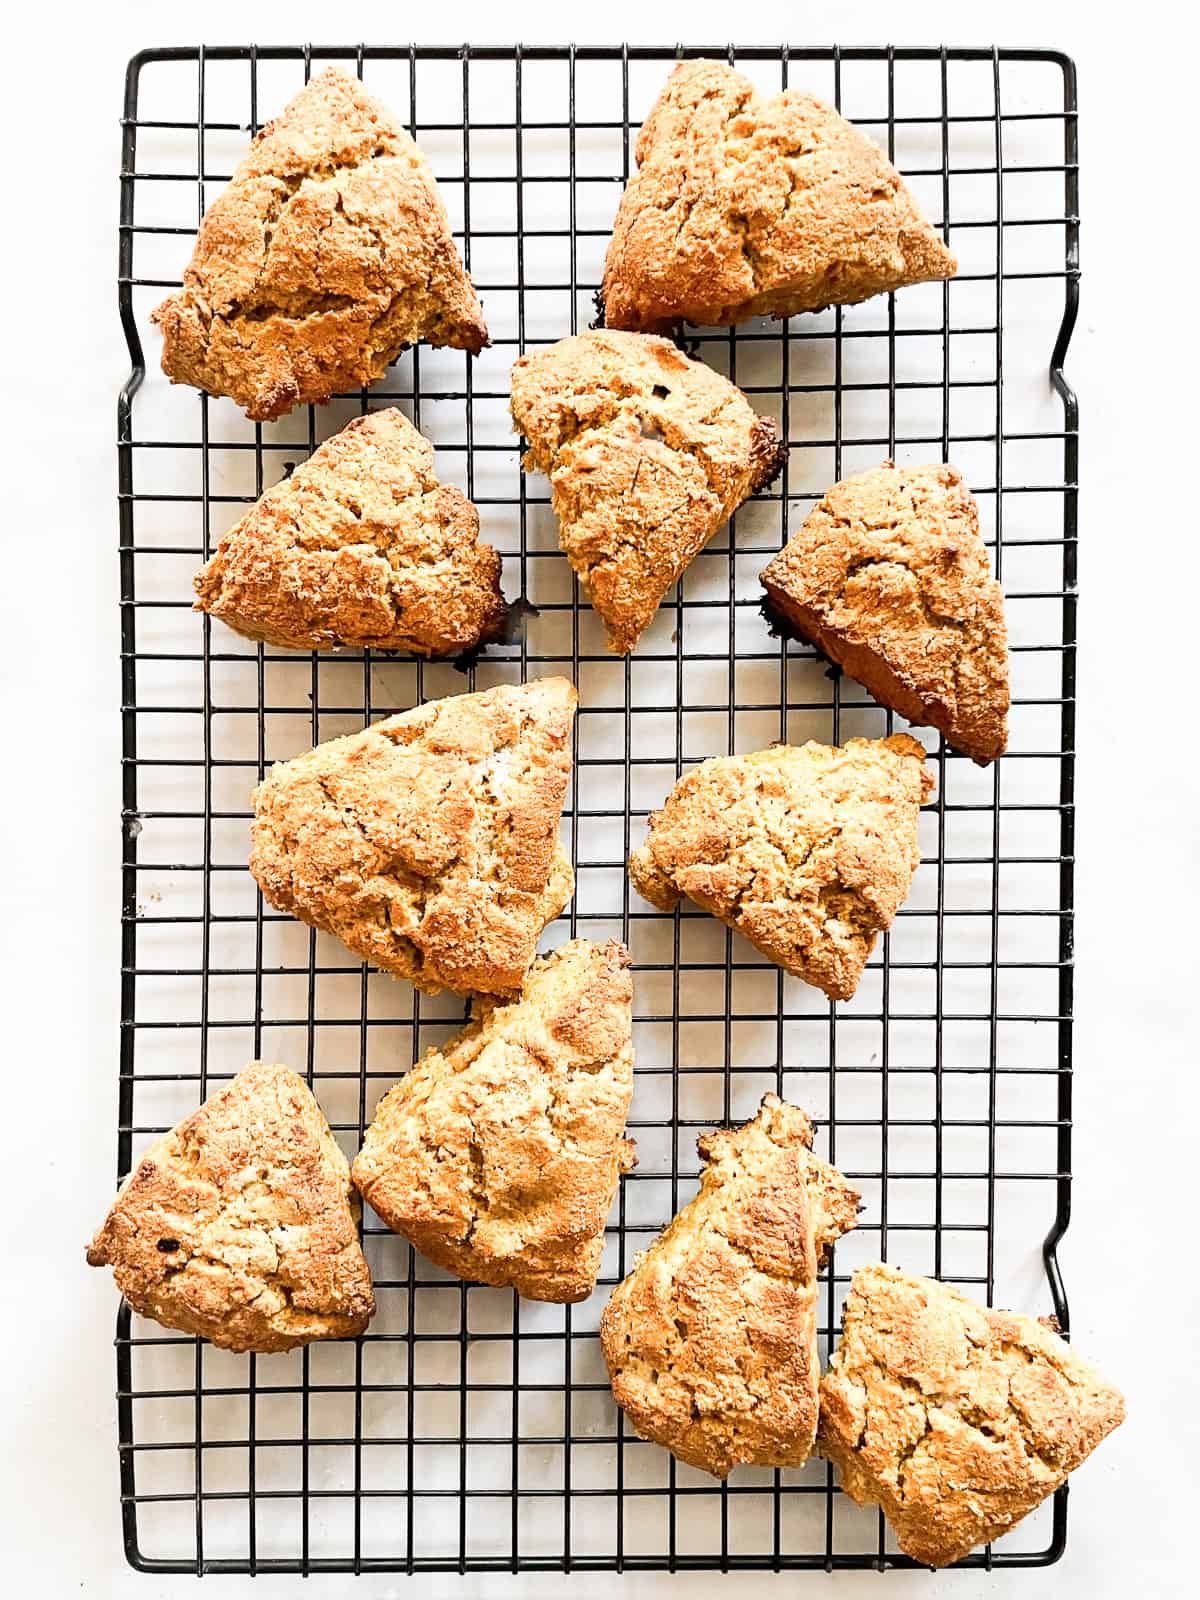
6. Bake: Rest the scones in the freezer, then bake them at 425°F for about 25 minutes.
Baking Tip
To keep the bottoms of the scones from burning (since they're baked on high heat), double up on the baking sheets. This will make sure the heat is distributed evenly. The scones will rise beautifully and their bottoms will be golden brown. So, when you are ready to bake, stack the baking sheet with the prepared scones on top of another baking sheet, then carefully place them on a rack set in the middle of the oven.
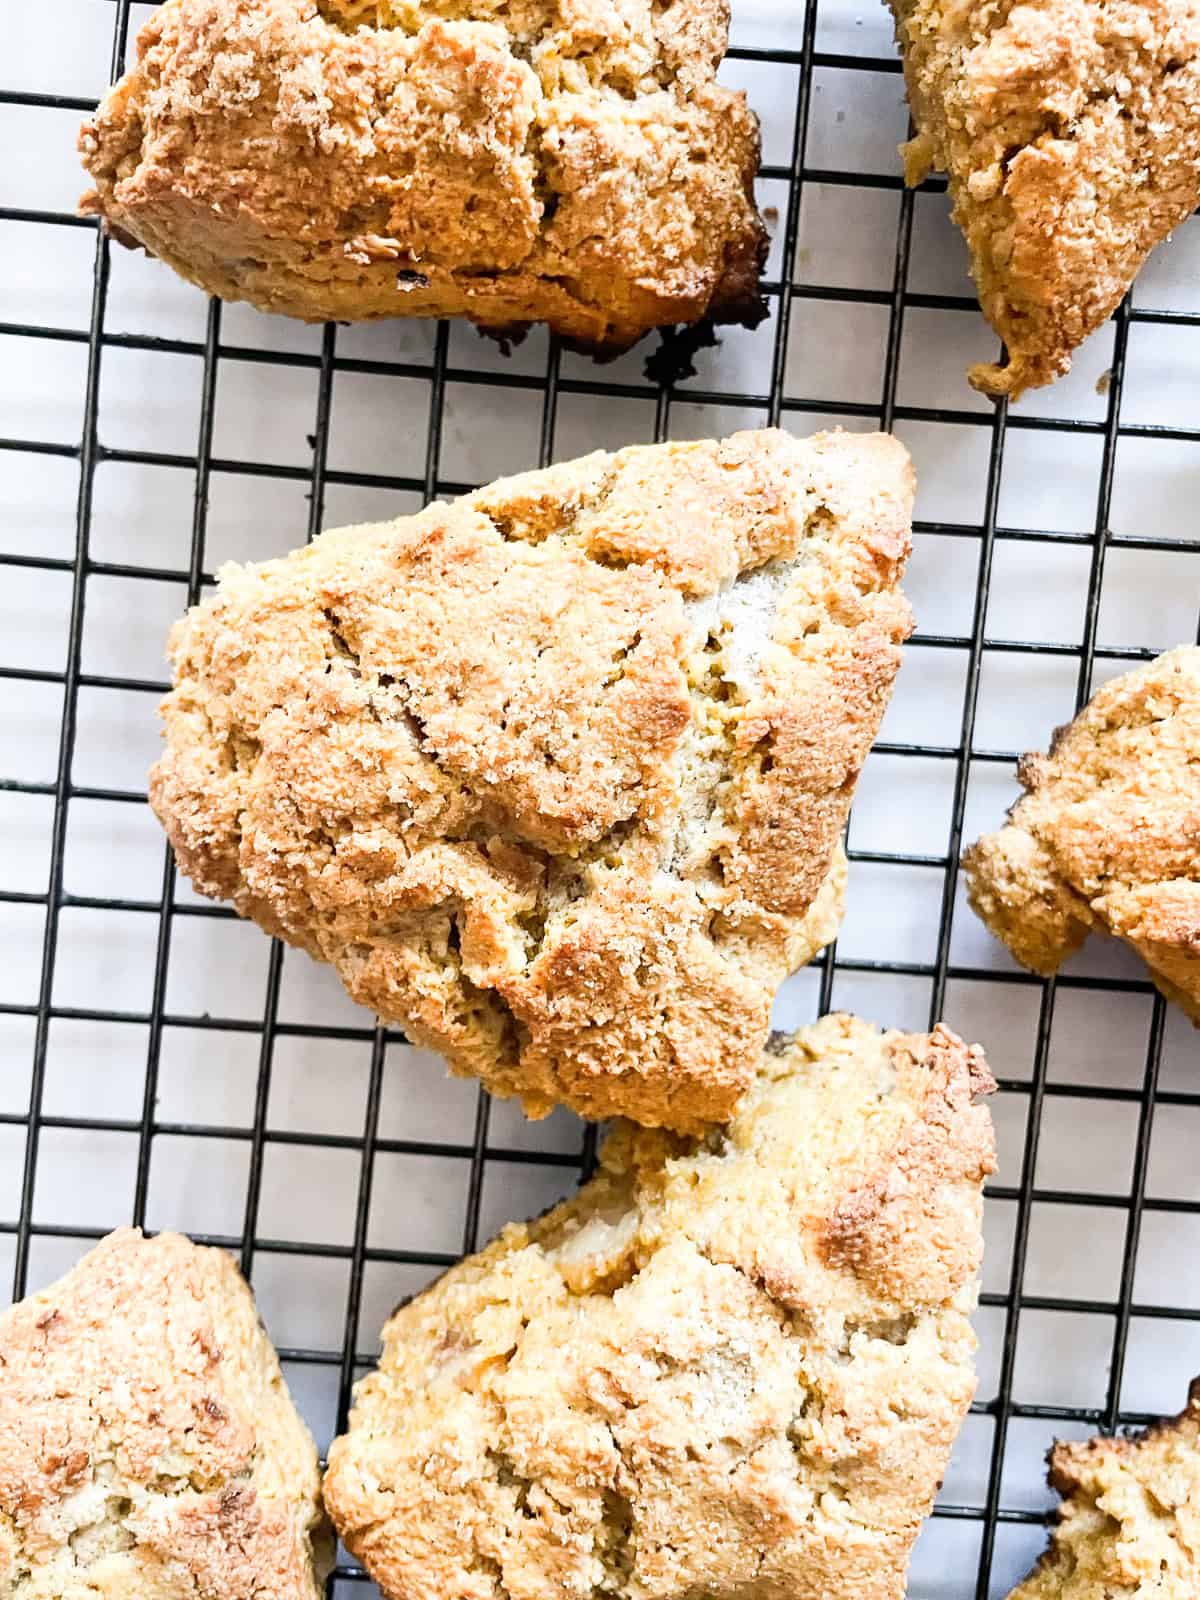
Tips & Substitution Suggestions
It's not difficult to make scones, especially if you follow a few best practices like resting the dough and keeping the butter cold. I've outlined some top tips below, plus included some easy substitution options:
- Start with cold butter - Use butter straight from the fridge to make your scones, or even better, keep a few sticks of butter in the freezer so they'll be ready the next time you want to make scones.
- Freeze the dough - Important! Don't skip this step. The rest in the freezer helps the butter to solidify, which means that when it bakes it will create little air pockets. These in turn create gorgeously flaky layers in the scones. Chilling the dough also keeps the scones from spreading out too much.
- Make ahead: You can prepare the scones, place them on a baking sheet, and store them, tightly covered, in the fridge or freezer for up to 24 hours.
- Don't overwork the dough - While we're using gluten free flour to make these scones so there isn't any danger of over-activating the gluten in the flour through kneading, it's still a good idea to go light on your handling of the dough. This will lead to more tender scones.
- Oat flour substitute - If you can't eat oats, do an equal substitute of sorghum flour or brown rice flour.
- Almond flour substitute - Substitute another nut flour of choice, or try teff flour for the almond flour.
- Or, use gluten free all-purpose flour - Keep it even easier and substitute 2 ¾ cups of gluten free all purpose flour for the combination of the oat and almond flours.
Storage
Scones keep well, and they're great to freeze after baking to save for another time. Here's how to do it:
- Counter - Wrap cooled pumpkin scones in plastic or place them in an airtight container and store on the counter at room temperature for up to several days.
- Freezer - Place the baked scones in a freezer-safe, sealable bag and store them in the freezer for up to 3 months. You can reheat them from frozen, which will take longer, or thaw them in the fridge before reheating.
- To Reheat - Place the scones on a baking sheet, tent lightly with foil, and warm in a preheated 350°F oven for about 10 minutes.
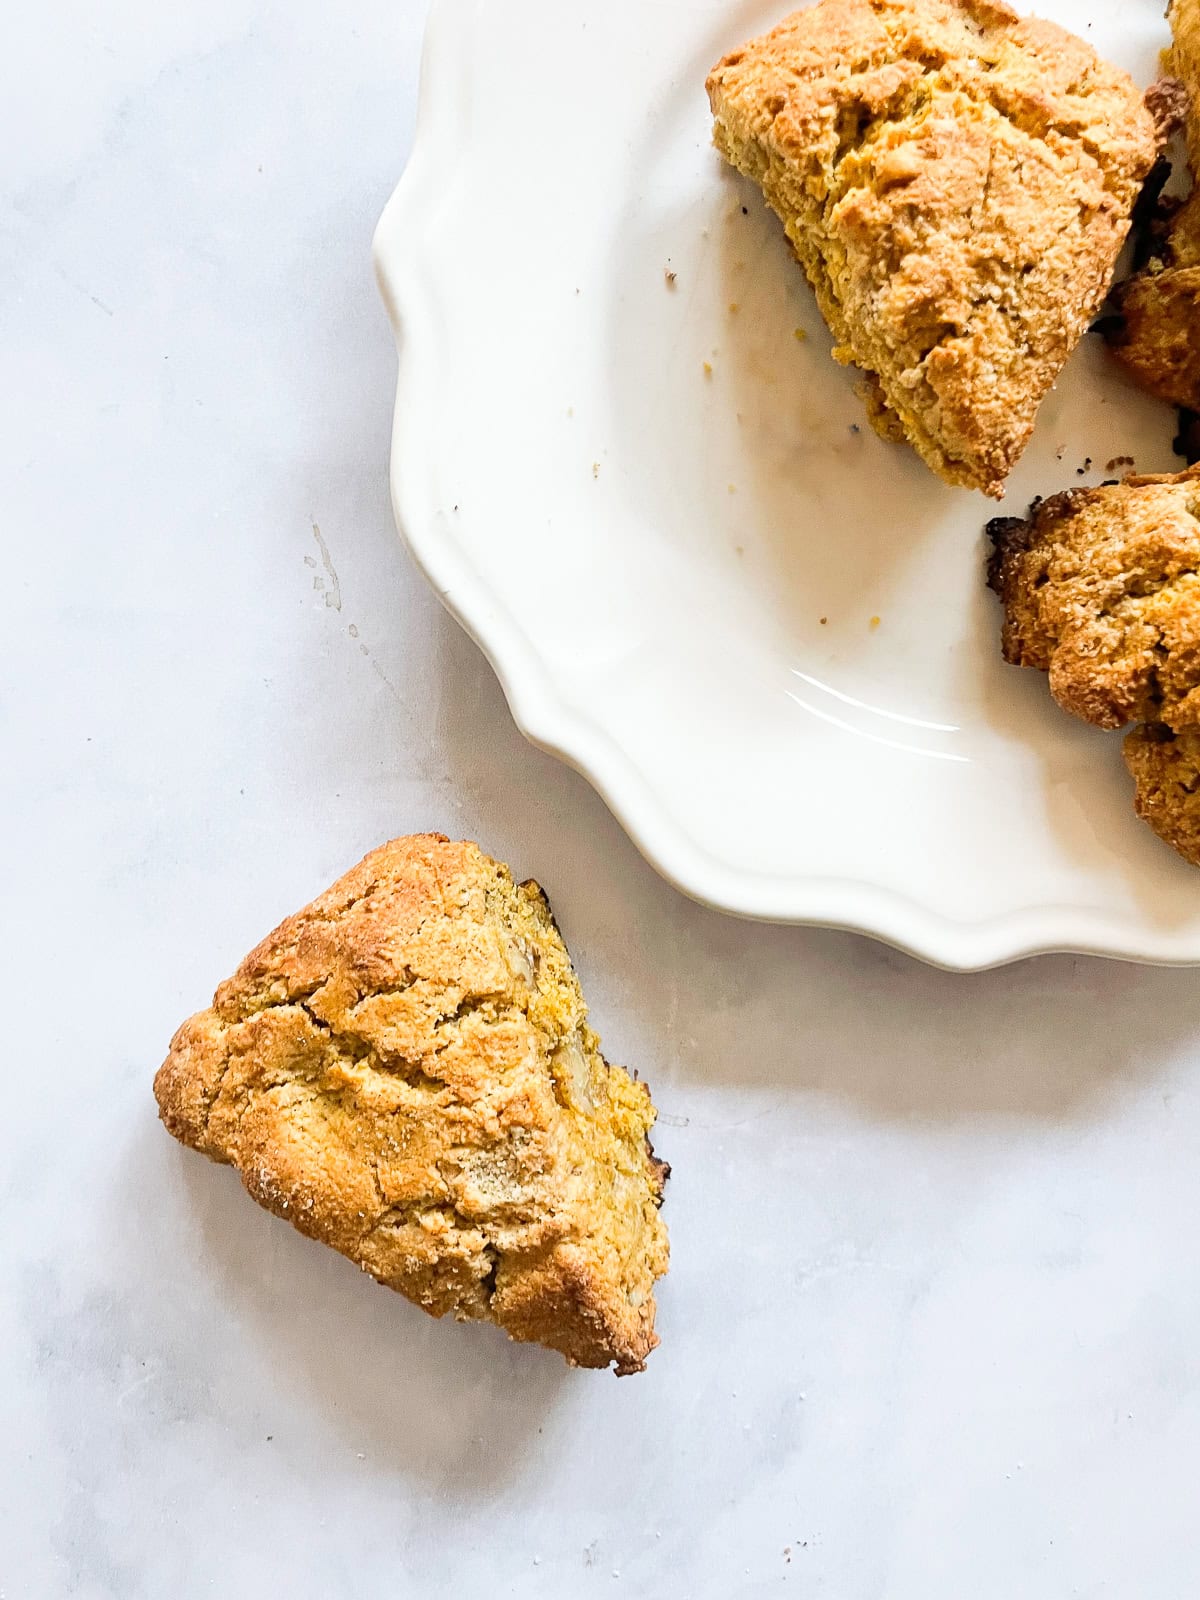
More Gluten Free Pumpkin Recipes
If you tried these Gluten Free Walnut Pumpkin Scones or any other recipe on my website, please let me know how it went in the comments below! And I always appreciate a star rating if you loved it ❤️
Gluten Free Walnut Pumpkin Scones Recipe
Ingredients
- 2 ¼ cups oat flour (270 grams)
- ½ cup almond flour (60 grams)
- ½ cup + 1 teaspoon granulated sugar divided
- ½ teaspoon fine sea salt
- 1 tablespoon baking powder
- 1 ½ teaspoon ground cinnamon divided
- 8 tablespoons unsalted butter cold
- 1 cup walnuts
- ⅔ cup pumpkin puree
- 2 large eggs
Instructions
- In a large mixing bowl, whisk together the oat flour, almond flour, sugar, salt, baking powder, and spices.
- Work in the butter just until the mixture is crumbly. Stir in the walnuts.
- In a separate mixing bowl, whisk together the eggs and pumpkin puree.
- Add the liquid ingredients to the dry ingredients and stir until all is moistened and holds together.
- Line a baking sheet with parchment and sprinkle it with oat flour.
- Scrape the dough onto the floured parchment or pan, divide it in half, then gently pat and round each half into a 5" to 5 ½" circle about ¾" thick.
- Using a knife knife that you've run under cold water, slice each circle into 6 wedges.
- Carefully pull the wedges away from the center to separate them just a bit; there should be about ½" space between them, at their outer edges.
- Place the pan of scones in the freezer for at least 30 minutes, uncovered. Then, preheat the oven to 425°F.
- Bake the scones for 20 minutes, until they're set and golden brown with no wet edges.
- Remove the scones from the oven, and cool on the pan for at least 10 minutes.
Notes
- Start with cold butter - Use butter straight from the fridge to make your scones, or even better, keep a few sticks of butter in the freezer so they'll be ready the next time you want to make scones.
- Freeze the dough - Important! Don't skip this step. The rest in the freezer helps the butter to solidify, which means that when it bakes it will create little air pockets. These in turn create gorgeously flaky layers in the scones. Chilling the dough also keeps the scones from spreading out too much.
- Make ahead: You can prepare the scones, place them on a baking sheet, and store them, tightly covered, in the fridge or freezer for up to 24 hours.
- Don't overwork the dough - While we're using gluten free flour to make these scones so there isn't any danger of over-activating the gluten in the flour through kneading, it's still a good idea to go light on your handling of the dough. This will lead to more tender scones.
- Oat flour substitute - If you can't eat oats, do an equal substitute of sorghum flour or brown rice flour.
- Almond flour substitute - Substitute another nut flour of choice, or try teff flour for the almond flour.
- Or, use gluten free all-purpose flour - Keep it even easier and substitute 2 ¾ cups of gluten free all purpose flour for the combination of the oat and almond flours.







I'd love to hear from you! Please leave me a note.