New to gluten free baking? Want a refresher? Here are some gluten free baking tips from a gluten free cookbook author and recipe developer.

Gluten Free Baking
Judging by the many recipes on this website as well as my cookbook, I LOVE to bake gluten free. Baking without flour has a special place in my heart, and I've been developing and publishing all kinds of gluten-free recipes for over a decade. I love the challenge of creating wholesome, naturally gluten-free bakes that taste just as good as those made with all-purpose flour.
In this post, I've outlined some of my best tips and tricks that I've come to rely on when baking gluten-free. I hope these help you find success every time you bake!
Jump to:
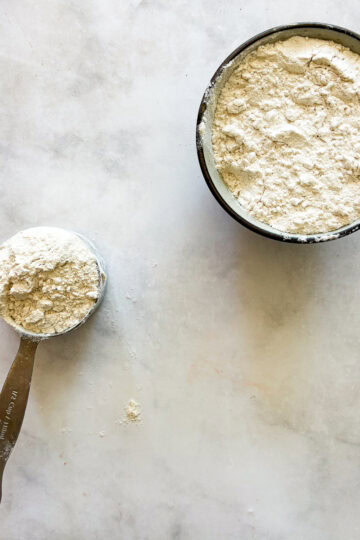
My First Tip: Always Measure By Weight!
As we know, baking gluten-free is not merely taking a straight substitution of one gluten-free flour and replacing the all-purpose flour in a recipe. Sometimes you CAN do a swap (looking at you, almond and oat flours), but it's essential to do so by weight, which means if you are converting a recipe, always choose one that has both cup and weight measurements.
The recipes on my site are written in both cup and weight measurements (grams). My strategy when creating a recipe is to use weight measurements for accuracy, which I then translate into cups for readers' ease. However, it's always best to use the weight measurements given to ensure accuracy. Buy a digital scale, and keep it out on the counter if you bake frequently!

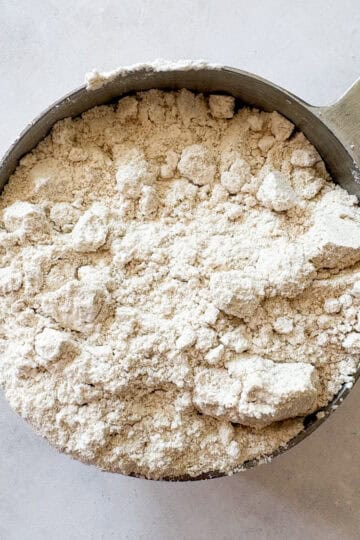
Use Finely Ground Gluten Free Flours
Most gluten free flours are finely milled, but the texture will vary by brand. Some familiar gluten free brands include powerhouse Bob's Red Mill and Arrowhead Mills for single-origin flours. I also like Anthony's brand of flours, and rely on their oat flour in particular (they sell large bags at fairly affordable prices). Experiment and choose the brand you prefer.
In terms of gluten free blends, there are so many options on the market. I prefer to always use my homemade gluten free flour blend because it is gum-free, but you can use any blend you like. They will all work differently, so it's best to experiment with different brands until you land on the one that you like best.
Why use finely ground flour? Gluten free flour can produce dry or gritty final results because it doesn't perform the same way as all-purpose flour. The finer the grind, the better it will incorporate with the other ingredients.
What Kind of Flour?
Different flours produce different results (my post on gluten free flours is a good primer). I lean into whole grain flours like oat flour (and if you're wondering, is oat flour gluten free?, it is! However, not everyone with celiac can tolerate oats, so you may not be able to eat it.) Other great choices include brown rice flour, buckwheat flour (another one of those is buckwheat flour gluten free? queries that can be answered with a "yes"), sorghum flour, and teff flour. White rice flour is also a reliable choice, though it is not a whole grain flour.
Starchy flours are used in combination with a "base" flour like rice flour or oat flour, and these can include tapioca flour, arrowroot powder, or sweet white rice flour. You may also like to bake with nut flours, especially almond flour.
Many gluten-free flours work well when mixed with another (I like a ratio of 60% whole grain flour to 40% starchy flours), though I find that oat flour works well as a single-origin flour (see more about baking with oat flour). You can play around with combinations, make a homemade gluten free blend, or pick up a package of 1:1 gluten free baking flour at the store. Just remember to always make substitutions by weight.

Rest the Batter
This is my second most important tip! Gluten-free flours really benefit from being allowed to hydrate before baking. A rest also helps avoid that gritty texture in the finished product.
With cookies, I try to plan ahead and let my batter rest overnight (or longer) in an airtight container in the fridge. (This also helps the flavors to develop.) Scone dough may also be kept, tightly covered or in an airtight container, overnight in the fridge.
Cakes truly taste better when they've been hydrated for 15-20 minutes, conveniently, the amount of time it takes the oven to heat! (You can also let them sit longer, covered, on the counter if you like.) Always try to build in time to rest cake or quick bread batter; you'll love the difference it makes.
Multiple Ways to Check for Doneness
How to know it's done? Traditional bakes are more obviously "done" as you can usually rely on a tester to tell you if the center is fully baked. Gluten-free bakes need a little more than the tester check, including lightly pressing on the surface of a cake or bread. It should be firm and slightly come back when pressed. If it doesn't, the cake is not done.
Another good way to know your cake is fully baked is when you can see the sides of the cake starting to pull away from the edges of the pan. Using the tester is still important, though, so don't skip that step!
And note that gluten-free bakes will often take a bit longer to reach "done" than something made with gluten-free flour. Your recipe should specify this, but each oven is different, so don't be alarmed if what you're baking takes a little longer than you expect.
Let It Rest
It's so hard to wait, but letting your baked goods rest in the pan set on a wire rack for at least 15-20 minutes will allow the starches to fully form the crumb and structure of the cake. (Of course, if the recipe indicates you should let it sit longer, do so!).
If you bake gluten free bread (bless you!), it's best to wait up to several hours to cut into the loaf to prevent any stickiness.

A Few More Tips
- Use room temperature ingredients: Especially important with butter so it's not too cold, but also eggs, so that they all blend seamlessly into the batter.
- Flour matters: As you get more comfortable with gluten-free baking, you can play around with the type of flour you use. All of my recipes will offer substitution suggestions if you need to make swaps. Again, measuring by weight is your best bet!
- To xanthan gum or not xanthan gum: I don't like using extra gums in my gluten free bakes, but many find they add an extra binder or springiness otherwise lacking. It's up to you (though my homemade flour blend eliminates the need for added gums!).
- It's OK to mix longer: Unlike traditional flour, gluten free flours don't have any, well, gluten to activate. So go ahead and mix your batters very well; you don't have to worry about overdoing it, and this will often create a more tender final crumb.
- It may not look the same: I don't bake much gluten-free bread, but if you do, know that your dough will not look the same as a traditional dough. Like in my oat flour cinnamon rolls recipe, the dough is more of a sticky batter that will need a rest in the fridge to help make it workable.
- You CAN swap a blend for all-purpose flour ... But make sure to do so by weight. Just using cup measurements, no matter what your package of 1:1 gluten-free flour says, can lead to disaster. Remember to ALWAYS use a scale when you are converting a regular recipe to gluten-free.
My Favorite Gluten Free Bakes
A little list of my favorite and reader favorite gluten free bakes is below-happy baking!