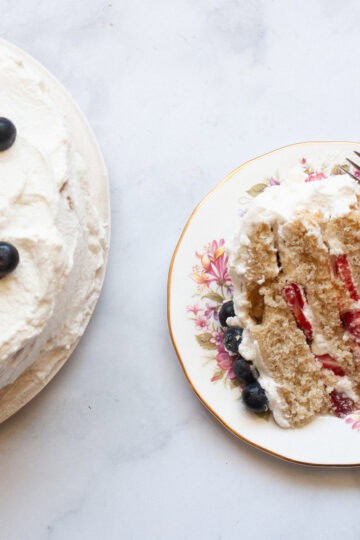
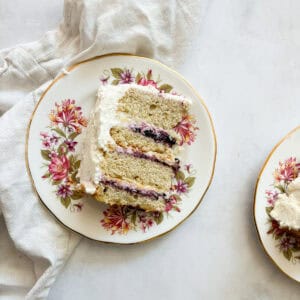
This blackberry jam cake with cream features a velvety, gluten free butter cake that sandwiches sweet-tart blackberry jam and softly whipped cream for a decadent, summery treat that's welcome anytime. Top with fresh blackberries in season.

My original homemade wedding cake, baked back in 2011, was a labor of love and sugar: layers of vanilla butter cake filled with (homemade) lemon curd and (homemade) blackberry jam to create a towering confection that I wrote about for an NPR Kitchen Window story. For several years afterward, I baked a smaller version of that beauty each anniversary.
But, life, kids, living abroad, etc., and I've streamlined the original into an easy, gluten-free blackberry jam cake with whipped cream. This cloud-like cake is so irresistible, with its marriage of fluffy cream and blackberry jam, plus, of course, a tender and buttery gluten-free cake!.
You can adapt it for other jams, sweeten the whipped cream, or make it exactly as the recipe is written. You really can't go wrong.
Jump to:
Why I Love This Special Cake
This is my anniversary cake, so of course I adore it! But beyond that, it's so pretty, and could work wonderfully for any special occasion, or just to celebrate summer fruit season. And did I mention it's delicious? More highlights include:
- It's undetectably gluten-free. The rich and buttery vanilla cake is both sturdy and moist, with a lovely crumb you won't be able to tell is gluten-free.
- Those clouds of whipped cream! I feel like whipped cream is an underrated frosting option - it's super easy to make, you can make it as sweet or not-sweet as you wish, and it somehow tastes lighter than a traditional buttercream frosting even though it's still rich.
- Blackberry jam. What can I say - I love blackberries. I featured jam in my original wedding cake in a nod to the wild blackberries that grow everywhere in Sonoma County in late summer. We picked a ton of berries ourselves and made jam to give away as gifts to our guests. My florist even included blackberries in my bouquet!

Ingredients Needed
Here's a look at the ingredients that go into this pretty cake. Make sure to scroll down to my recipe card at the bottom of this post for the full ingredient amounts and instructions!
- Gluten free flour - I used my homemade gluten free flour blend here, but you can use your favorite 1:1 gluten free flour blend.
- Baking powder
- Salt - Fine sea salt or table salt.
- Butter - I always use unsalted butter softened to room temperature.
- Granulated sugar
- Eggs - Large or medium eggs are best.
- Milk - I use whole milk, and 2% milk also works.
- Vanilla - Pure vanilla extract or vanilla bean paste.
- Heavy cream
- Blackberry jam - You can use homemade jam if you have it, or pick up a jar at the store.
Switch it Up A Bit
- Different jam - Use this method with any type of jam you love, from strawberry rhubarb jam to persimmon jam!
- Sweeten the whipped cream - For a little extra sweetness, sift a few tablespoons of powdered sugar into the bowl before you whip the heavy cream.
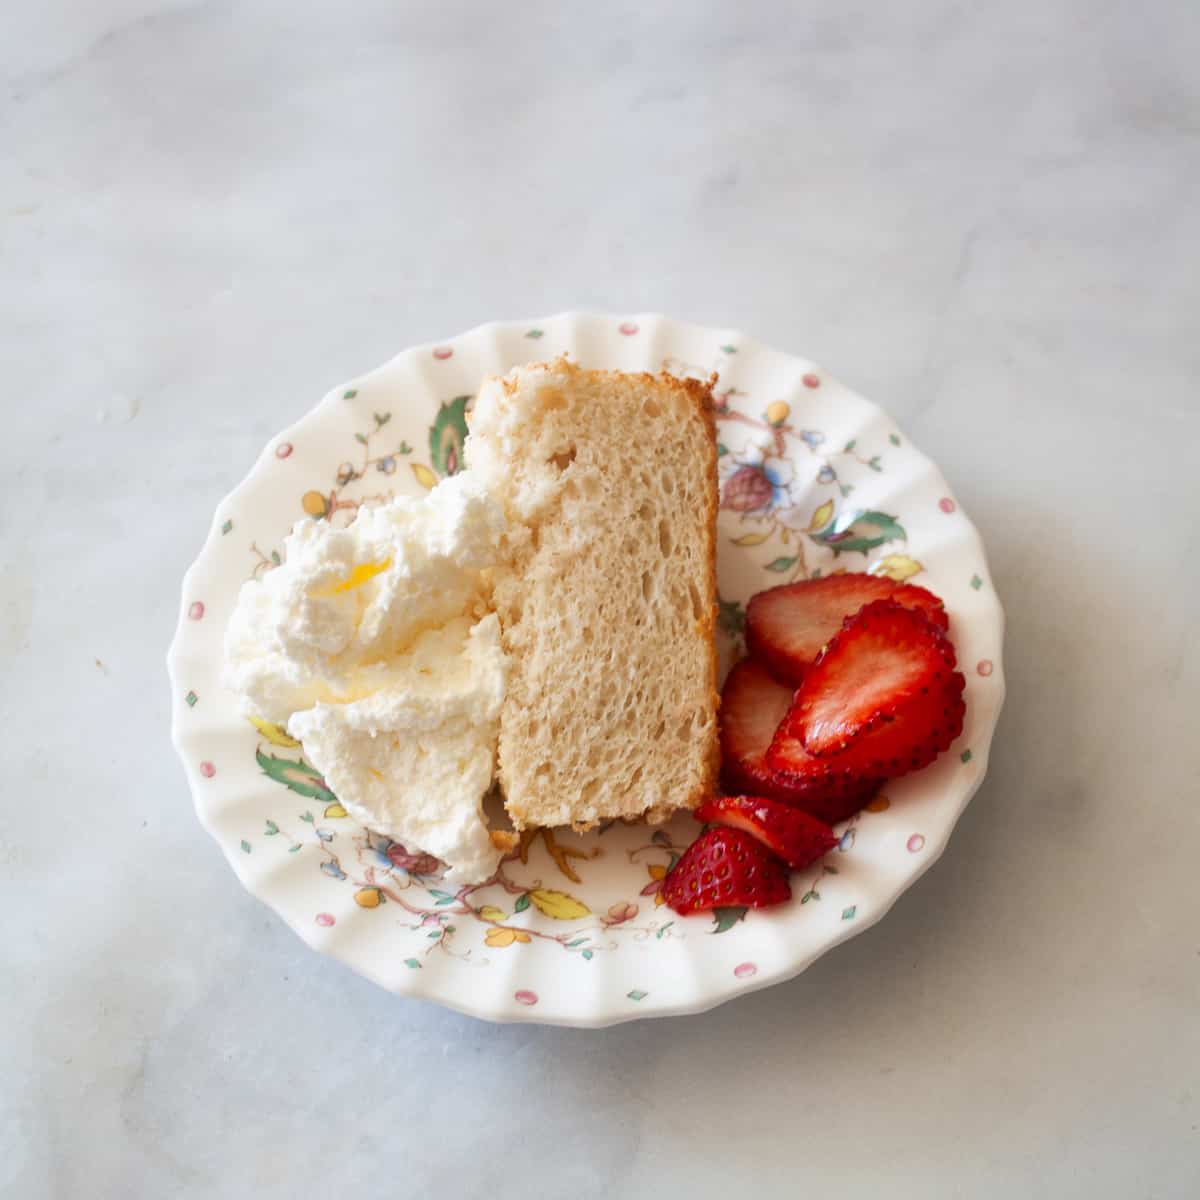
- Add lemon curd - I love mixing blackberries and lemon curd! Try spreading a big dollop of honey lemon curd in the middle layer rather than jam for a flavor boost.

Step-by-Step Instructions
Here's an overview in photos of how to put together this cake:

- Combine flour: Mix together the flour, baking powder, and salt.

2. Cream butter: Cream the butter and sugar, then add the eggs and vanilla.

3. Combine: Mix the flour into the batter, alternating with the milk, then place in a pan or pans. Rest the batter.

4. Bake: Place the cake in a 350°F oven and bake for about 40 minutes. Cool completely.

5. Whip cream: In a large bowl, whip the cream until soft peaks form.

6. Start assembling: Split the cake layers and spread the bottom one with jam.

7. Add cream: Spread a little whipped cream on top of the jam and repeat with the remaining layers.

8. Frost: Frost the top and sides of the cake with the remaining whipped cream.
Baking Tip: What Size Pan?
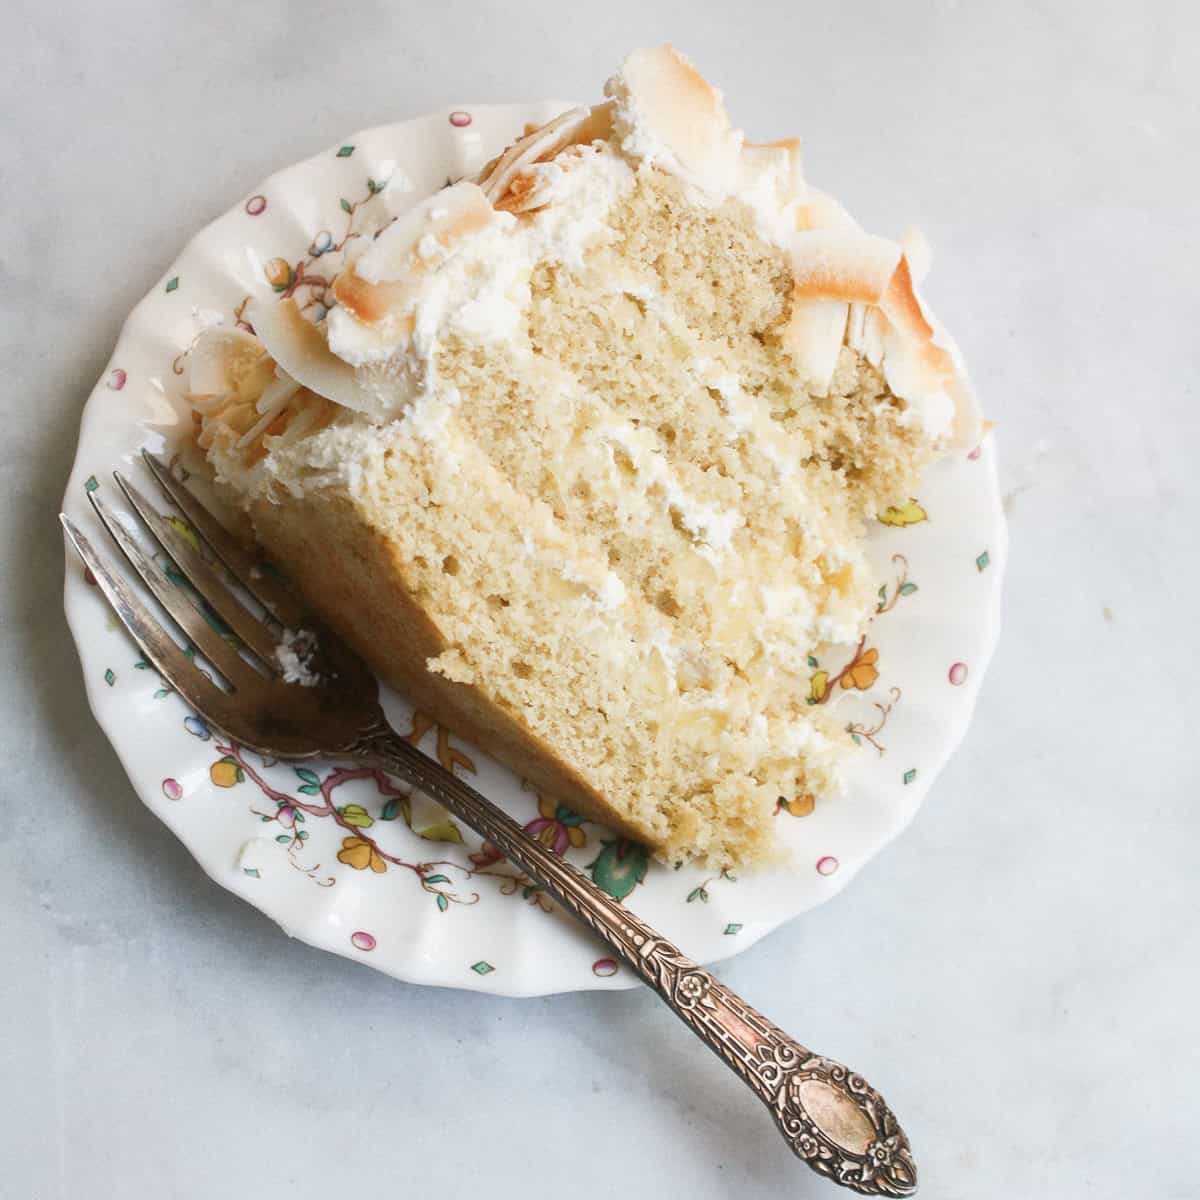
I love a wee cake, so I baked this recipe in two 6-inch cake rounds. This also allowed me to have four layers, important to me when making a celebratory cake.
The batter itself can be baked in an 8 or 9-inch round. You can split the round in half, a la my gluten free rhubarb cream cake, then top the bottom layer with jam and whipped cream, place the top half on, and finish the top and sides with whipped cream.

Tips & Recipe Notes
- Chill the cake before assembling. After the cake has cooled to room temperature, place it in the fridge for at least 30 minutes and up to overnight. This will help the crumb firm a bit, making it easier to cut the cake layers.
- Refrigerate before serving. For the cleanest slices, chill the fully assembled cake for 30-60 minutes before cutting into it to allow the whipped cream to firm up a little.
- Enjoy cold or at room temperature. I love nibbling on slices of cake straight from the fridge, and it's equally delicious after sitting out on the counter for 15-20 minutes at room temperature to soften the crumb a bit.
- Make it dairy-free. Swap the heavy cream for coconut cream, the milk for your favorite non-dairy milk, and the butter for non-dairy butter.
- Try buttercream. You could also make a vanilla or blackberry buttercream frosting instead of the cream: Beat 1 cup of unsalted, softened butter with vanilla extract or jam, then add 3-4 cups of powdered sugar.

Proper Storage
This cake is best eaten within a day or two so that the whipped cream tastes as fresh and fluffy as possible. Cover it with foil and store it in the fridge for up to 3 days. You can bring it to room temperature on the counter for 15 minutes before serving if you like.
While I don't recommend freezing the assembled cake, you could bake the cake layers in advance, wrap them in a layer of plastic and a layer of foil, and store them in the freezer for up to 2 months. Thaw the layers in the fridge before assembling the cake. And whip the cream fresh!
More Celebration Dessert Recipes

Happy baking! If you make this recipe, I'd love to know. Please leave a comment below, reach out with any questions, and tag me on Instagram @Cucina Nicolina
Recipe
Gluten Free Blackberry Jam Cake with Whipped Cream
Ingredients
For the Cake
- 1 ¾ cups homemade gluten free flour blend (210 grams)
- 1 ½ teaspoons baking powder
- ⅛ teaspoon salt
- ½ cup unsalted butter at room temperature
- 1 cup granulated sugar
- 2 eggs
- ½ cup whole milk
- 1 teaspoon pure vanilla extract
For the Filling
- 1 ½ cups heavy cream
- 1 cup blackberry jam
Instructions
- Grease and line the bottom of two 6-inch round cake pans with a circle of parchment, or use an 8 or 9-inch cake round.
- In a small bowl, whisk together the 1 ¾ cups homemade gluten free flour blend, 1 ½ teaspoons baking powder and ⅛ teaspoon salt.
- In a large bowl and using an electric mixer on medium speed, cream the ½ cup unsalted butter, scraping down the sides of the bowl as necessary, until the butter is lighter in color, about 45 seconds. Then add the 1 cup granulated sugar in a steady stream and mix on medium speed until the mixture is very light in color and texture, about 4 to 5 minutes.
- Add the 2 eggs one at a time, and beat very well for about 2 minutes. Beat in the ½ cup whole milk and 1 teaspoon pure vanilla extract.
- With the mixer on low, add the flour mixture in four doses, alternating with the milk in three doses. Scrape down the sides of the bowl in between additions.
- Pour the batter into prepared cake pan. Preheat the oven to 350℉ and let the batter rest while it heats, up to 30 minutes. Place the cake in the oven and bake for 25 to 30 minutes, or until a toothpick inserted in the center comes out clean.
- Remove from the oven and set on a rack to cool for 10 minutes then turn out onto rack to finish cooling completely.
- To assemble: Whip the 1 ½ cups heavy cream until soft peaks form. Split each cake round in half, and place the bottom layer on a plate. Spread it with ⅓ of the 1 cup blackberry jam and top it with several spoonfuls of whipped cream. Repeat this until you reach the final cake layer. Place it on top, then cover and frost the sides with the remaining whipped cream.
Notes
- What size pan: I love a wee cake, so I baked this recipe in two 6-inch cake rounds. This also allowed me to have four layers, important to me when making a celebratory cake. The batter itself can be baked in an 8 or 9-inch round. You can split the round in half, a la my gluten free rhubarb cream cake, then top the bottom layer with jam and whipped cream, place the top half on, and finish the top and sides with whipped cream.
- Chill the cake before assembling. After the cake has cooled to room temperature, place it in the fridge for at least 30 minutes and up to overnight. This will help the crumb firm a bit, making it easier to cut the cake layers.
- Refrigerate before serving. For the cleanest slices, chill the fully assembled cake for 30-60 minutes before cutting into it to allow the whipped cream to firm up a little.
- Enjoy cold or at room temperature. I love nibbling on slices of cake straight from the fridge, and it's equally delicious after sitting out on the counter for 15-20 minutes at room temperature to soften the crumb a bit.
- Make it dairy-free. Swap the heavy cream for coconut cream, the milk for your favorite non-dairy milk, and the butter for non-dairy butter.
- Try buttercream. You could also make a vanilla or blackberry buttercream frosting instead of the cream: Beat 1 cup of unsalted, softened butter with vanilla extract or jam, then add 3-4 cups of powdered sugar.
I'd love to hear from you! Please leave me a note.