(Really Great) Gluten Free Rolls

This is the best gluten free rolls recipe that needs just a few simple ingredients - gluten-free bread flour is your friend here - and a simple method to make! Perfect for the Thanksgiving table or anytime you want a quick and easy batch of rolls.
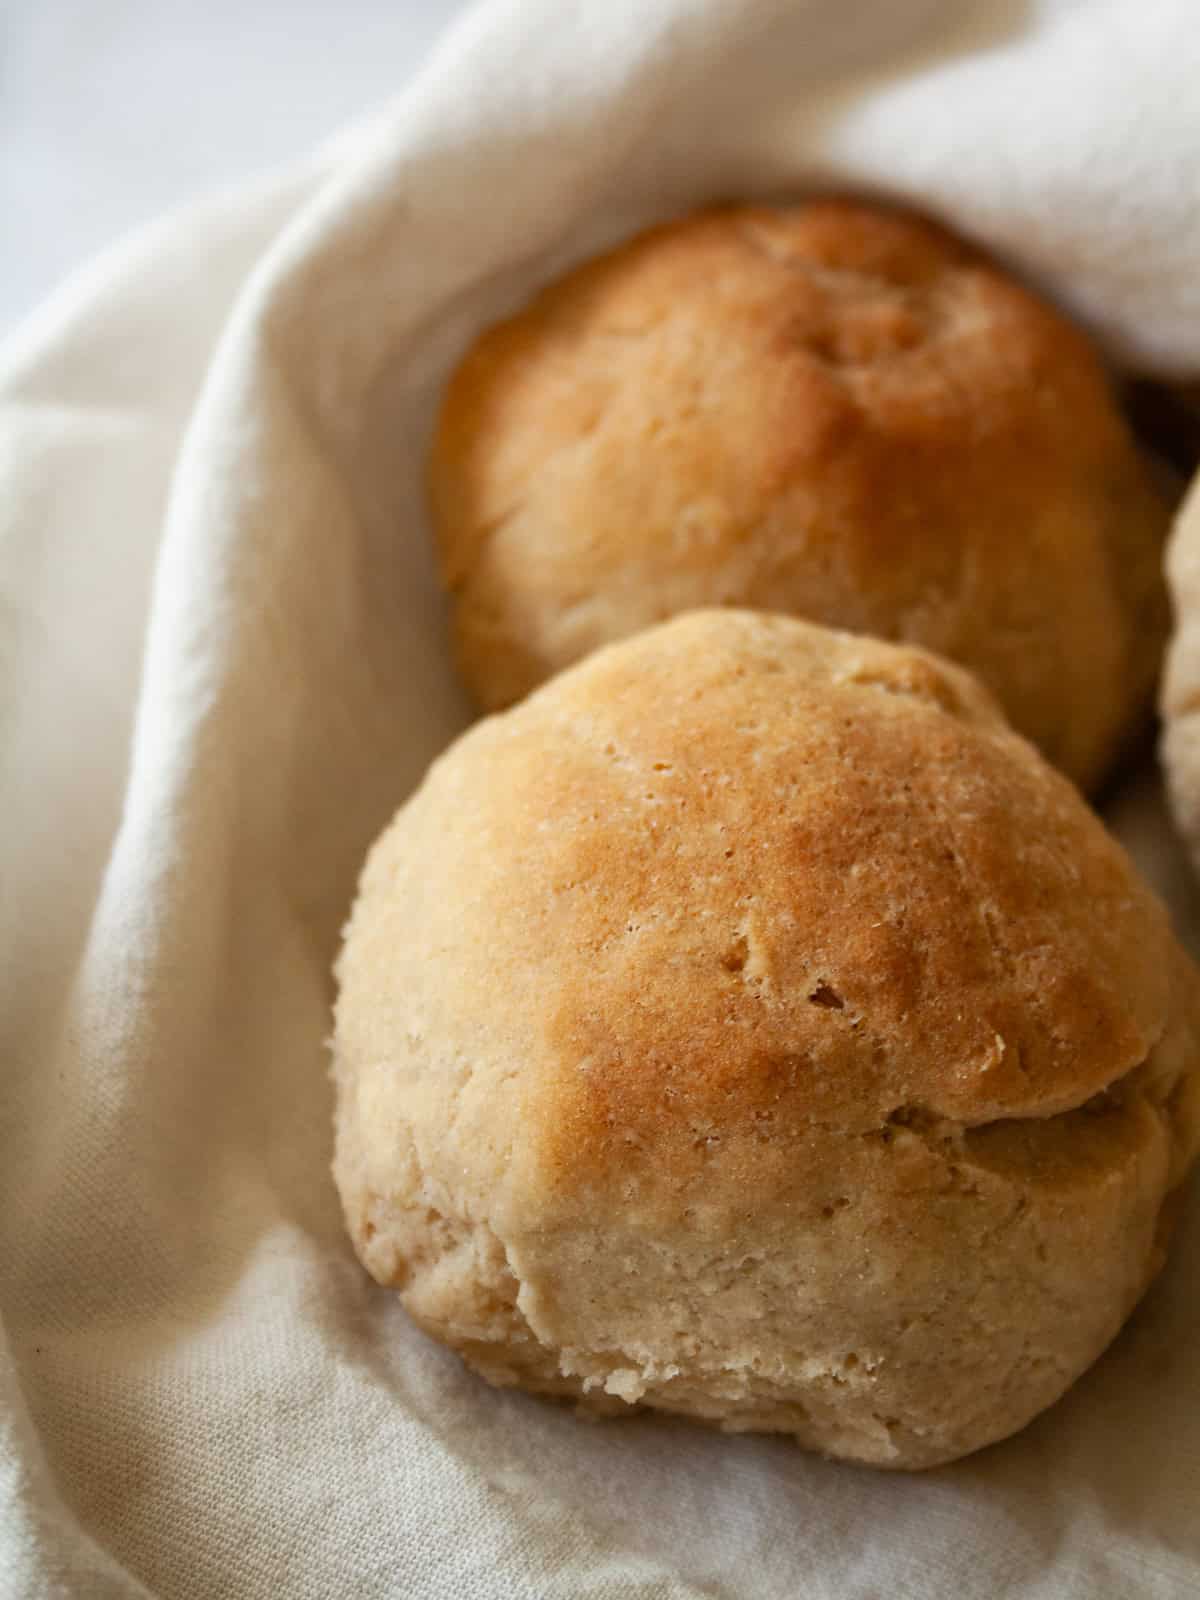
I've been making this gluten free rolls recipe for years, and it's an especially wonderful addition to my yearly gluten free Thanksgiving menu, though I also love it anytime (a warm roll and a bowl of butternut squash soup is a thing of perfection).
When I first developed this recipe, I used a store-bought bread flour mix as the base, which I found works a lot better than a general gluten free flour blend. Now, I more often than not use my homemade gluten free bread flour, which is a carefully tested, gum-free blend that works so well in many gluten-free bread recipes. It relies on psyllium husk as a natural binder and calls for whole grain gluten free flour and white rice flour (try it!).
For this very simple, very delicious gluten free rolls recipe I spring boarded off my bunny bread recipe because of its straightforward and reliable method. There's a short rise time and no need to plan for hours in the kitchen. This is extra helpful when you are preparing a holiday meal! There are a few gluten-free caveats, such as building in time to hydrate the flour, but it's nothing over the top.
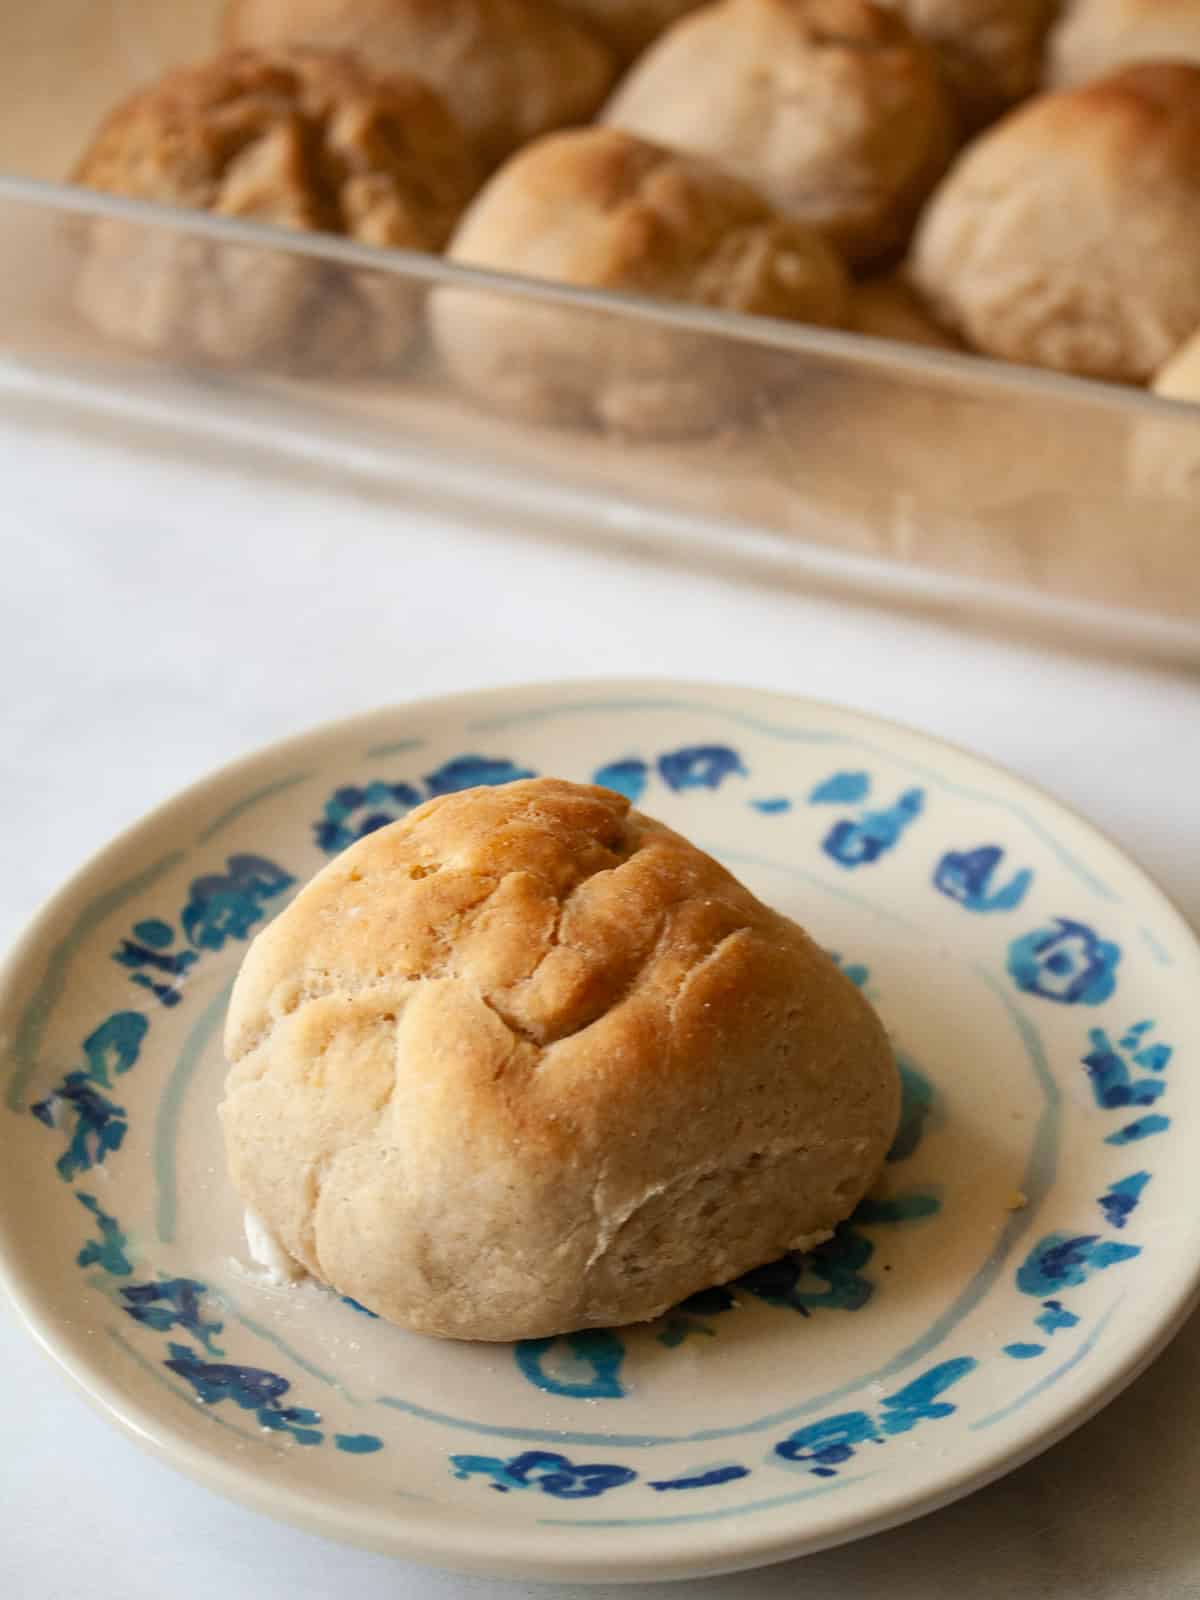
The rolls themselves are just the tiniest bit sweet and are tender yet sturdy. I recommend testing for doneness with an instant read thermometer to avoid any of the dreaded gumminess that can occur with gluten-free bread baking. Enjoy!
Jump to:
Why These Gluten Free Rolls Are So Good
Good-bye stodgy, gummy, or brick-like gluten-free rolls! These little beauties are tender yet hold up well to a generous application of salted butter, and can even be used to make little cheese sandwiches. Plus, they not overly complicated to make, a boon in gluten free bread-baking. This is why these gluten free rolls are a staple on my holiday tables:
They are pretty, well, amazing for gluten-free, and I can serve them to everyone without many noticing (or caring!) that they're made with gluten-free ingredients.
All of the ingredients, by the way, are naturally gluten free, so you don't have to worry about futzing with substitutions other than the flour blend.
The recipe doesn't need a ton of fussing-with, unlike some other gluten-free bread recipes. I'm all for the fussing-with when it's necessary, but when I need a reliable and quick rolls recipe, this is always my go-to.
These rolls are so lovely on the Thanksgiving table, with all the deliciously wholesome side dishes we love at the holiday: maple butternut squash puree, gluten free gravy, chard gratin, and more!
Ingredients Needed
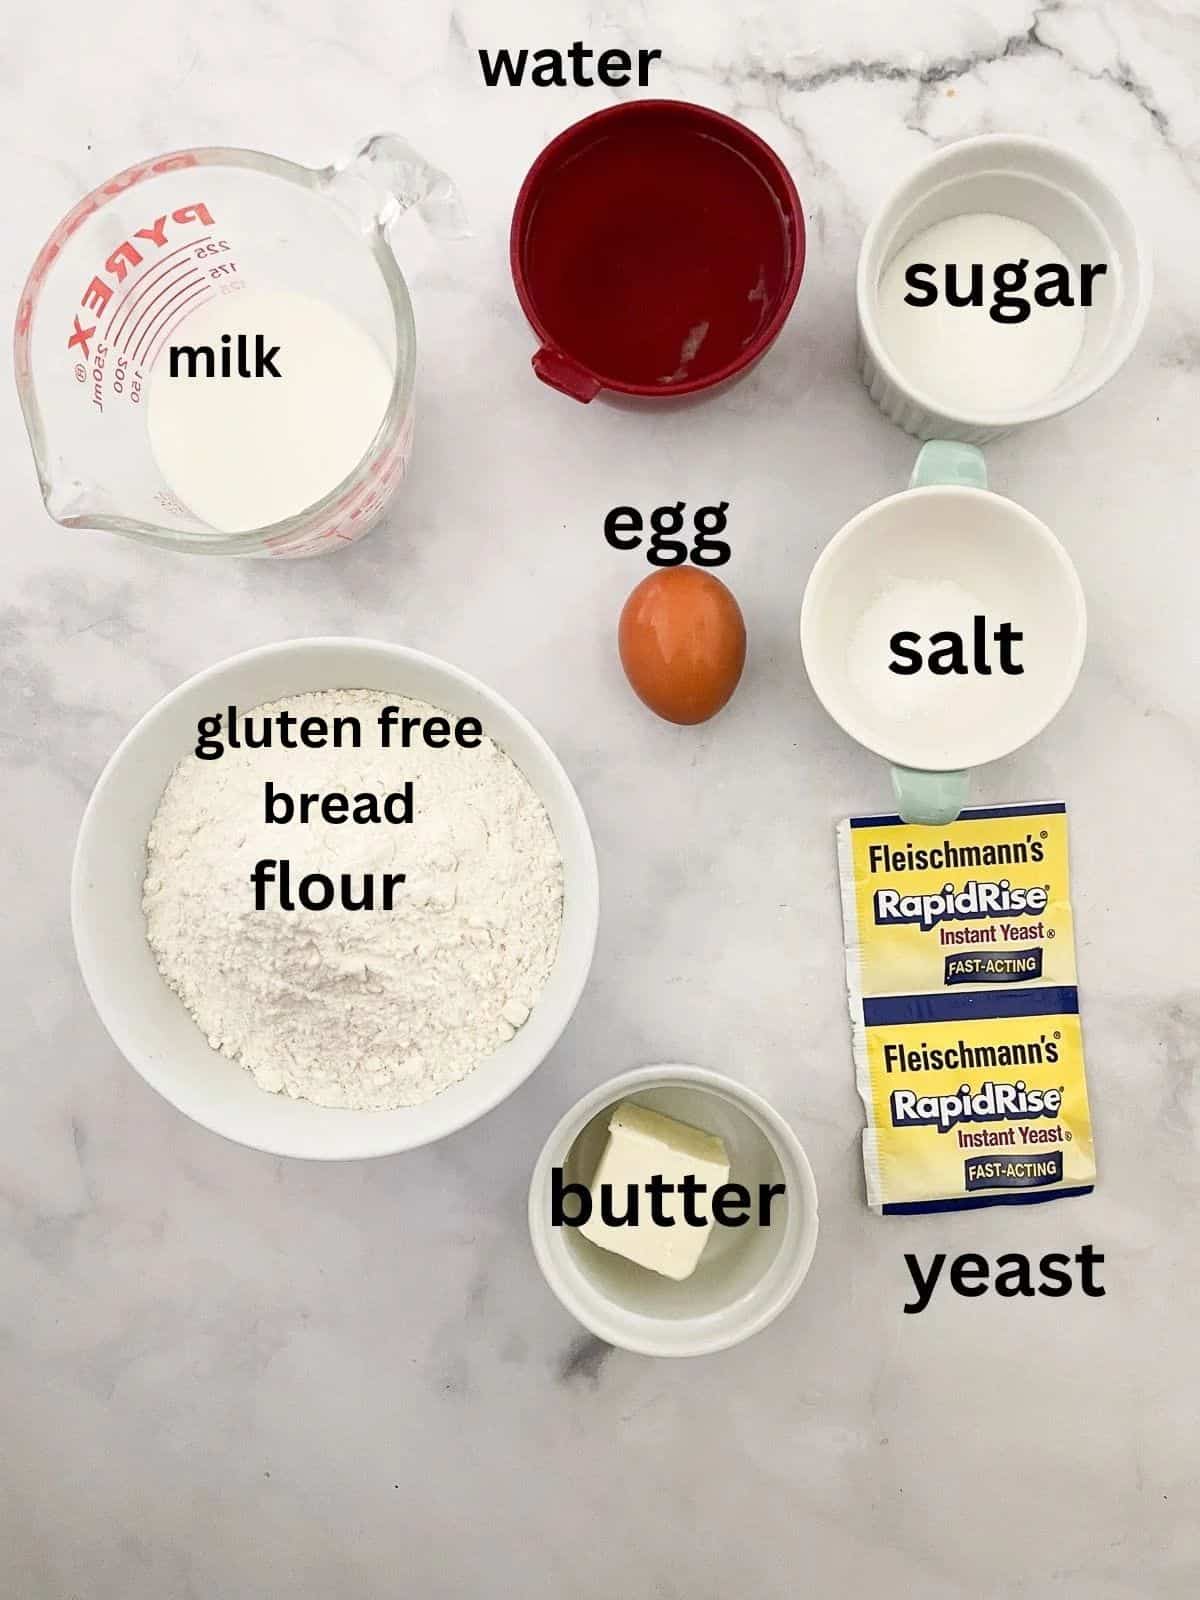
Here's what you'll need for my gluten free rolls recipe. Make sure to scroll down to my recipe card at the bottom of this post for the full ingredient amounts and instructions!
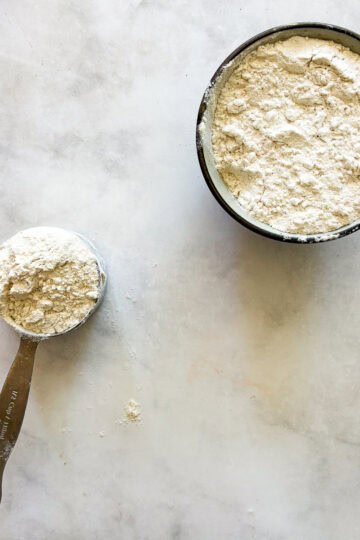
- Gluten free bread flour - I prefer to use my homemade gluten free bread flour recipe, but King Arthur Bread Flour also works quite well. Have a bit more on hand than the recipe card calls for in case you need to add in a little more.
- Instant yeast - I use instant yeast rather than active dry yeast so that I don't have to proof it first. You can stir it straight into the flour. However, if you only have active dry yeast, you can proof it in the warm water, then add it to the dough along with the other wet ingredients.
- Sugar - A tiny bit of granulated sugar adds a hint of sweetness that I love. If you prefer, use honey or maple syrup.
- Salt - I always use fine sea salt, and table salt works fine, too.
- Water - Heat the water first, to about 120°F to 130°F.
- Milk - I use whole milk here, and 2% milk will also work.
- Butter - Unsalted is best; if you only have salted butter, reduce the amount of salt by ½ teaspoon.
- Egg - A large egg at room temperature adds fluffy texture to the rolls and helps to bind the gluten-free flour.
Make Them Dairy-Free
If you need to make these gluten free rolls without dairy, no problem! Substitute the milk with a dairy-free milk of choice and use dairy-free butter or a neutral oil in place of the butter. I haven't tested this recipe without the egg or using an egg replacer, but it may very well work fine. Let me know if you try it!
How to Make Gluten Free Rolls
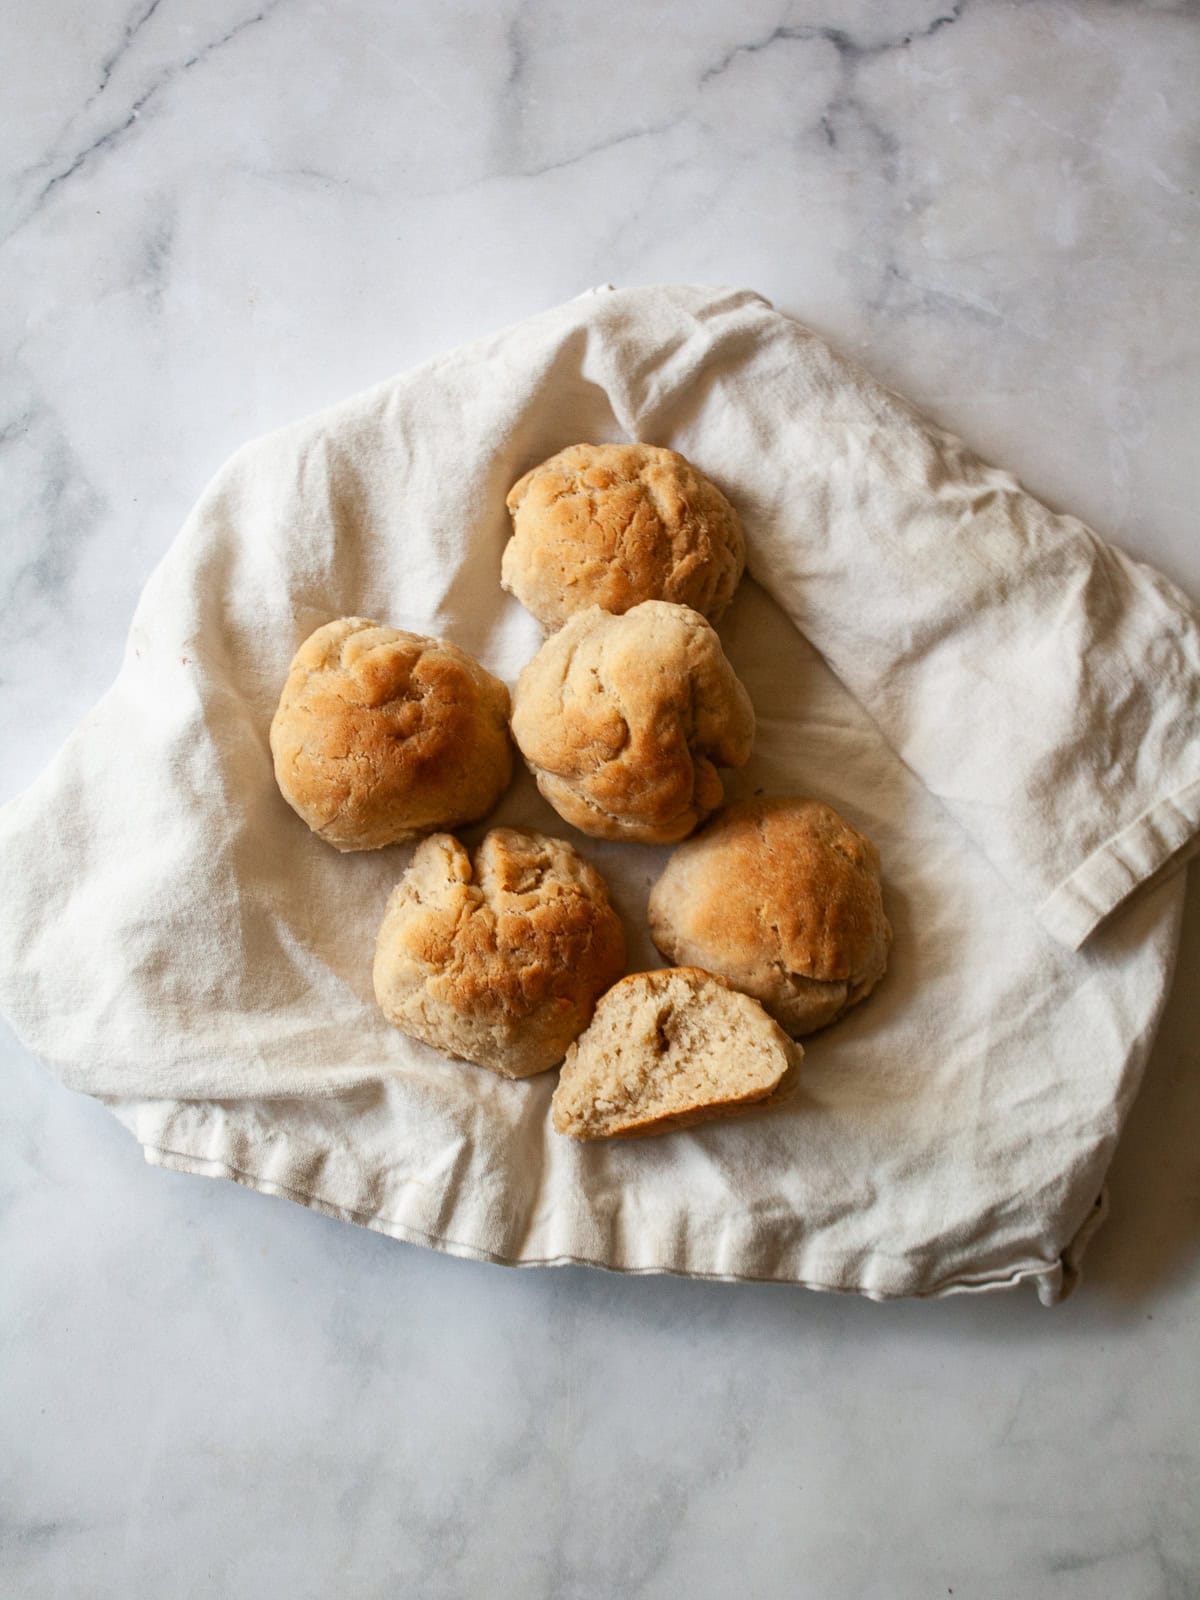
Here's an overview in photos of how to make this gluten free recipe:
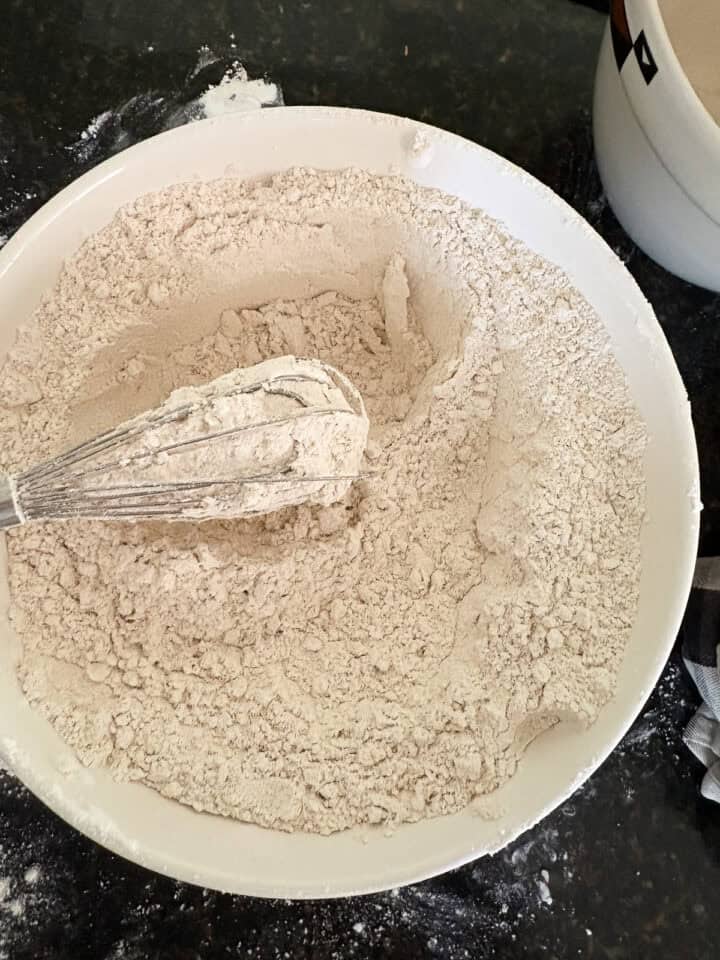
- Mix the dry ingredients in a large bowl.
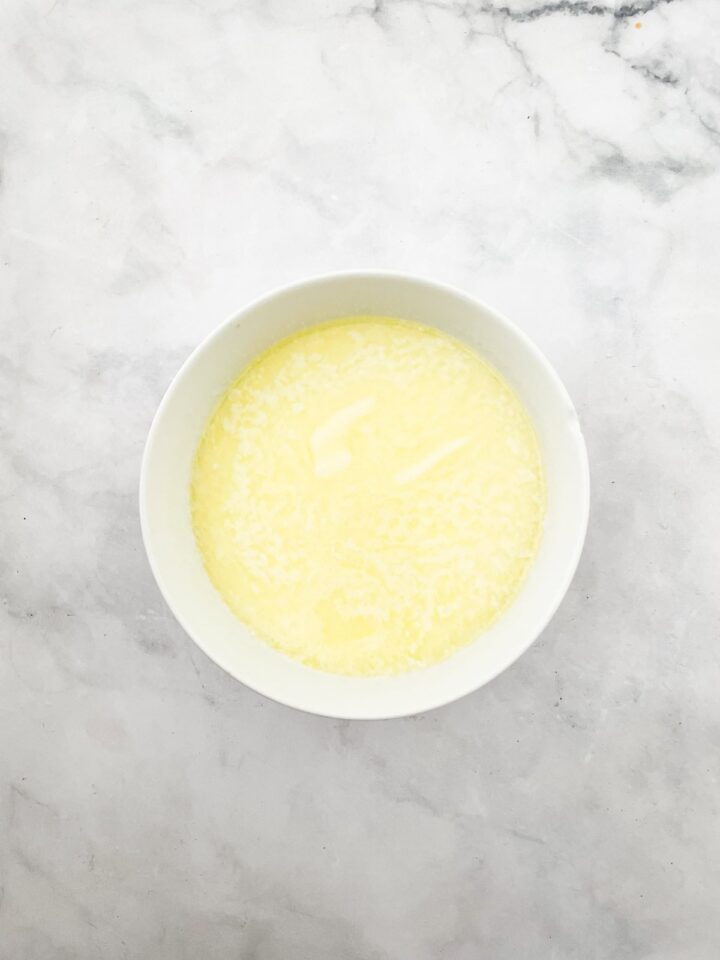
- Combine the butter and milk, then heat.
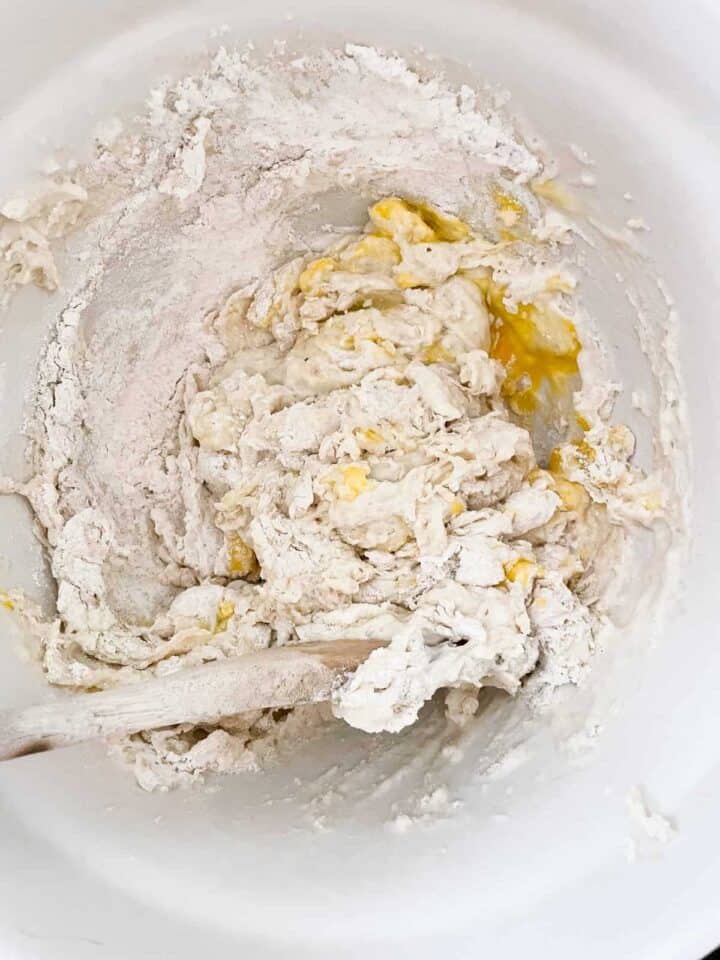
- Combine the wet and dry ingredients. Add the egg.
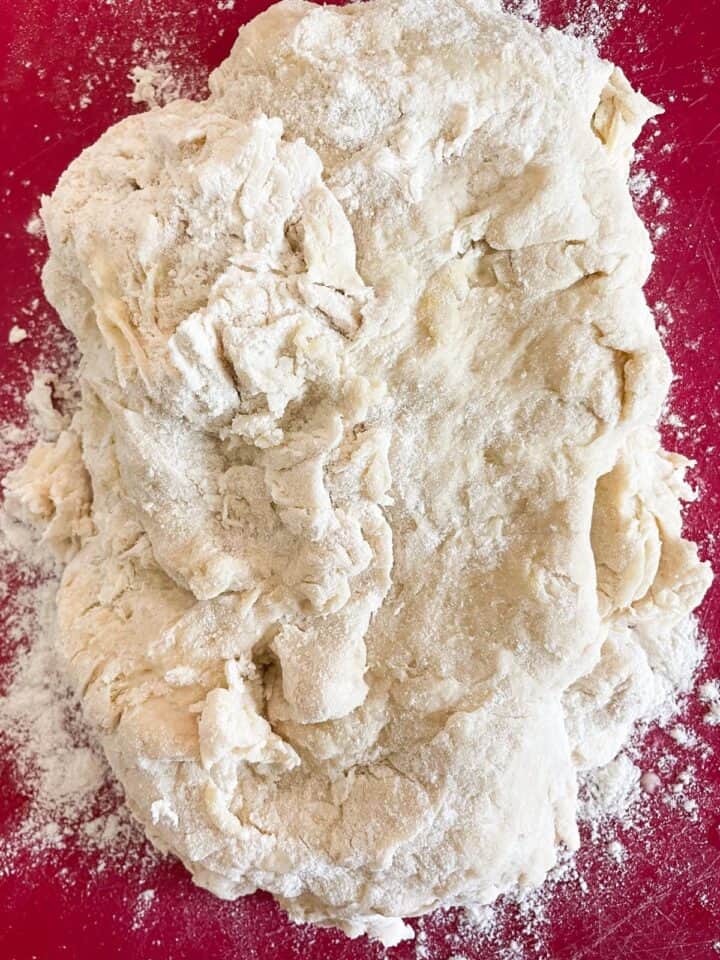
- Turn out the dough onto a greased board (see note below) and knead and fold it until smooth.
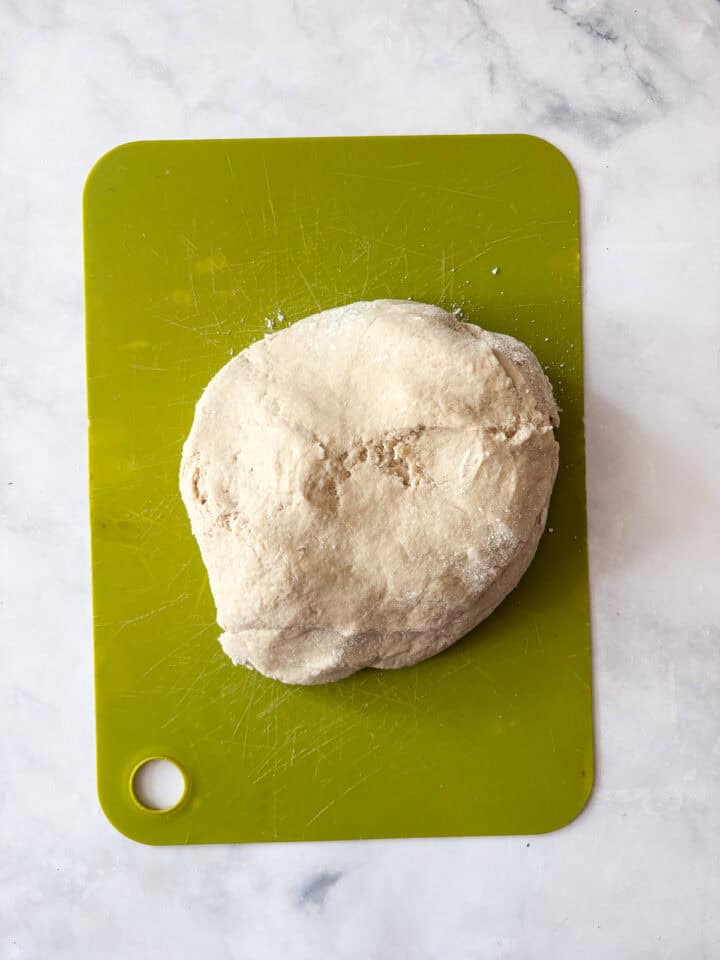
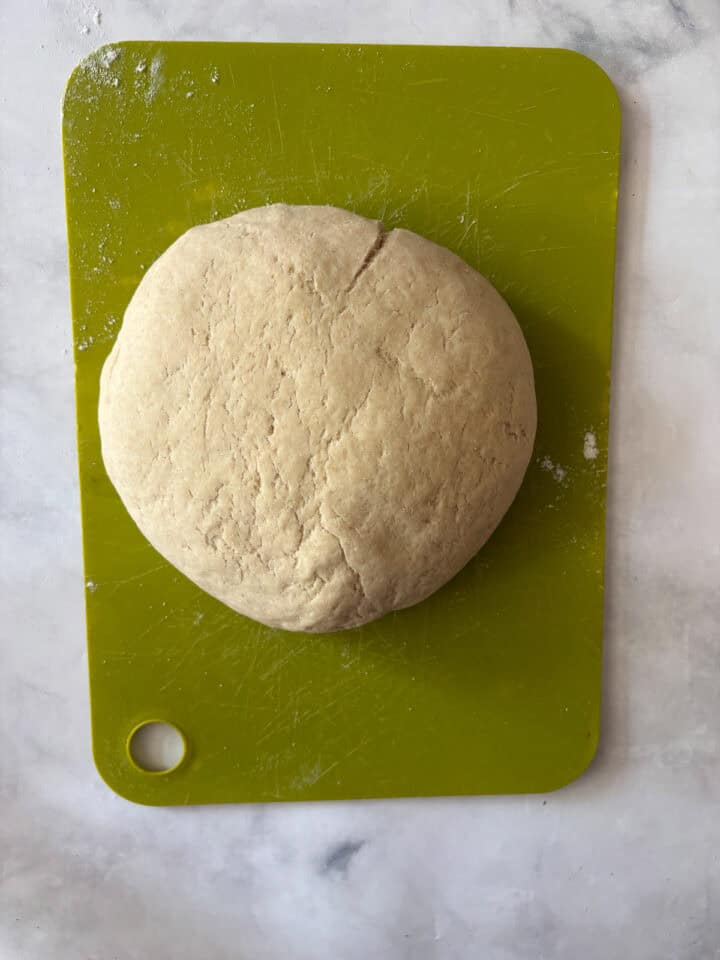
- Here is the dough after kneading and folding. Cover and let rise.
- After rising, the dough is slightly puffy.
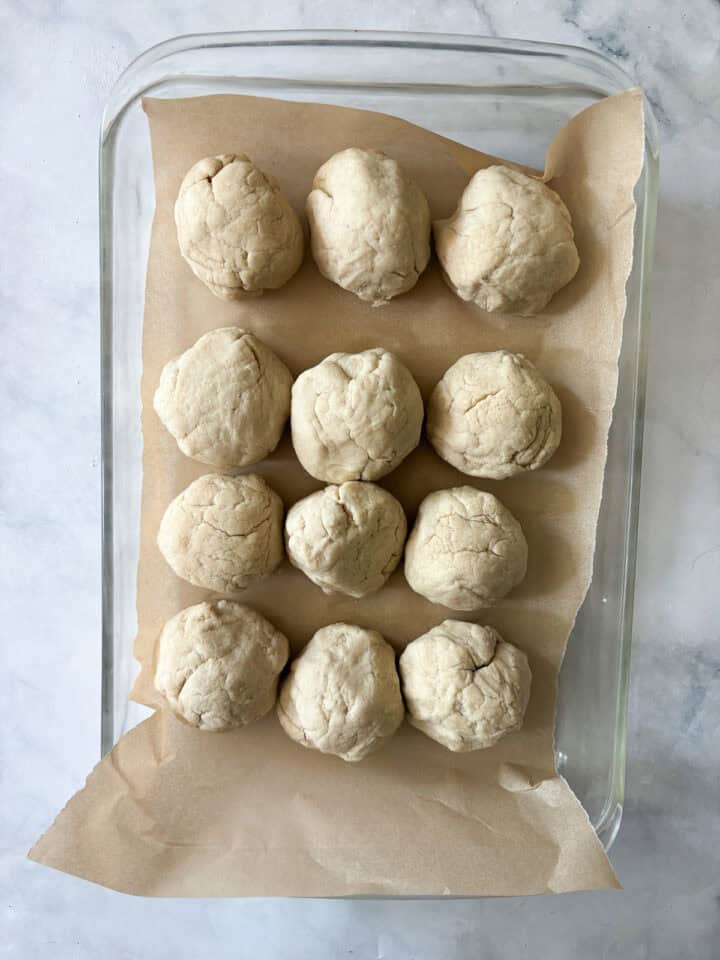
- Now roll the dough into balls, let rise again, and preheat the oven to 400F.
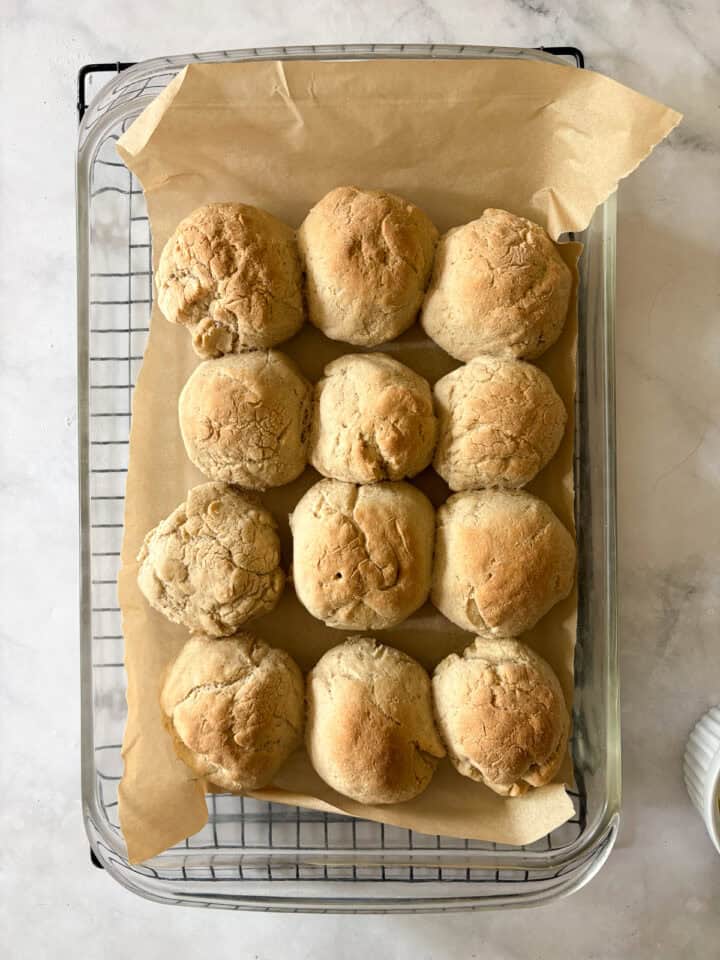
- Bake the rolls for about 20 minutes, then cool before serving.
Gluten Free Rolls Tips & Recipe Notes
- Grease the board. When turning out the dough, make sure to grease the cutting board first. This works a lot better with gluten free bread doughs than sprinkling flour on the board, which you would do with a conventional recipe.
- Hydrate the dough. Again, with conventional bread recipes you don't need to hydrate the dough quite as long. But with gluten-free recipes, hydration is an essential step so that the dough is less sticky and has a better texture. Hydrate the dough for at least 20 minutes.
- Place dough in fridge if needed. Like my other gluten-free bread recipes, especially my oat flour cinnamon rolls and gluten free challah, the dough can feel quite sticky. Rather than add more flour, which will make the rolls heavy, place the dough in the fridge for awhile. This does double duty of hydrating the dough while also helping it become easier to work with when chilled.
- Fold the dough. Gluten free dough is obviously a bit different, and you don't need to work it quite as much as a regular dough. I do like to do a bit of kneading to bring it together, but it's much less than a regular rolls recipe. After the dough is formed, you then fold it over on itself 6-8 times before letting it rise again.
- Use an instant-read thermometer to test for doneness. To assure yourself that the rolls are done, use an instant-read thermometer. When the temperature reads 205°F to 210°F, the rolls are done.
Proper Storage
- Counter - Store cooled rolls in an airtight container on the counter for up to 2 days.
- Freezer - Place in a freezer-safe bag and store in the freezer for up to 2 months.
- To Reheat - From the freezer, place on a baking sheet and warm in a 300F oven until heated through, with no need to defrost first. From the fridge, use the same method, but it will take less time.
More Easy Gluten Free Bread Recipes
Happy baking! If you make this gluten free rolls recipe, let me know! Please leave a comment below or reach out with any questions. I hope you loved it! ❤️
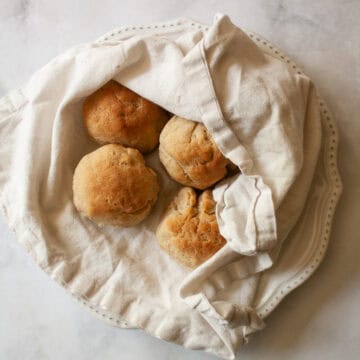
Gluten Free Rolls
Ingredients
- 5-6 cups gluten free bread flour (650 grams, more if needed)
- 2 packages instant yeast (about 4 teaspoons)
- 3 tablespoons granulated sugar
- 2 teaspoons fine sea salt
- 1 cup warm water , heated to about 120°F-130°F
- ⅔ cup whole milk
- 3 tablespoons unsalted butter
- 1 large egg
Instructions
- In a large bowl, mix together 3 cups of the 5-6 cups gluten free bread flour, the 2 packages instant yeast, 3 tablespoons granulated sugar, and 2 teaspoons fine sea salt. In a small bowl, combine the 1 cup warm water, ⅔ cup whole milk, and 3 tablespoons unsalted butter, then heat it to about 125-130℉ in the microwave or on the stove. Stir the milk mixture into the flour mixture, then stir in the 1 large egg. Add a little more flour as needed to form a smooth dough. Let rest for 20 minutes; if dough is still sticky place it in the fridge until easier to work with.
- Turn the dough out onto a lightly greased surface and knead it lightly to bring it together. Then, fold over on itself about 6-8 times, until smooth. Cover with a clean towel and let the dough rest for 10 minutes.
- Grease a 9x13 baking pan and line it with parchment paper. Divide the dough into 12 balls, roll them between your hands so that they are fairly smooth and uniform. Arrange in the baking pan and cover with a towel. Let rise for about 20 minutes.
- Preheat the oven to 400℉. Place the rolls the oven and bake for about 18-20 minutes, until lightly browned. I love using an instead-read thermometer to test for doneness; it will read 205°F to 210°F when the rolls are done.
- Remove from the oven and let cool slightly in the pan, then serve warm or let cool a bit more.
Notes
- Grease the board. When turning out the dough, make sure to grease the cutting board first. This works a lot better with gluten free bread doughs than sprinkling flour on the board, which you would do with a conventional recipe.
- Hydrate the dough. Again, with conventional bread recipes you don't need to hydrate the dough quite as long. But with gluten-free recipes, hydration is an essential step so that the dough is less sticky and has a better texture. Hydrate the dough for at least 20 minutes.
- Place dough in fridge if needed. Like my other gluten-free bread recipes, especially my oat flour cinnamon rolls and gluten free challah, the dough can feel quite sticky. Rather than add more flour, which will make the rolls heavy, place the dough in the fridge for awhile. This does double duty of hydrating the dough while also helping it become easier to work with when chilled.
- Fold the dough. Gluten free dough is obviously a bit different, and you don't need to work it quite as much as a regular dough. I do like to do a bit of kneading to bring it together, but it's much less than a regular rolls recipe. After the dough is formed, you then fold it over on itself 6-8 times before letting it rise again.
- Use an instant-read thermometer to test for doneness. To assure yourself that the rolls are done, use an instant-read thermometer. When the temperature reads 205°F to 210°F, the rolls are done.
Is it kismet? A day after I read this post, I happened upon the very issue of this magazine at a used bookstore and snapped it up, read it cover-to-cover this morning and was struck by that gem of an essay, by Edna Lewis, "What is Southern?" That essay reminded me of many of your posts. Among what stood out: The smell of coffee "greeting you on the way from the barn... served piping hot... so that if someone talked too much, they were told, 'Save your breath to cool your coffee.'" What a great line.
Anyway, now I have a hard copy of this biscuit recipe.
These rolls were perfect accompaniments to soup and sandwiches. Once again, Nicole went the extra mile to please everyone and gave us the comfort of love woven into her food for the holiday. Thanks sweetie !
This is great. And I wish I had some ready to come out of the oven right now.
It's nice to see some Gourmet loyalty :)
I love the story behind these delicious rolls. I can't wait to make some.
Hope you are having a great week Nicole!