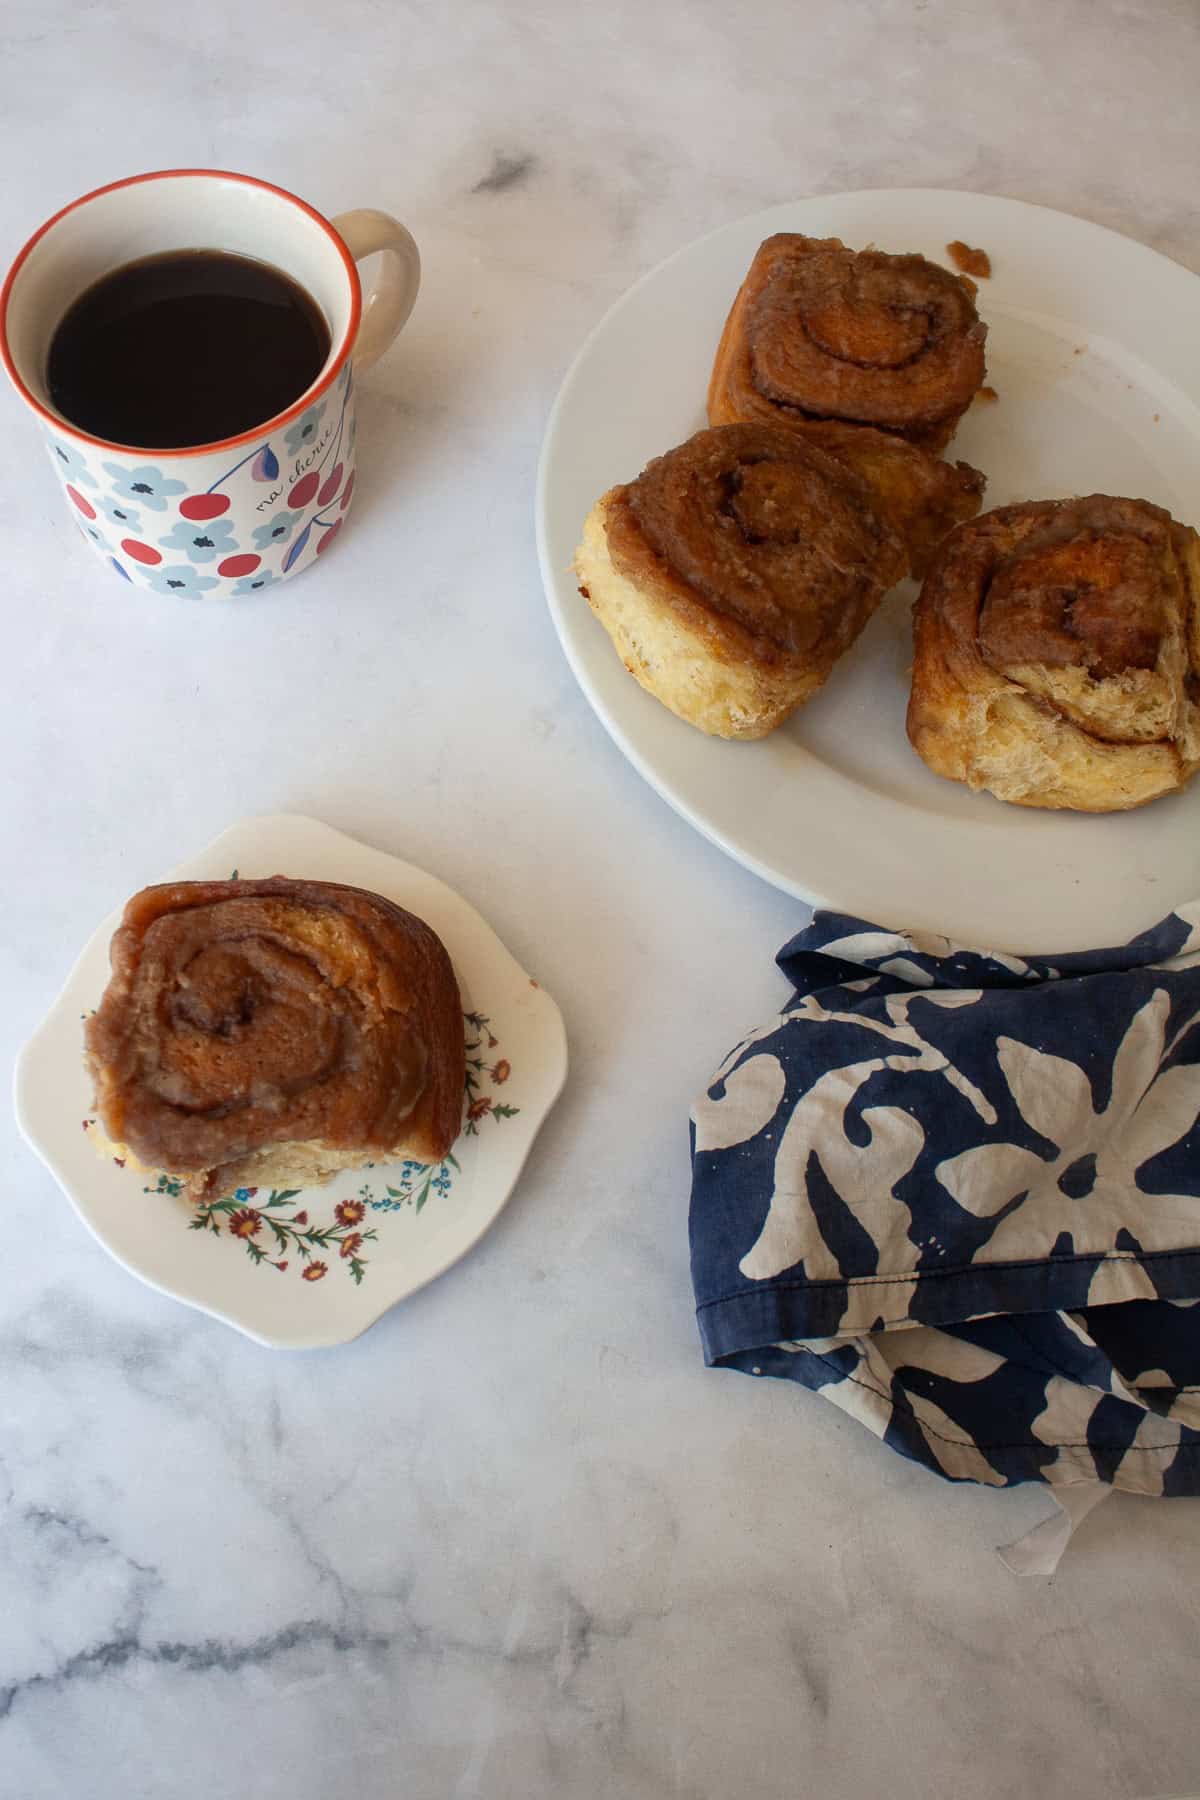
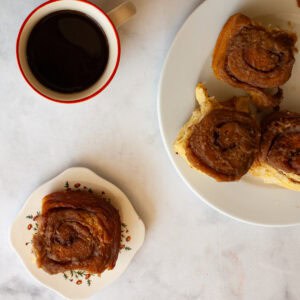
These homemade sticky buns are literally one of the best things you'll ever put in your mouth. A soft, from-scratch dough is filled with cozy cinnamon sugar and finished with an irresistible maple syrup topping. Even better? You can prep these the night before, so all you have to do is pop them in the oven and voila! Bakery goodness in your home kitchen.

This is IT, the best sticky bun recipe that I make at least twice a year for special holiday breakfasts. Pillowy soft dough is packed with a blend of cinnamon and brown sugar, then nestled in a thick, sweet maple syrup glaze and baked to fluffy, fragrant perfection. And, it's great to make ahead so you can pop the pan in the oven while you open presents or savor a first cup of coffee. Everything you need to know about making these sticky buns is outlined in this post.
Thank you to Sarah Keiffer for the sweet dough base, and Yossy Arefi for the inspiration for the maple syrup topping. For a gluten-free variation, see my oat flour cinnamon rolls or gluten free cinnamon rolls recipes.
Jump to:
What You'll Love
- They're sticky buns. What's NOT to love should be the better question. Buttery and maple syrup-y ... I can't resist these.
- Unapologetically rich. From the soft, pull-apart dough to the sticky, butter, brown sugar, and maple syrup-infused topping, this is a true treat. So, enjoy!
- As good as a bakery. We've always loved the sticky buns from the Bovine Bakery in Point Reyes Station - but that's an hour+ drive from where we live in Sonoma County, so alas! They are a rare treat. However, we love these homemade sticky buns just as much, and they can be enjoyed from the comfort of the couch without needing to load up everyone in the car (though it is, to be honest, a spectacular drive out there).

Ingredients Needed
Take a look at what you'll need for this recipe below. Make sure to scroll down to my recipe card at the bottom of this post for the full ingredient amounts and instructions!
- Eggs - Use large eggs.
- Whole milk - I prefer whole milk here to make the dough extra rich. You can use 2% milk if needed.
- Honey - Or substitute granulated sugar, though I prefer honey.
- All-purpose flour
- Instant yeast - Use instant yeast rather than active dry yeast if possible. Instant yeast can be added directly to the dough with no need for proofing first. Make sure to use fresh years!
- Salt - Fine sea salt or table salt.
- Butter - You'll need plenty of unsalted butter for the dough, filling, and topping.
- Filling - Brown sugar (light or dark brown sugar is fine), ground cinnamon, melted butter.
- Topping - Unsalted butter, light or dark brown sugar, and maple syrup.

Step-by-Step Instructions
I've included A LOT of photos below so that you can get an idea of how to make this recipe. The full details are in the recipe card lower down.


- Mix wet ingredients: Whisk together the eggs, milk, and honey.
- Make flour mix: In a large bowl, whisk together the flour, yeast, and salt.
- Combine: Mix in the egg mixture on low, then add the butter one piece at a time. Use a blender or your hands to mix until smooth.
- Rise: Place dough in a greased bowl, let rise for 30 minutes, fold, then rise again. Complete these steps a total of 4 times. Cover and rest overnight in the fridge.


- Roll out dough: On a piece of parchment, roll the dough into a rectangle.
- Make filling: In a small bowl, mix the cinnamon and brown sugar.
- Add filling: Brush the dough with melted butter, then sprinkle over the cinnamon-sugar mix.


- Roll it up: Starting at a long side, roll the dough into a tight cylinder. Cut the dough into 12 equal pieces.


- Make topping: Bring topping ingredients to a boil over medium and cook for 1 minute. Pour the mixture into a lined 9x13 baking pan and evenly cover the bottom.
- Proof: Place the rolls cut side up in the topping in the pan, then cover loosely with plastic wrap and let rise until doubled.
- Bake: Bake the rolls for 30-35 minutes at 350℉. Cool slightly and serve warm.
Tips & Recipe Notes
- Don't skimp on the rise time. The 2-hour rise time may seem like a lot, but it results in a beautifully risen dough that, in turn, makes fluffy rolls.
- Hold dough overnight. After the dough has completed its 2-hour rise and folding, let it rest overnight in the fridge (or up to 72 hours). This performs the double duty of allowing the gluten-free flour to hydrate and also brings it together so it's less sticky and is much easier to work with.
- Bring ingredients to room temperature. Make sure to bring all the ingredients to room temperature, especially the butter, before you begin. This will make for a smoother dough.
- Make ahead: You can make the dough and shape the cinnamon rolls, and then keep the tightly covered baking pan in the fridge overnight. The next day, bring the rolls to room temperature. If they haven't doubled in size by the time they've reached room temperature, proof them for a while longer, make the topping, then bake.

Variation Suggestions and Substitutions
- Other topping options: Keep it simple and drizzle over a little maple syrup when they come out of the oven. Or, sift a little powdered sugar over the top. For a decadent touch, spoon some homemade caramel sauce over their tops.
- Change the spices. Try a different ground spice if you like! I love to make this recipe with a ground ginger or cardamom filling.
- Nuts: Add chopped walnuts or pecans to the filling or sprinkle them across the maple syrup glaze at the bottom of the pan.
- To make dairy-free: Substitute non-dairy milk for the whole milk and non-dairy butter for the butter.
- To make refined sugar-free: Substitute maple sugar or coconut sugar for the sugar and coconut sugar for the brown sugar.
- Make into cinnamon rolls. Follow the recipe as written, but instead of the sticky maple topping, try a cream cheese frosting: Blend ½ cup full-fat, room temperature cream cheese, 4 tablespoons softened butter, ½ cup of sifted powdered sugar until smooth, then spread the frosting over the warm rolls. Skip the maple syrup topping and frost the rolls after they've baked.

Storage & Reheating Instructions
- Counter - Keep in an airtight container on the counter for up to 2 days.
- Fridge - Store buns in an airtight container in the fridge for up to 5 days.
- Freezer - Place the buns in an airtight container or freezer-safe bag and keep them in the freezer for up to 2 months. Defrost in the fridge before eating and reheating.
- To Reheat - The sticky buns are best on the day that they are baked, but you can gently reheat them in the oven, and they will still be warm, fluffy, and delicious. Place them on a baking sheet and heat in a 325F oven for about 5 minutes until warm.
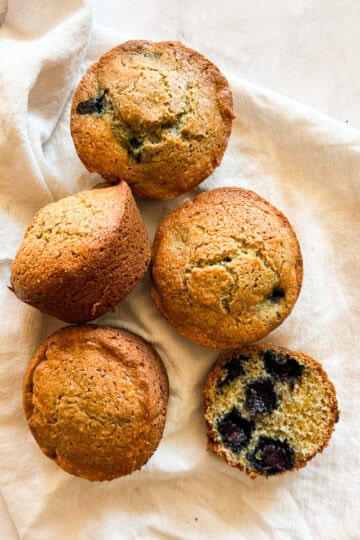
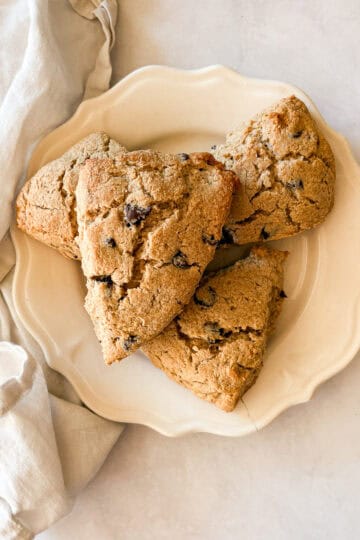
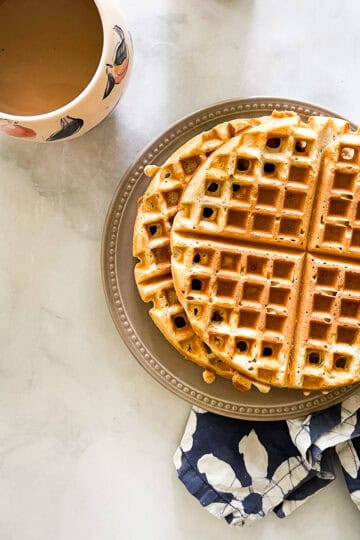
More Yummy Breakfast Recipes
Happy baking! If you make this sticky buns recipe, I'd love to know. Please leave a comment below, reach out with any questions, and tag me on Instagram @Cucina Nicolina ❤️
Recipe
Sticky Buns Recipe
Ingredients
Dough
- 4 large eggs
- ¾ cup whole milk , warmed to 110℉
- ¼ cup honey
- 4 cups all-purpose flour (spooned and leveled, 560 grams)
- 2 ¼ teaspoons instant yeast
- 2 teaspoons fine sea salt
- 10 tablespoons unsalted butter , at room temperature, and cut into 1-inch pieces
Filling
- ½ cup brown sugar
- 1 tablespoon ground cinnamon
- 2 tablespoons unsalted butter melted
Topping
- ½ cup unsalted butter
- ½ cup brown sugar
- ½ cup maple syrup
Instructions
- First, make the dough: Grease a large bowl. In a small bowl, whisk together the 4 large eggs, ¾ cup whole milk, and ¼ cup honey.
- In a large bowl or the bowl of a stand mixer, whisk together the 4 cups all-purpose flour, 2 ¼ teaspoons instant yeast, and 2 teaspoons fine sea salt. Using a stand mixer or by hand, mix in the egg mixture on low. Then add the 10 tablespoons unsalted butter one piece at a time.
- Increase the speed to medium and mix for about 1 minute. Use your hands to do this if the dough is very sticky. Transfer the dough to the prepared bowl, using a spatula to scrape it in.
- Cover with plastic and let rise for 30 minutes. After 30 minutes, use the spatula or your hands to fold the dough over on itself about 6 times. Cover again with plastic, let rise for 30 minutes, and repeat the process. Do this 2 more times for a total of 4 times.
- Tightly cover the bowl with plastic and place in the fridge overnight or for up to 72 hours.
- Remove the dough from the fridge, dust a piece of parchment with flour, and knead the dough for about 10-12 times. In a small bowl, mix the ½ cup brown sugar and 1 tablespoon ground cinnamon together.
- Line a 9x13-inch pan with parchment. Roll out the dough to a 16x12-inch rectangle. Brush the dough with melted 2 tablespoons unsalted butter, then sprinkle the cinnamon-sugar mix over the butter, pressing down lightly.
- Starting at a long side, roll the dough into a tight cylinder. Pinch the seam to seal it, then turn it seam side down. Cut the dough into 12 equal pieces.
- In a medium saucepan, combine the ½ cup unsalted butter, ½ cup brown sugar and ½ cup maple syrup. Bring to a boil over medium heat, and cook for 1 minute. The mixture will thicken slightly. Pour the mixture into the lined baking pan and tilt the pan to evenly cover the bottom.
- Place the rolls cut side up in the topping in the pan, then cover loosely with plastic wrap and let rise until doubled, 1 ½-2 hours.
- Preheat the oven to 350℉. When the rolls are doubled, place the pan in the oven and bake for 30-35 minutes, until the rolls are lightly golden brown, set, and the topping is bubbling.
- Remove the rolls from the oven, cool in the pan for 15 minutes, then serve warm.
Notes
- Don't skimp on the rise time. The 2-hour rise time may seem like a lot, but it results in a beautifully risen dough that, in turn, makes fluffy rolls.
- Hold dough overnight. After the dough has completed its 2-hour rise and folding, let it rest overnight in the fridge (or up to 72 hours). This performs the double duty of allowing the gluten-free flour to hydrate and also brings it together so it's less sticky and is much easier to work with.
- Bring ingredients to room temperature. Make sure to bring all the ingredients to room temperature, especially the butter, before you begin. This will make for a smoother dough.
- Make ahead: You can make the dough and shape the cinnamon rolls, and then keep the tightly covered baking pan in the fridge overnight. The next day, bring the rolls to room temperature. If they haven't doubled in size by the time they've reached room temperature, proof them for a while longer, then make the topping and bake.
- Other topping options: Keep it simple and drizzle over a little maple syrup when they come out of the oven. Or, sift a little powdered sugar over the top. For a decadent touch, spoon some homemade caramel sauce over their tops.
- Change the spices. Try a different ground spice if you like! I love to make this recipe with a ground ginger or cardamom filling.
- Nuts: Add chopped walnuts or pecans to the filling or sprinkle them across the maple syrup glaze at the bottom of the pan.
- To make dairy-free: Substitute non-dairy milk for the whole milk and non-dairy butter for the butter.
- To make refined sugar-free: Substitute maple sugar or coconut sugar for the sugar and coconut sugar for the brown sugar.
- Make into cinnamon rolls. Follow the recipe as written, but instead of the sticky maple topping, try a cream cheese frosting: Blend ½ cup full-fat, room temperature cream cheese, 4 tablespoons softened butter, ½ cup of sifted powdered sugar until smooth, then spread the frosting over the warm rolls. Skip the maple syrup topping and frost the rolls after they've baked.

Helen spiridakis says
This looks just like the east coast Christmas babka......how amazing! Nice post ...especially the image of the old man, his cart, and the clopping horse.